Build Log: Height Chart
My wife came across an idea of a height chart for measuring the kids and this was a fun afternoon project.
Materials Required
| Material | Quantity | Description |
|---|---|---|
| 1 x 1 x 6' pine board | 1 | Base board |
| Numbers | 5 | As desired |
| Wipe-On Poly | 3 coats | Miniwax Wipe-On Poly |
| Brown paper bag | As required | Between coats of poly |
| Sandpaper | As required | 220 and 400 grit |
| Black screws | 10 | Optional |
| Drywall anchors | 2 | This style |
Tools Required
- Miter saw
- Electric drill
- Square
- Tape measure
- Router with 1/4" straight bit and round-over bit
- Sharpie
Notes
I bought a nice pine 1 x 6 x 6' board at Lowes. In addition to the unfinished lumber they have a decent selection of finished maple, oak, and pine.
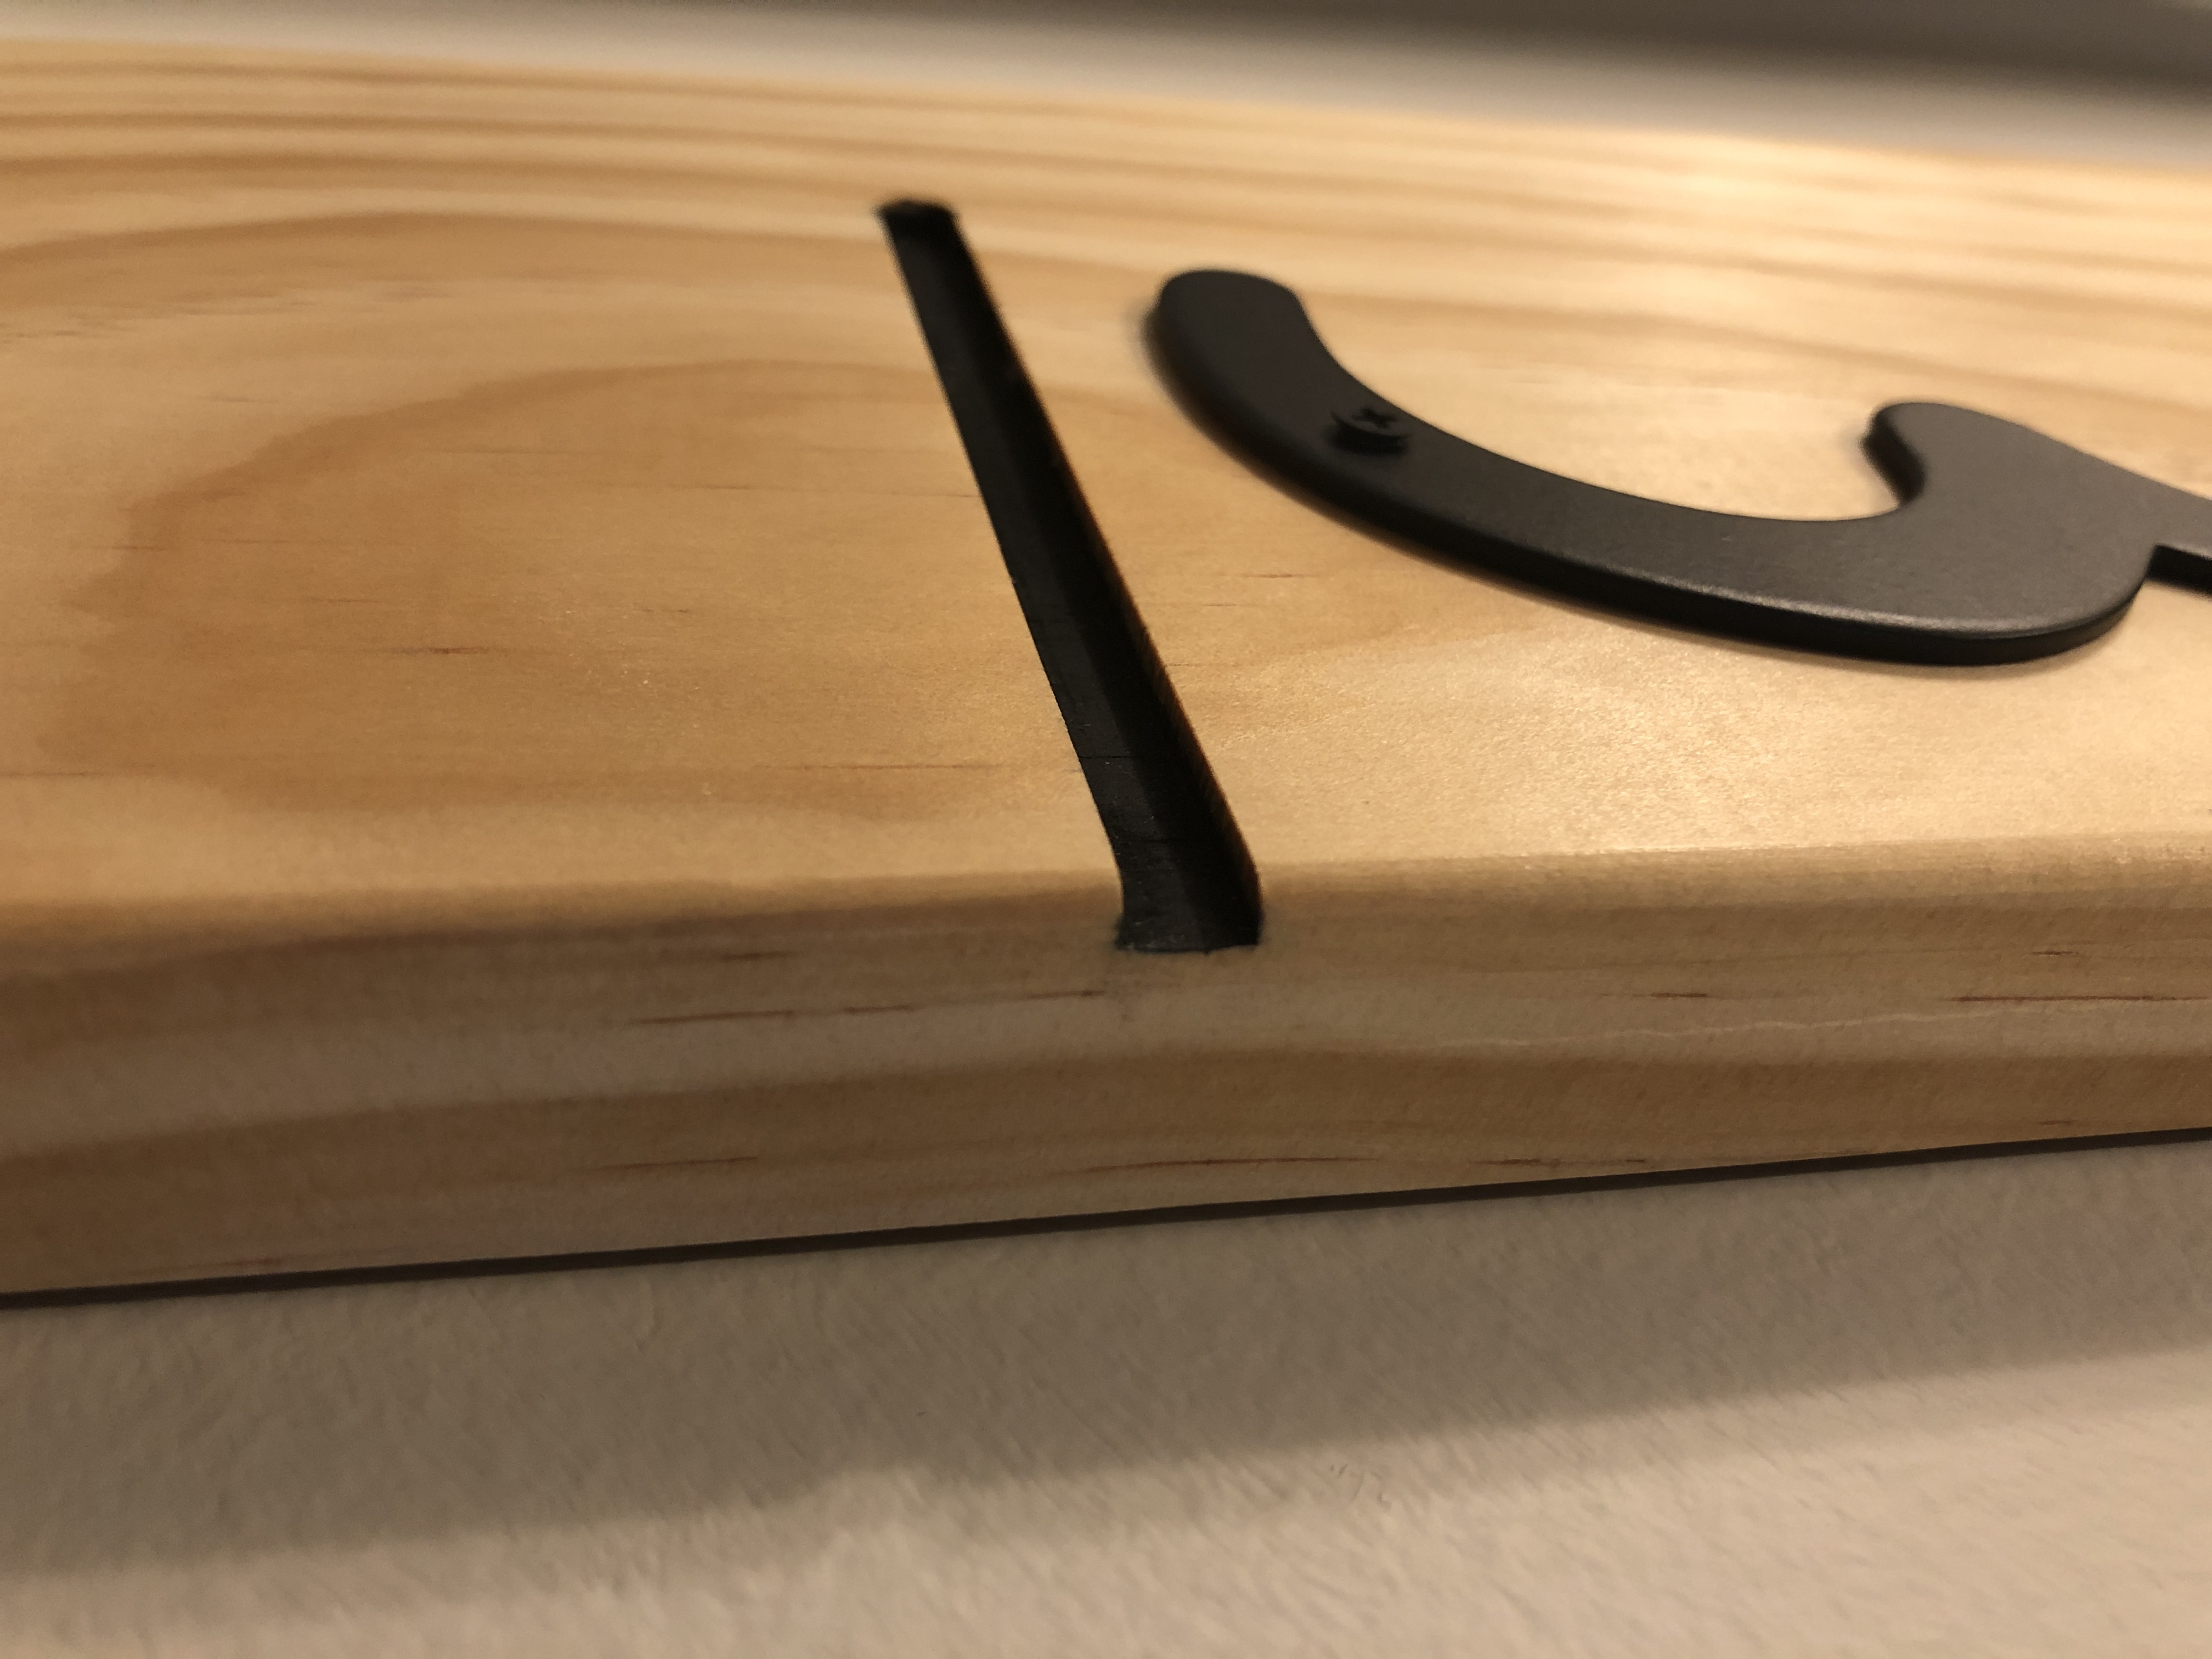
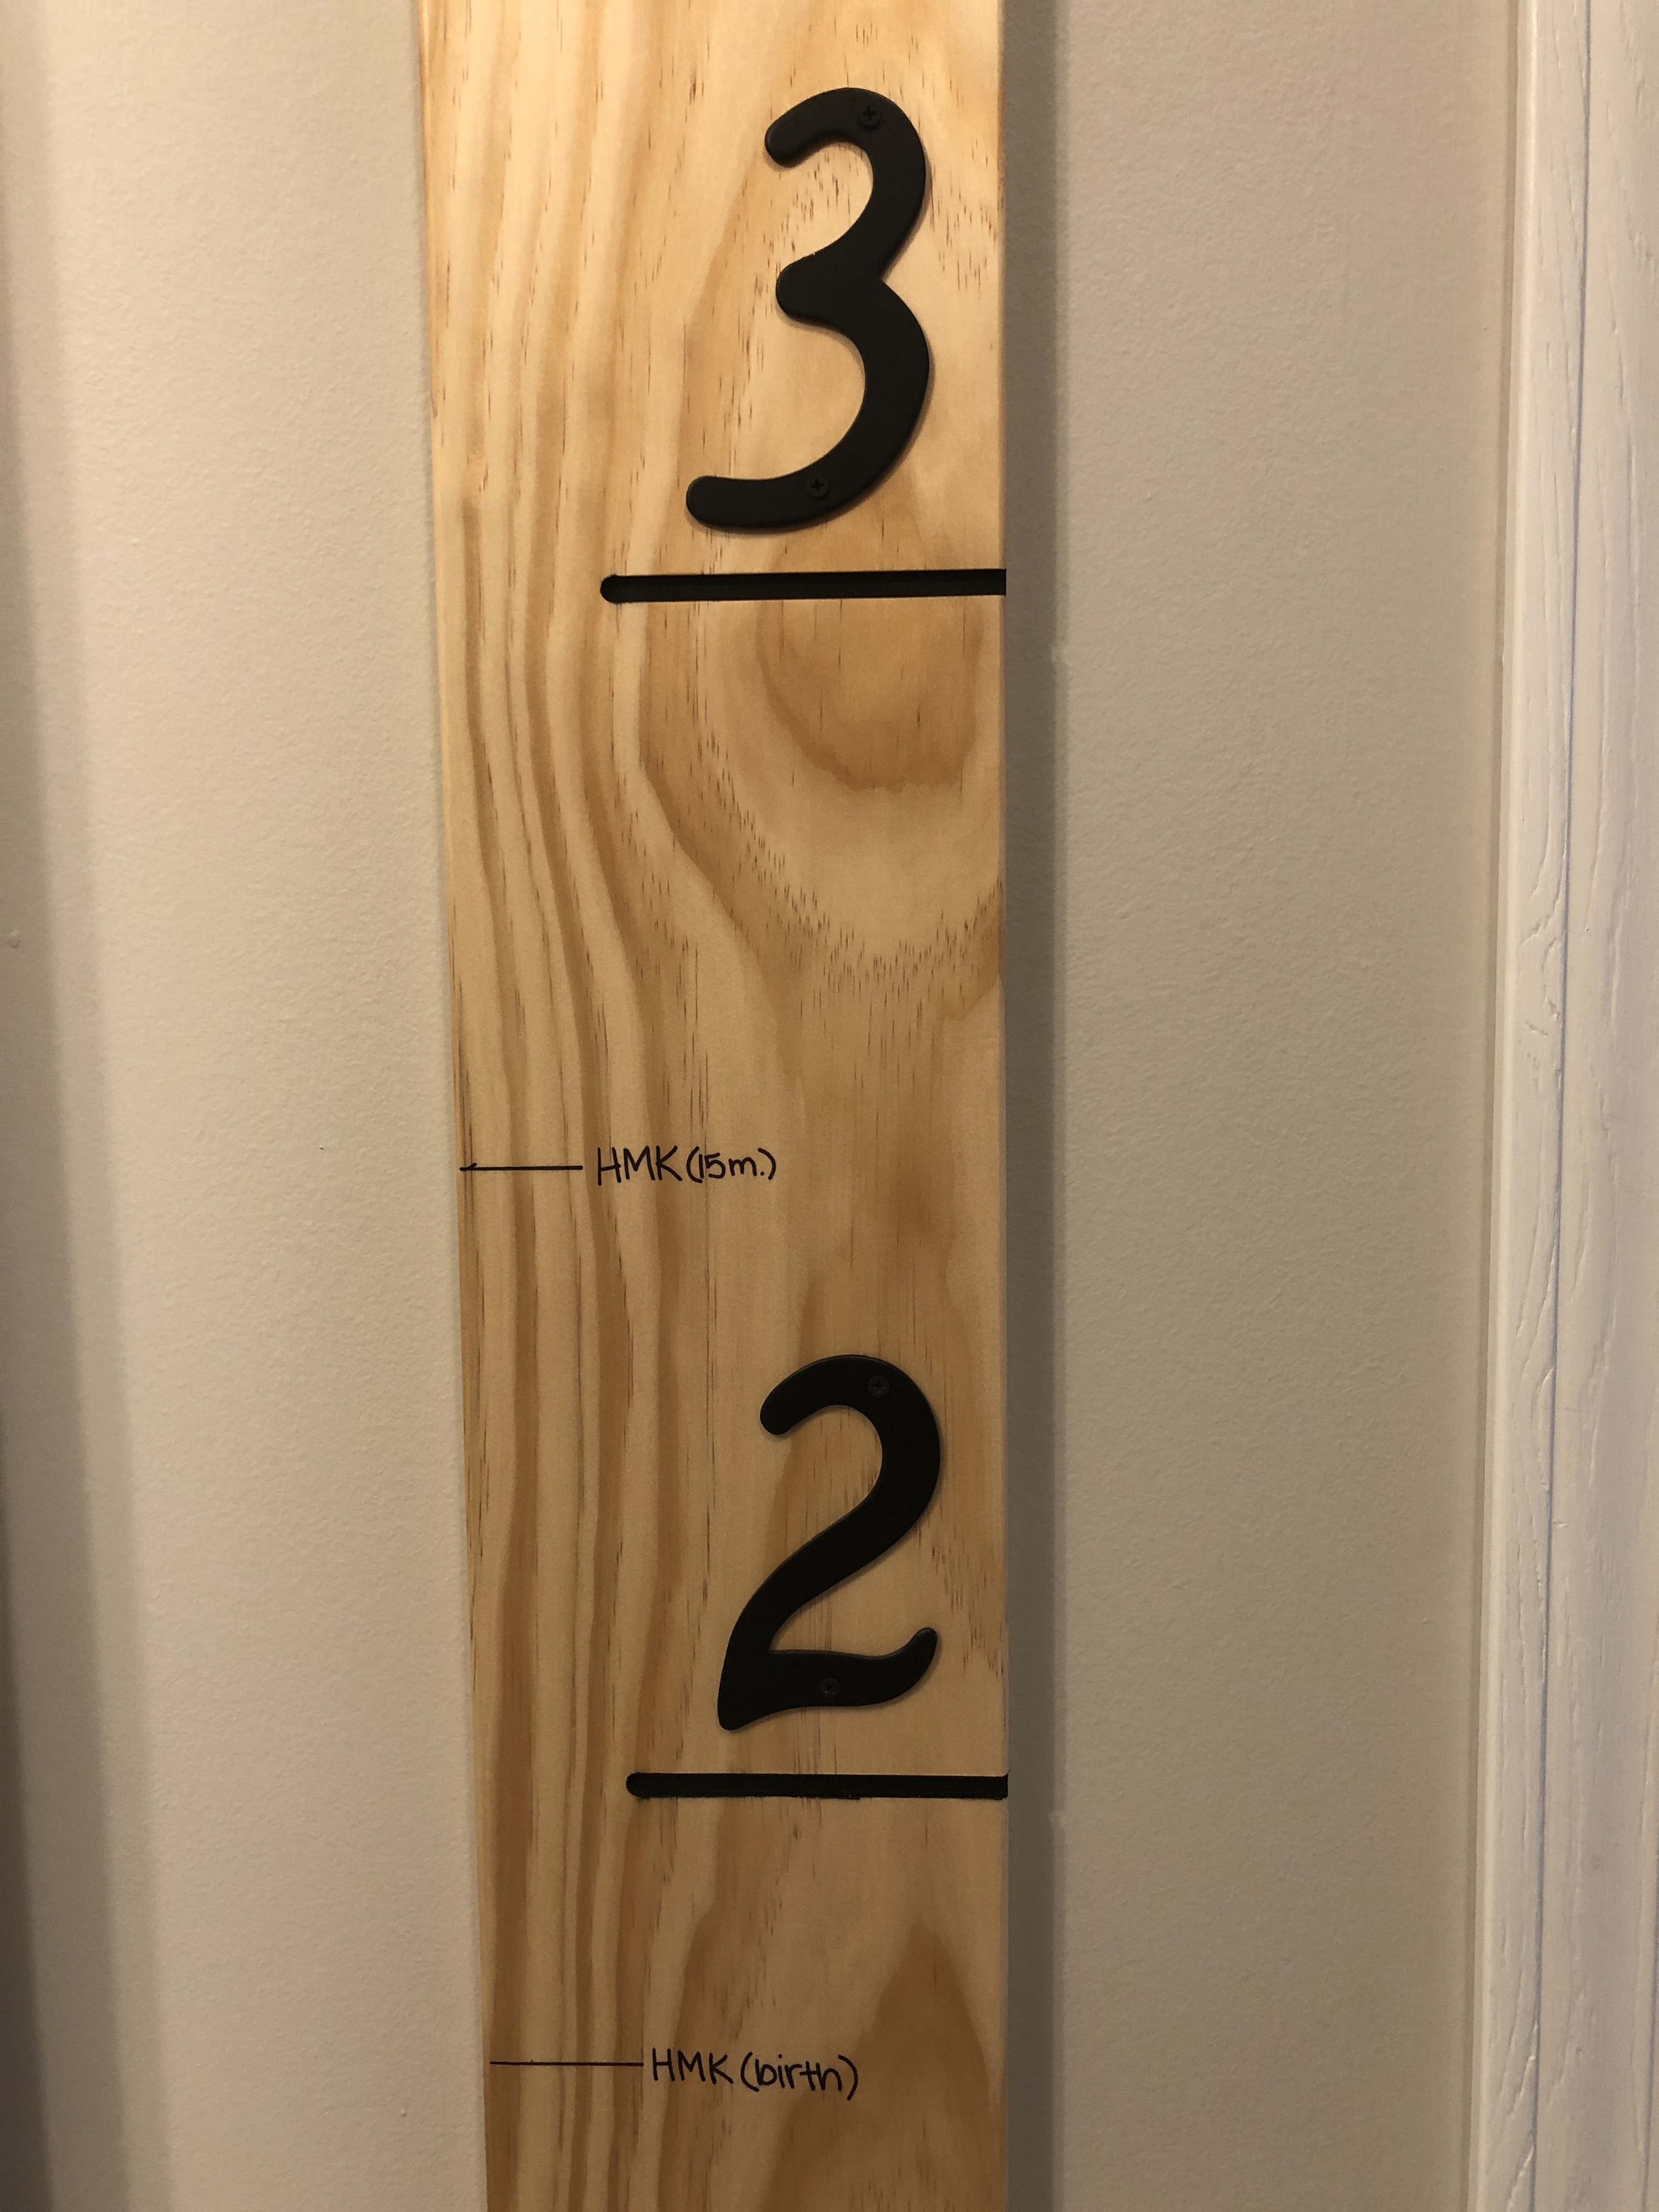
The first step was to cut the slots for the foot markers. I used a straight 1/4" router bit and cut to a depth of about 1/8" or 3/16". To help make the cuts quick and consistent, I made a jig with two pieces of scrap wood held together with a clamp to serve as a guide for the router. This make for a quick process of marking and then cutting all 5 slots. Blue masking tape really helps minimize tear-out, and I went over any rough areas with 400 grit sandpaper.
I then used a Sharpie pro to color each slot, being careful to not let the marker touch the upper edges since it will bleed. Shallower slots help with this process.
Next I used a round over bit to make a nice smooth edge along the perimeter of the board.
For finish, I applied 3 coats of wipe-on poly. After it was dry, I rubbed the whole board down with a piece of cardboard to knock down any high spots from the finish.
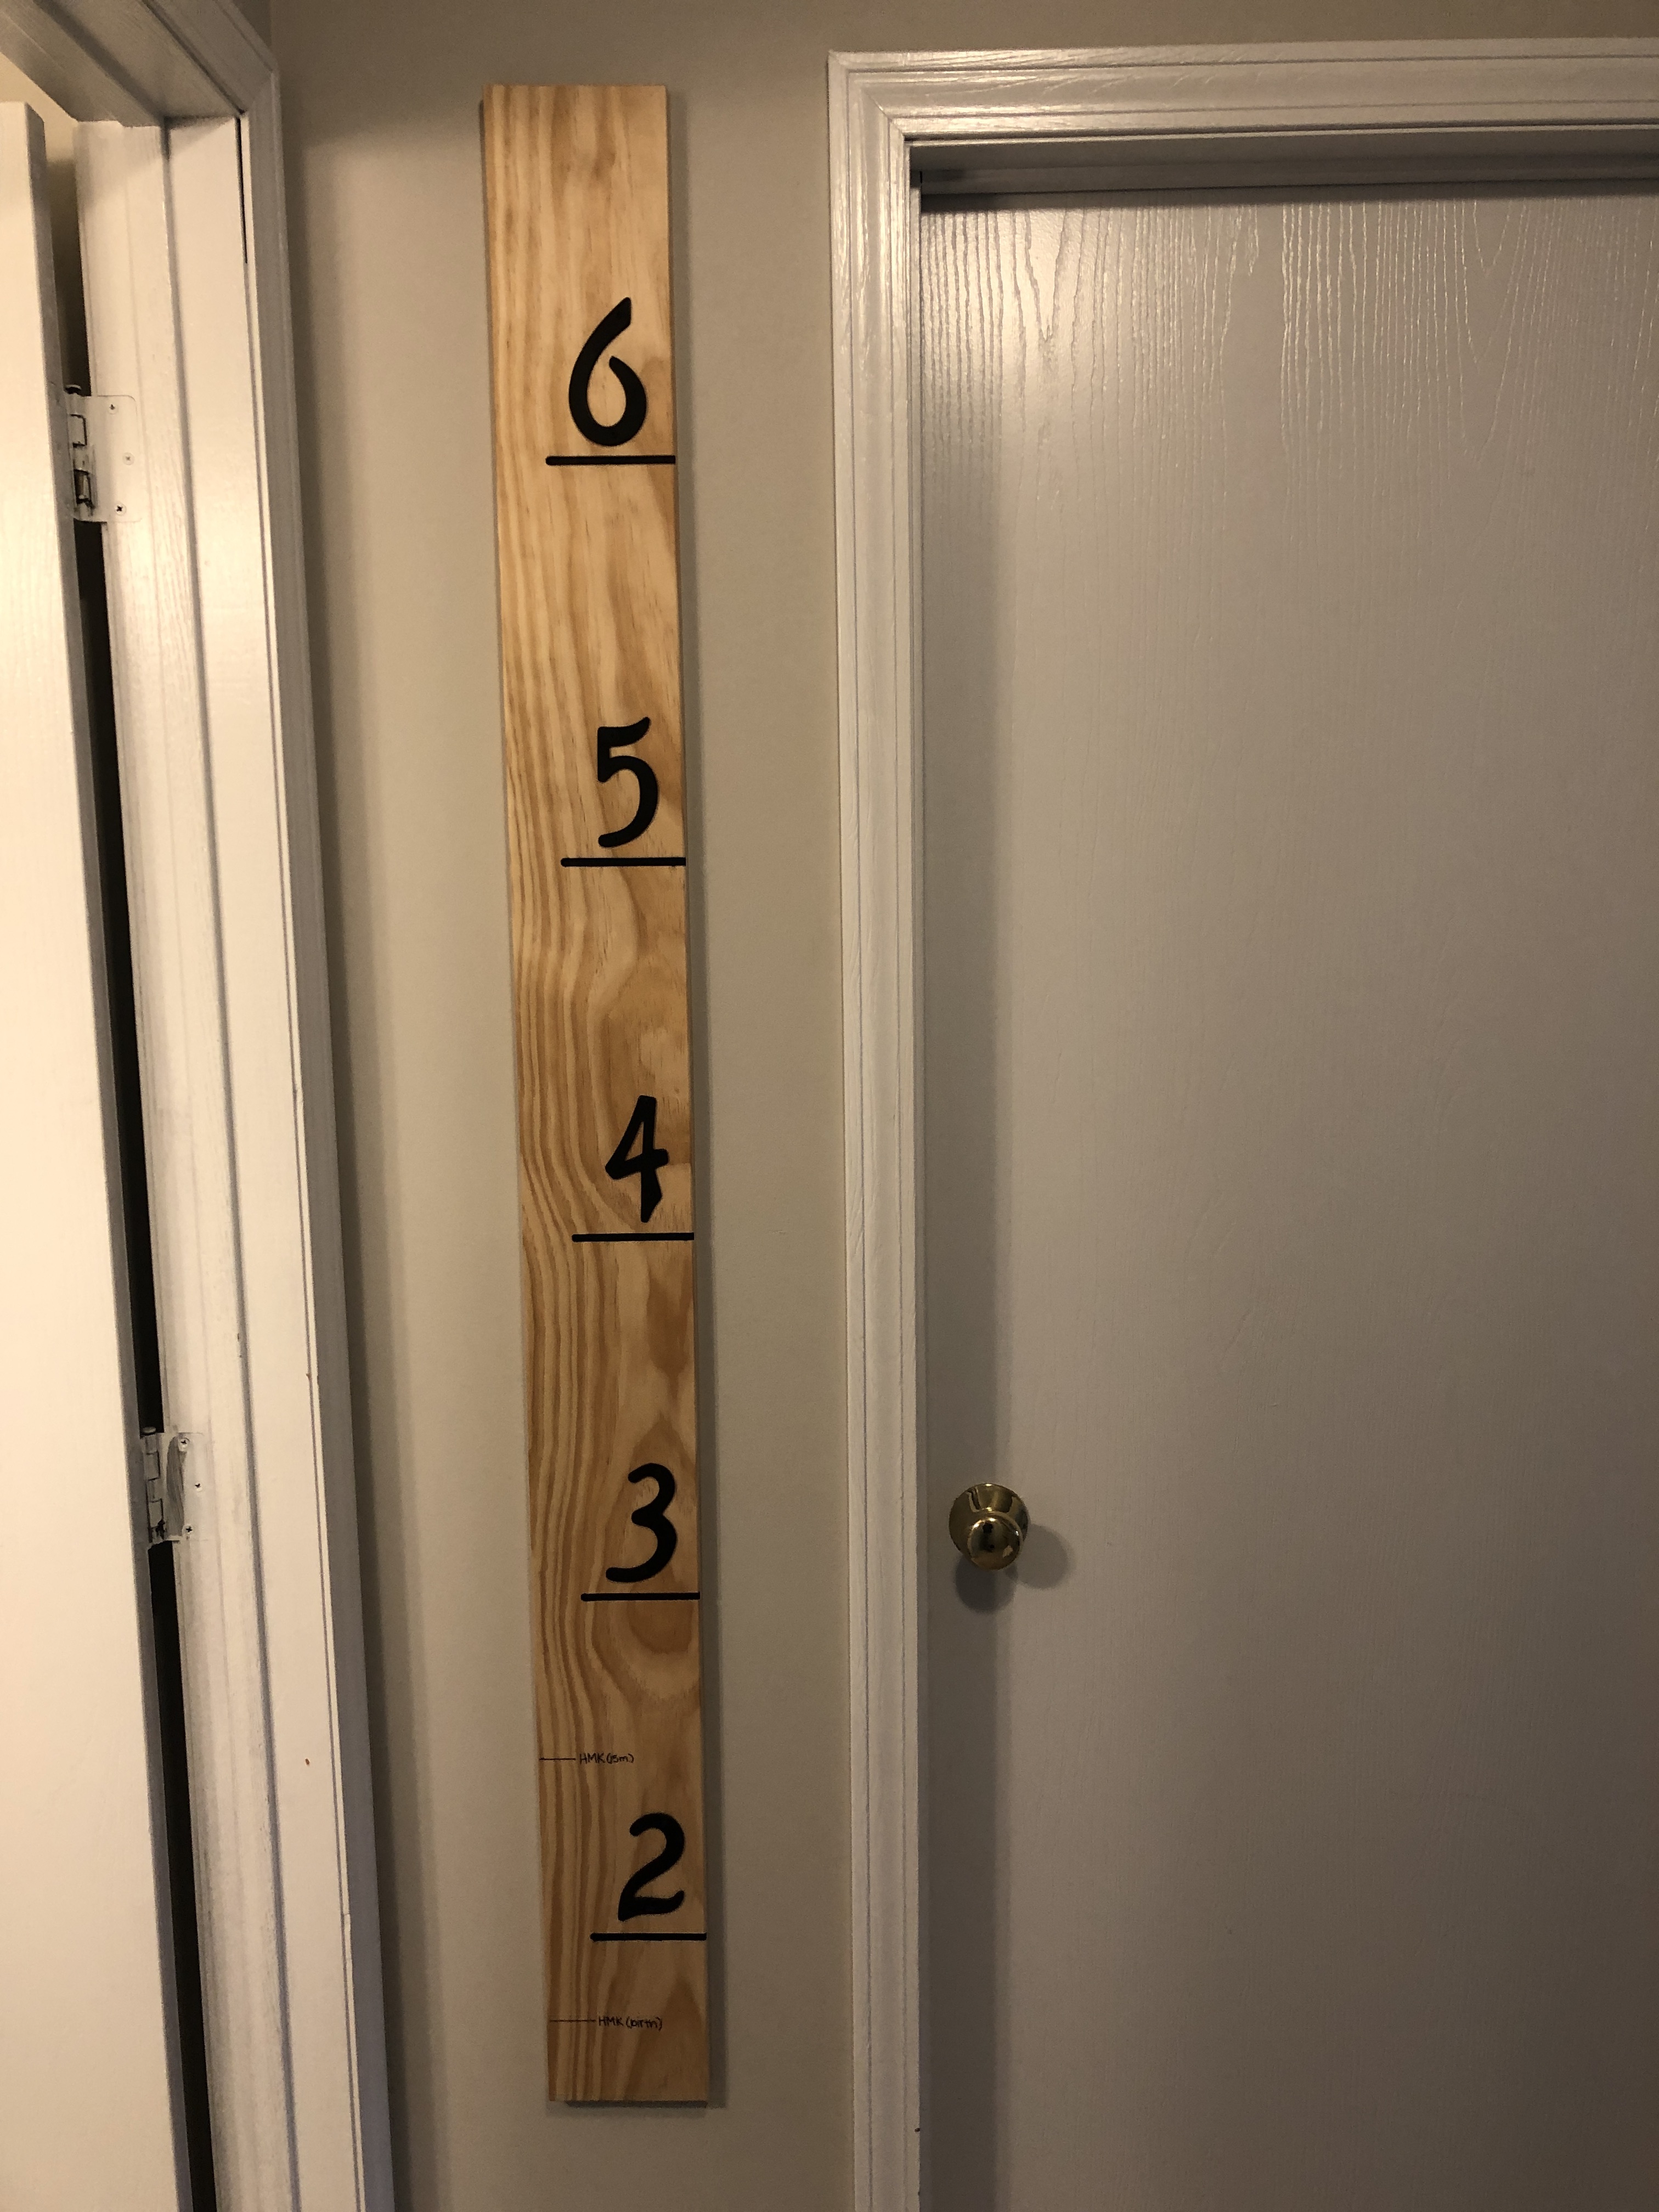
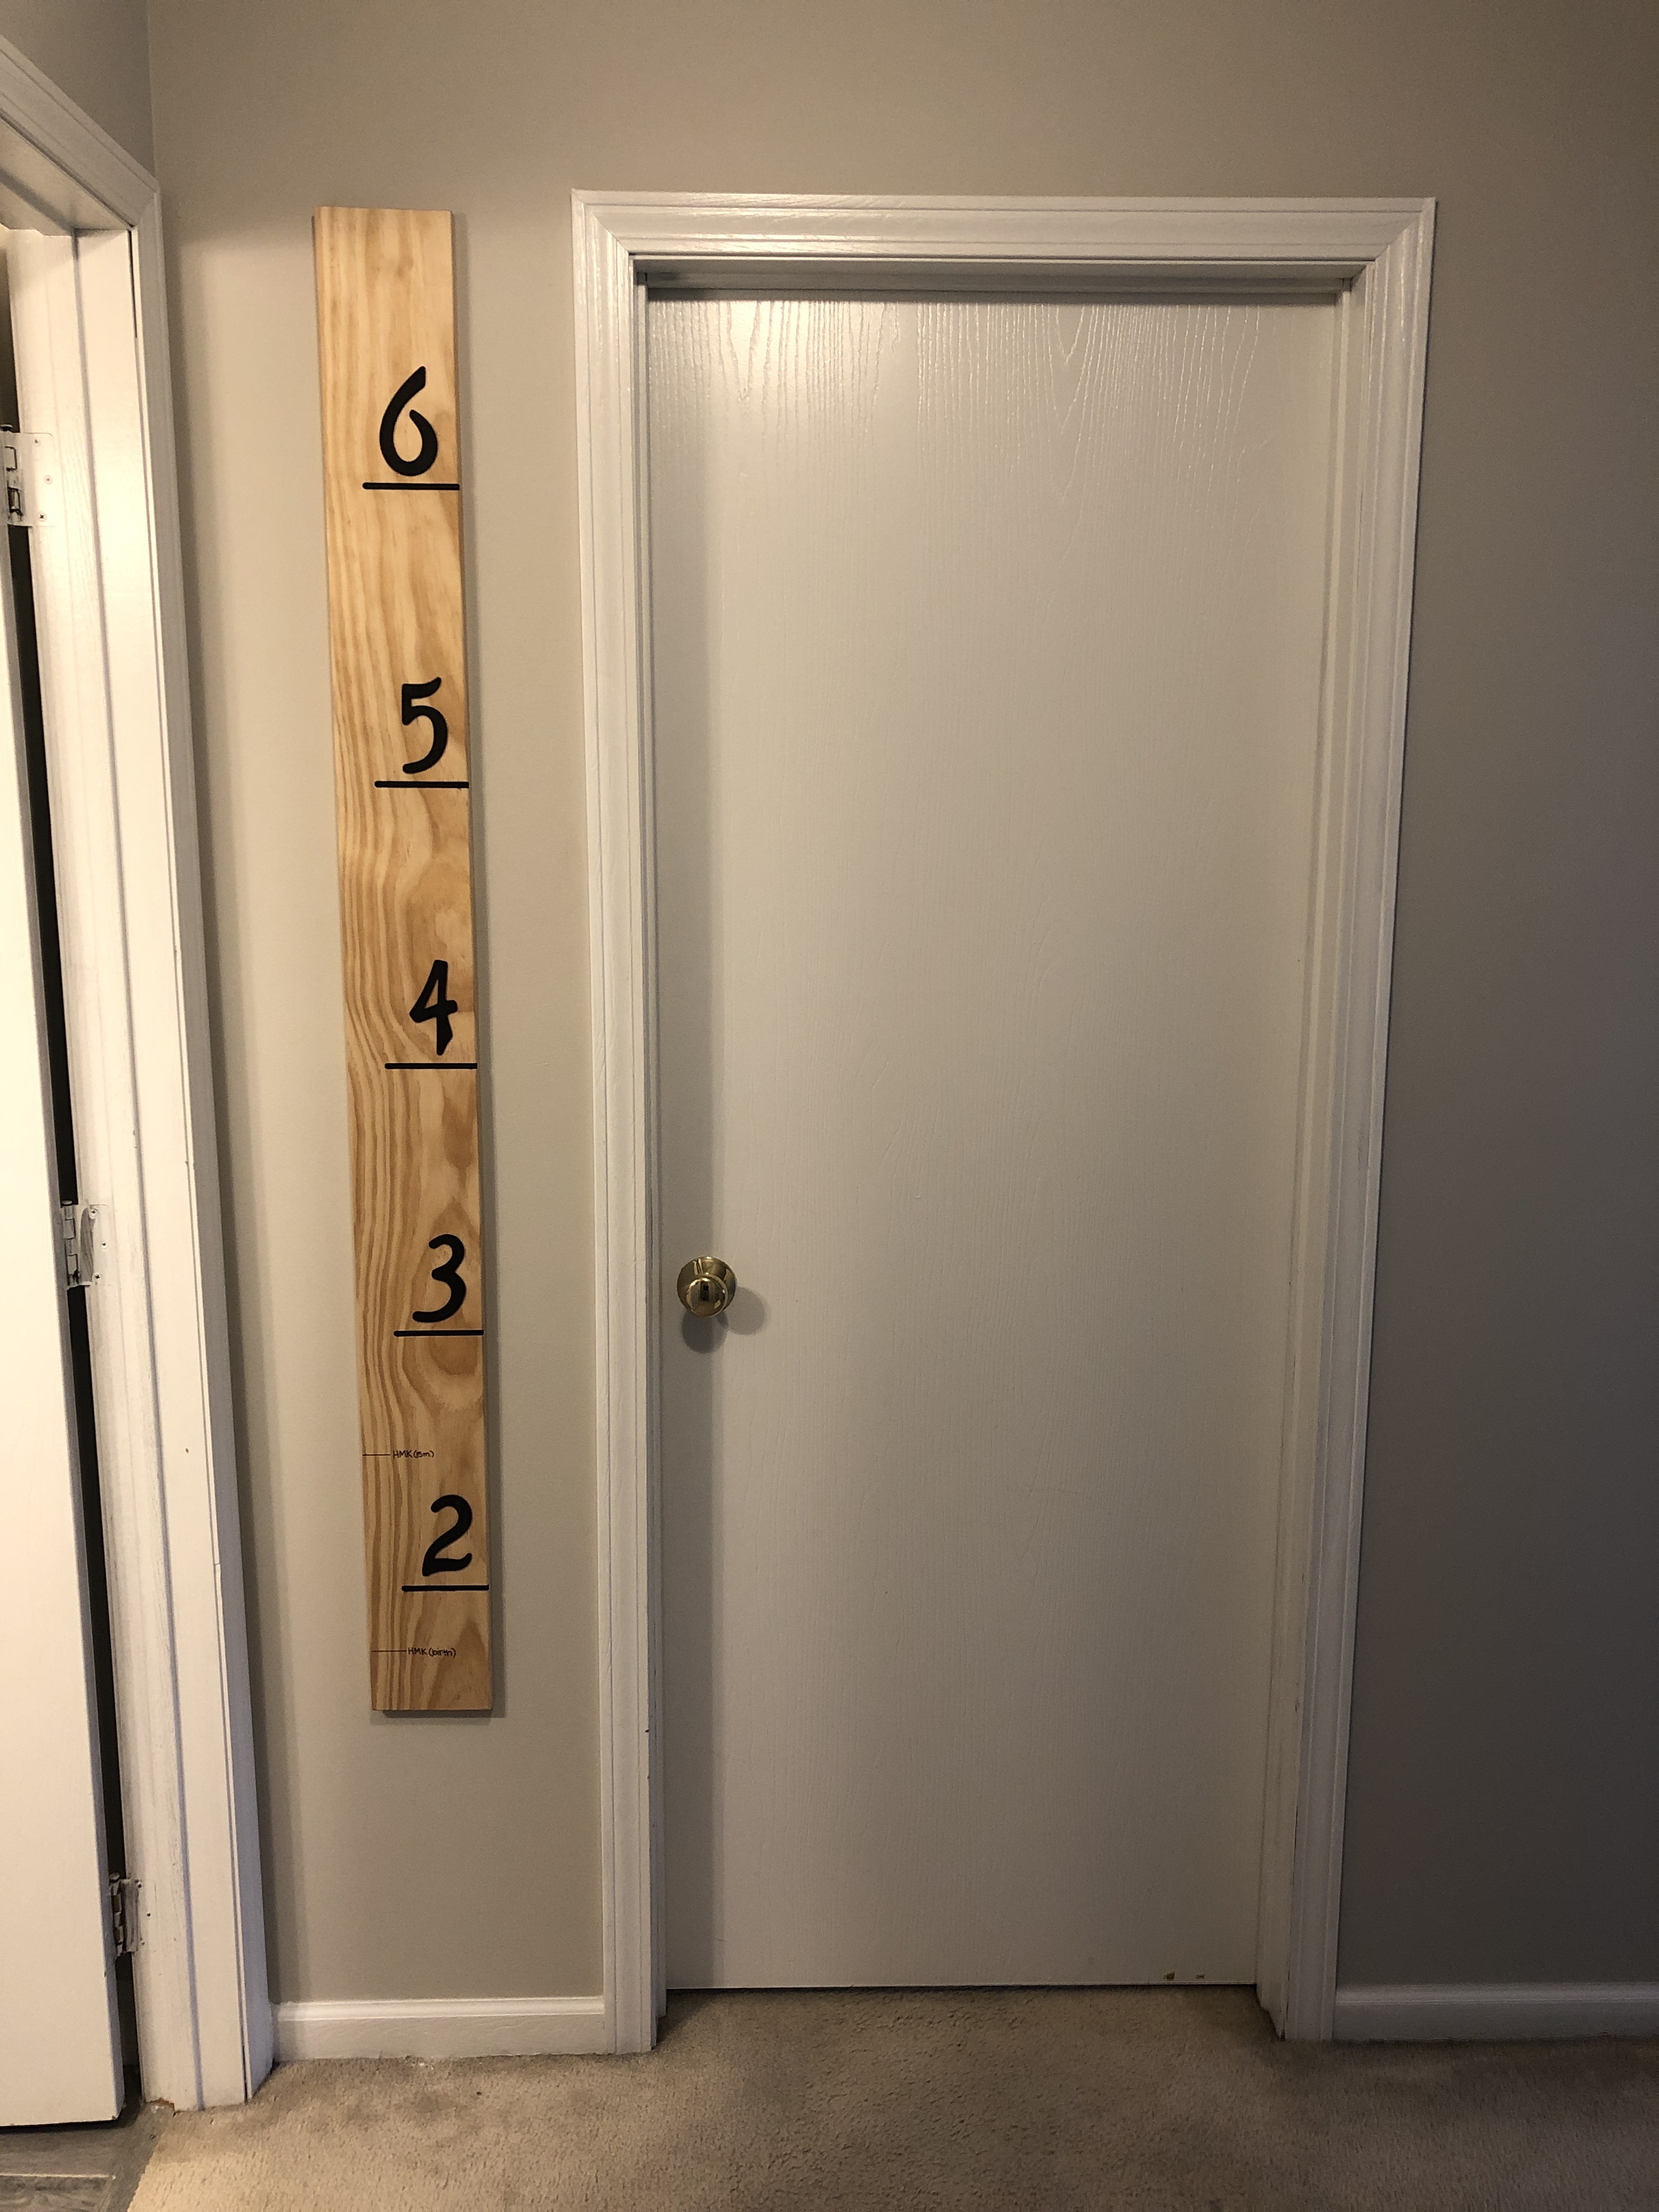
Next it was time to mount the numbers. I got small black screws to use instead of the nails provided with the numbers. After drilling clearance holes for the screws, I mounted numbers 3, 4, and 5.
The hang the chart I used two drywall anchors hidden under numbers 2 and 6. This was the main reason for using screws to mount the numbers so that they are easily removed if I ever want to remove the chart from the wall. After mounting to the wall, I installed numbers 2 and 6 to complete the project.