Build Log: Dining Table

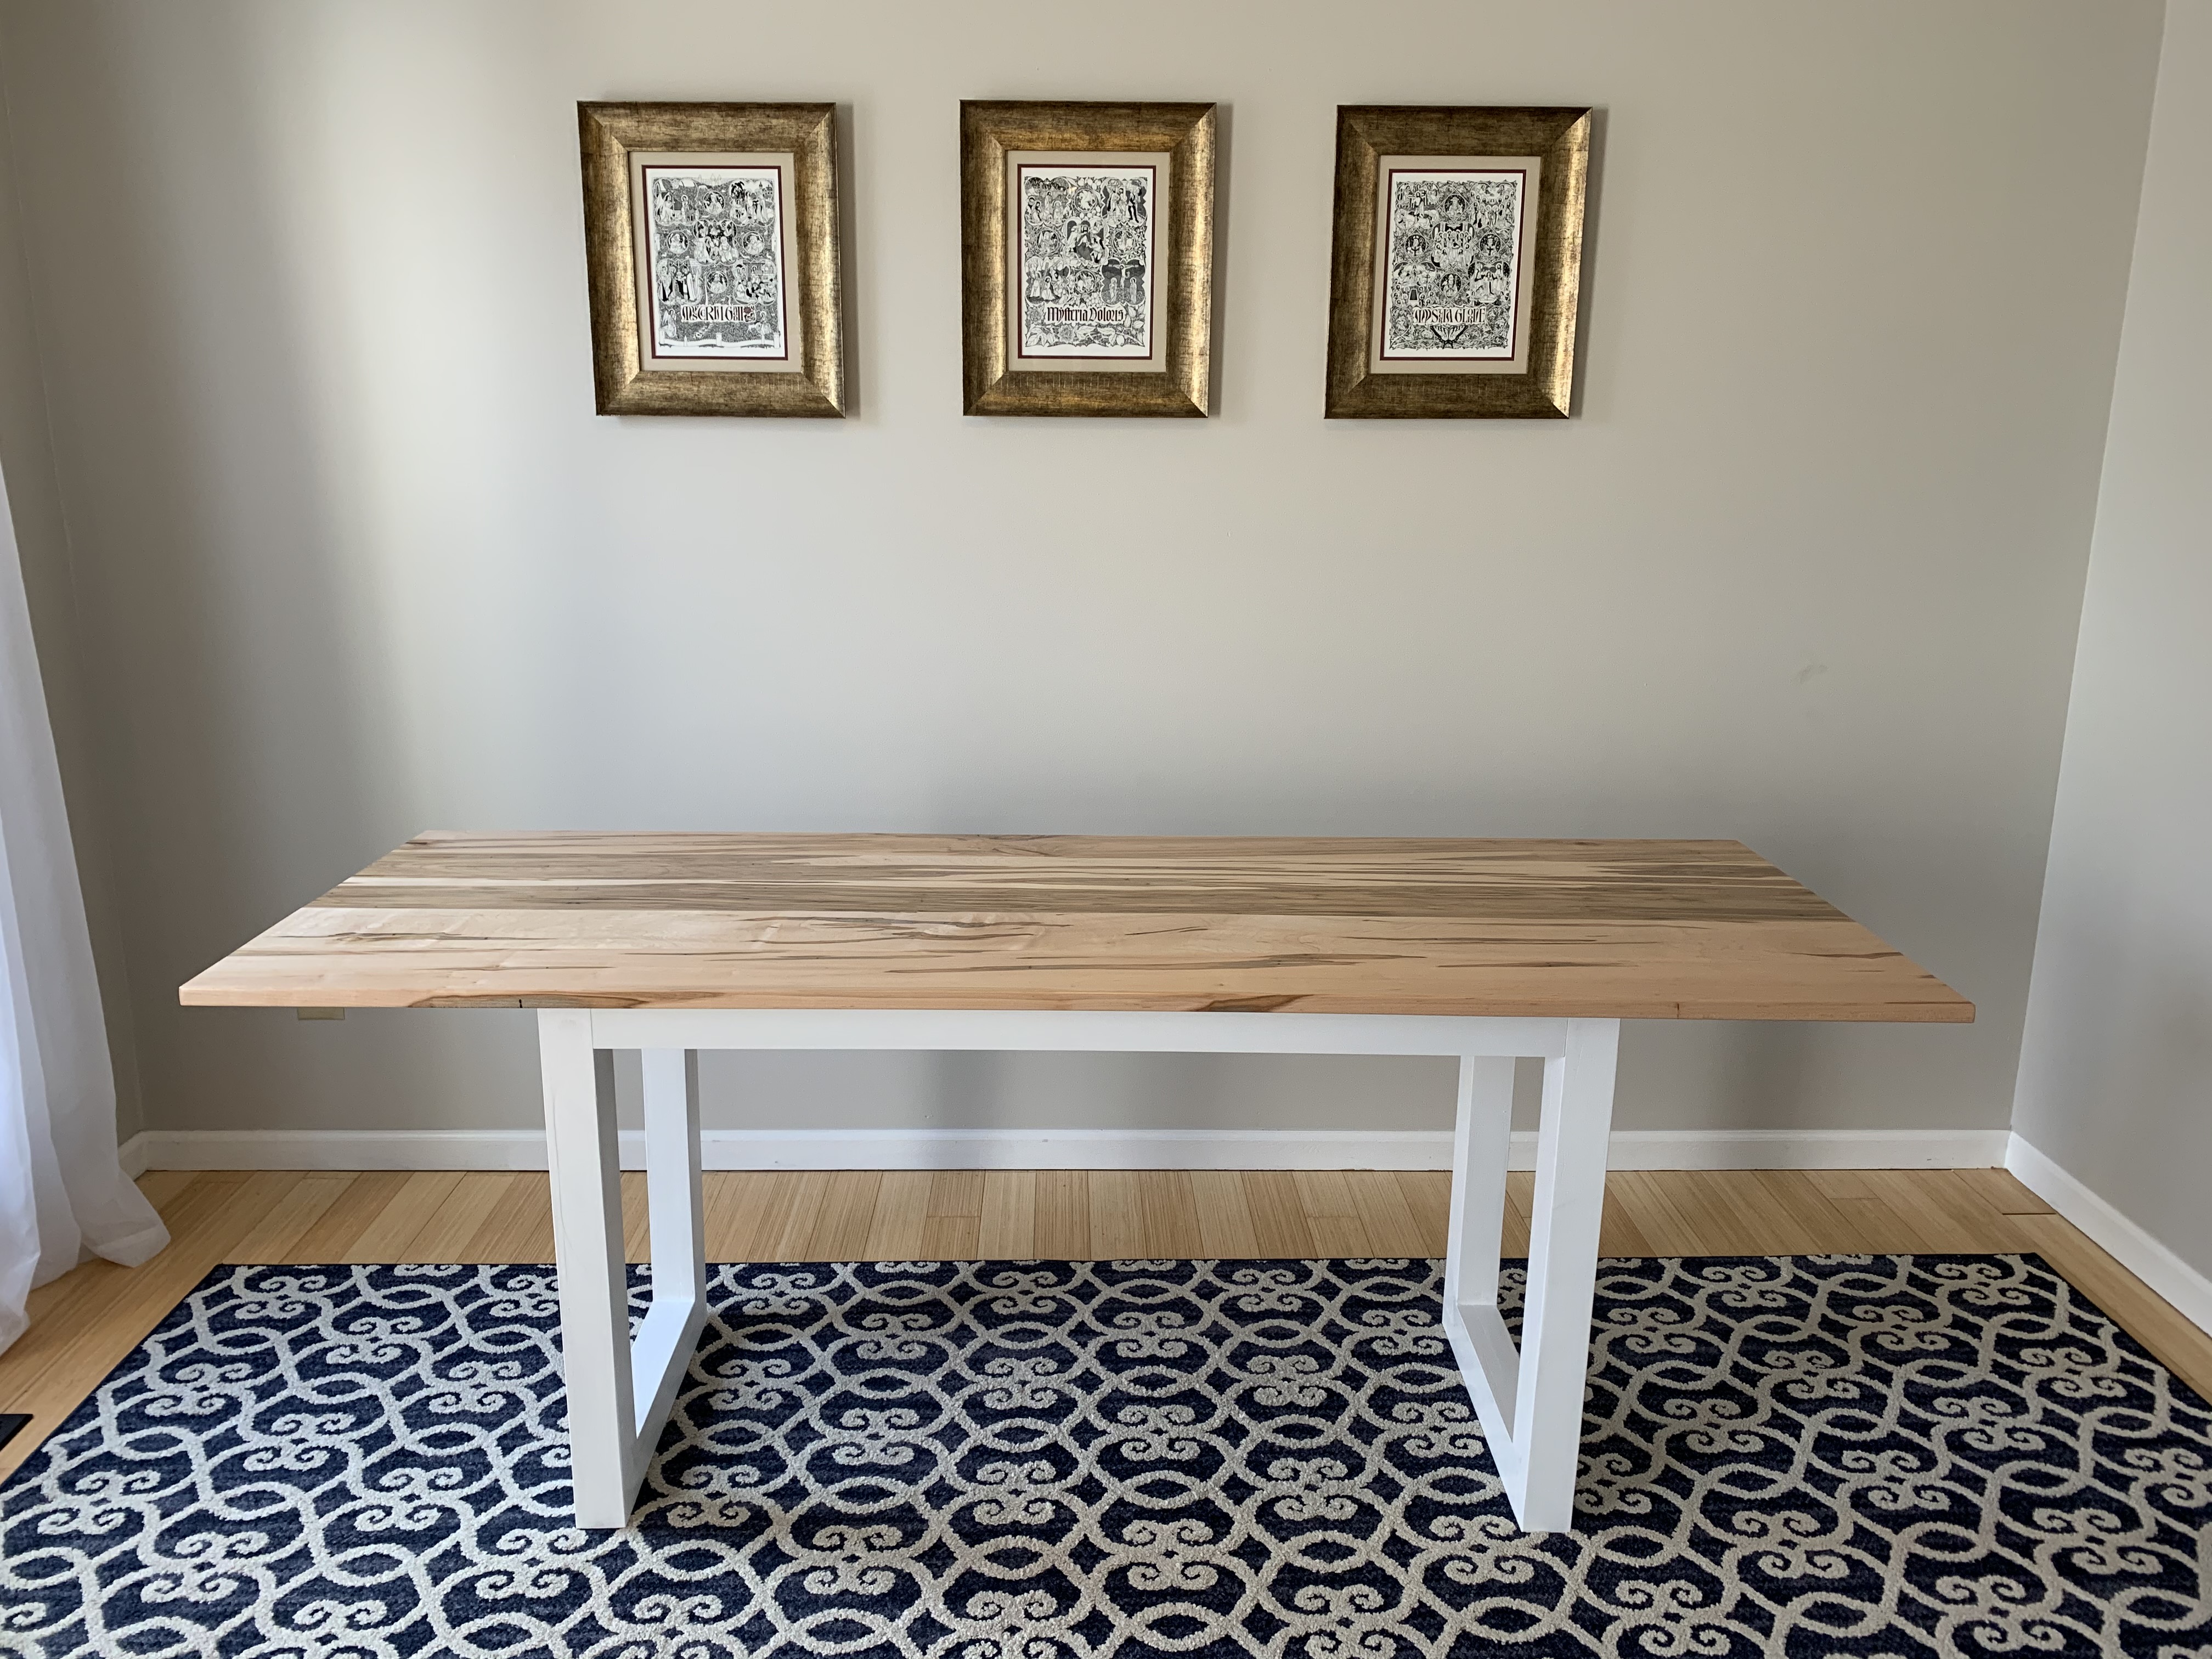
The dining room was the only room in our new house for which we did not already have furniture, so I decided to build a dining table from scratch. We were not rushed so I was able to take my time to build a simple—but beautiful—table for our family.
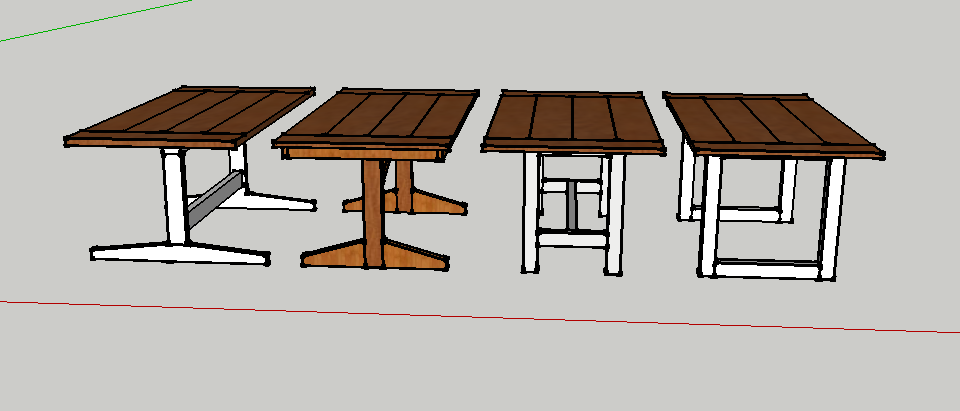
Design
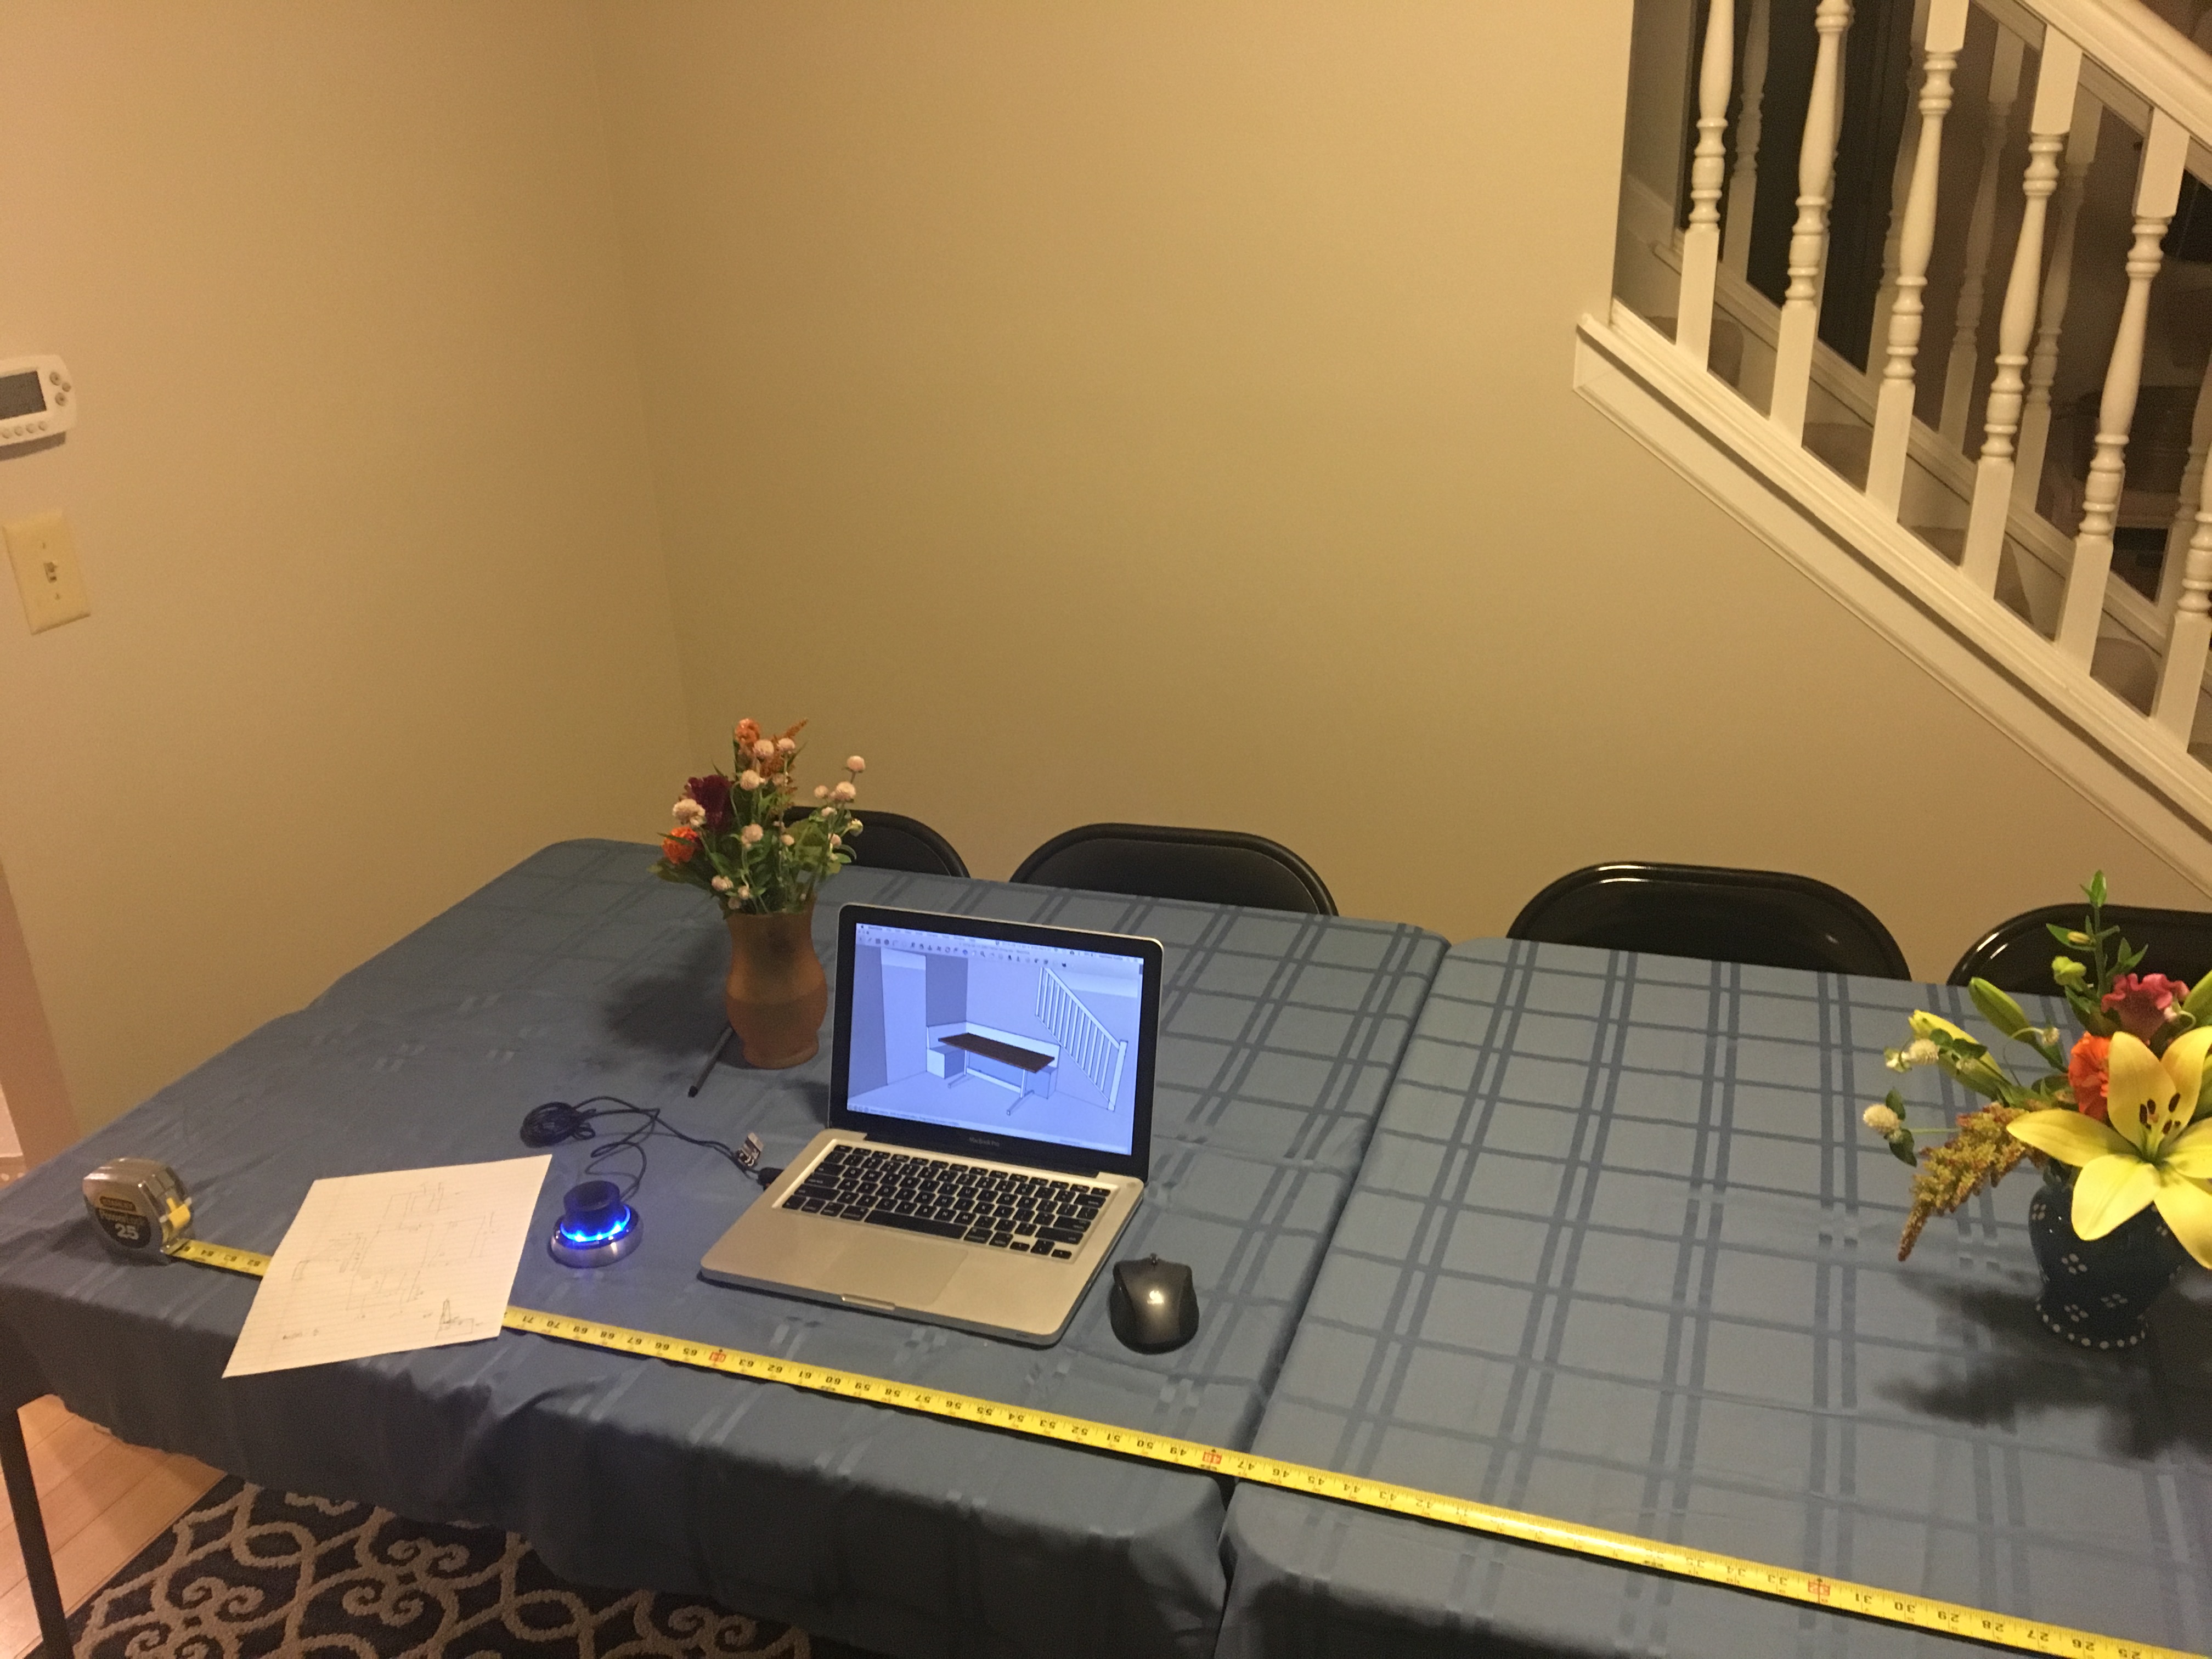
I have built a couple of coffee tables from 2x4's and 4x4's, but this was my first attempt at a "nice" piece of furniture. As usual my design process consisted of looking at photos online, observing tables I came across for a few months, watching some YouTube videos, and then drawing some ideas out in SketchUp.
The table is phase 1, with phase 2 being some built in benches we can add at a later time.
Build
Materials Required
| Material | Quantity | Description |
|---|---|---|
| 1 1/2" Ambrosia Maple | ~7 boards | Purchased at Woodcraft |
| 4x4s | 2x 8' | Legs |
| 1x4s | 2x 6' | Support structure |
| Wipe-On Poly | 1 can | Miniwax Wipe-On Poly |
| Wood Glue | as required | Titebond |
| White Paint | 1 gallon | Valspar Optimus (2-coats) |
| Sandpaper | As required | 70, 120, and 220 grit |
| Pocket hole screws | 12 | For assembling legs |
| Mounting brackets & screws | 10 | mount table to legs |
Tools Used
- Tape measure
- Square
- Bora clamp edge
- Circular saw
- Miter saw
- Biscuit joiner
- Assorted clamps
- Hand plane
- Router
- Random orbit sander
- Saw-horses
- Electric drill
- Pocket hole jig (optional)
- Paint brush
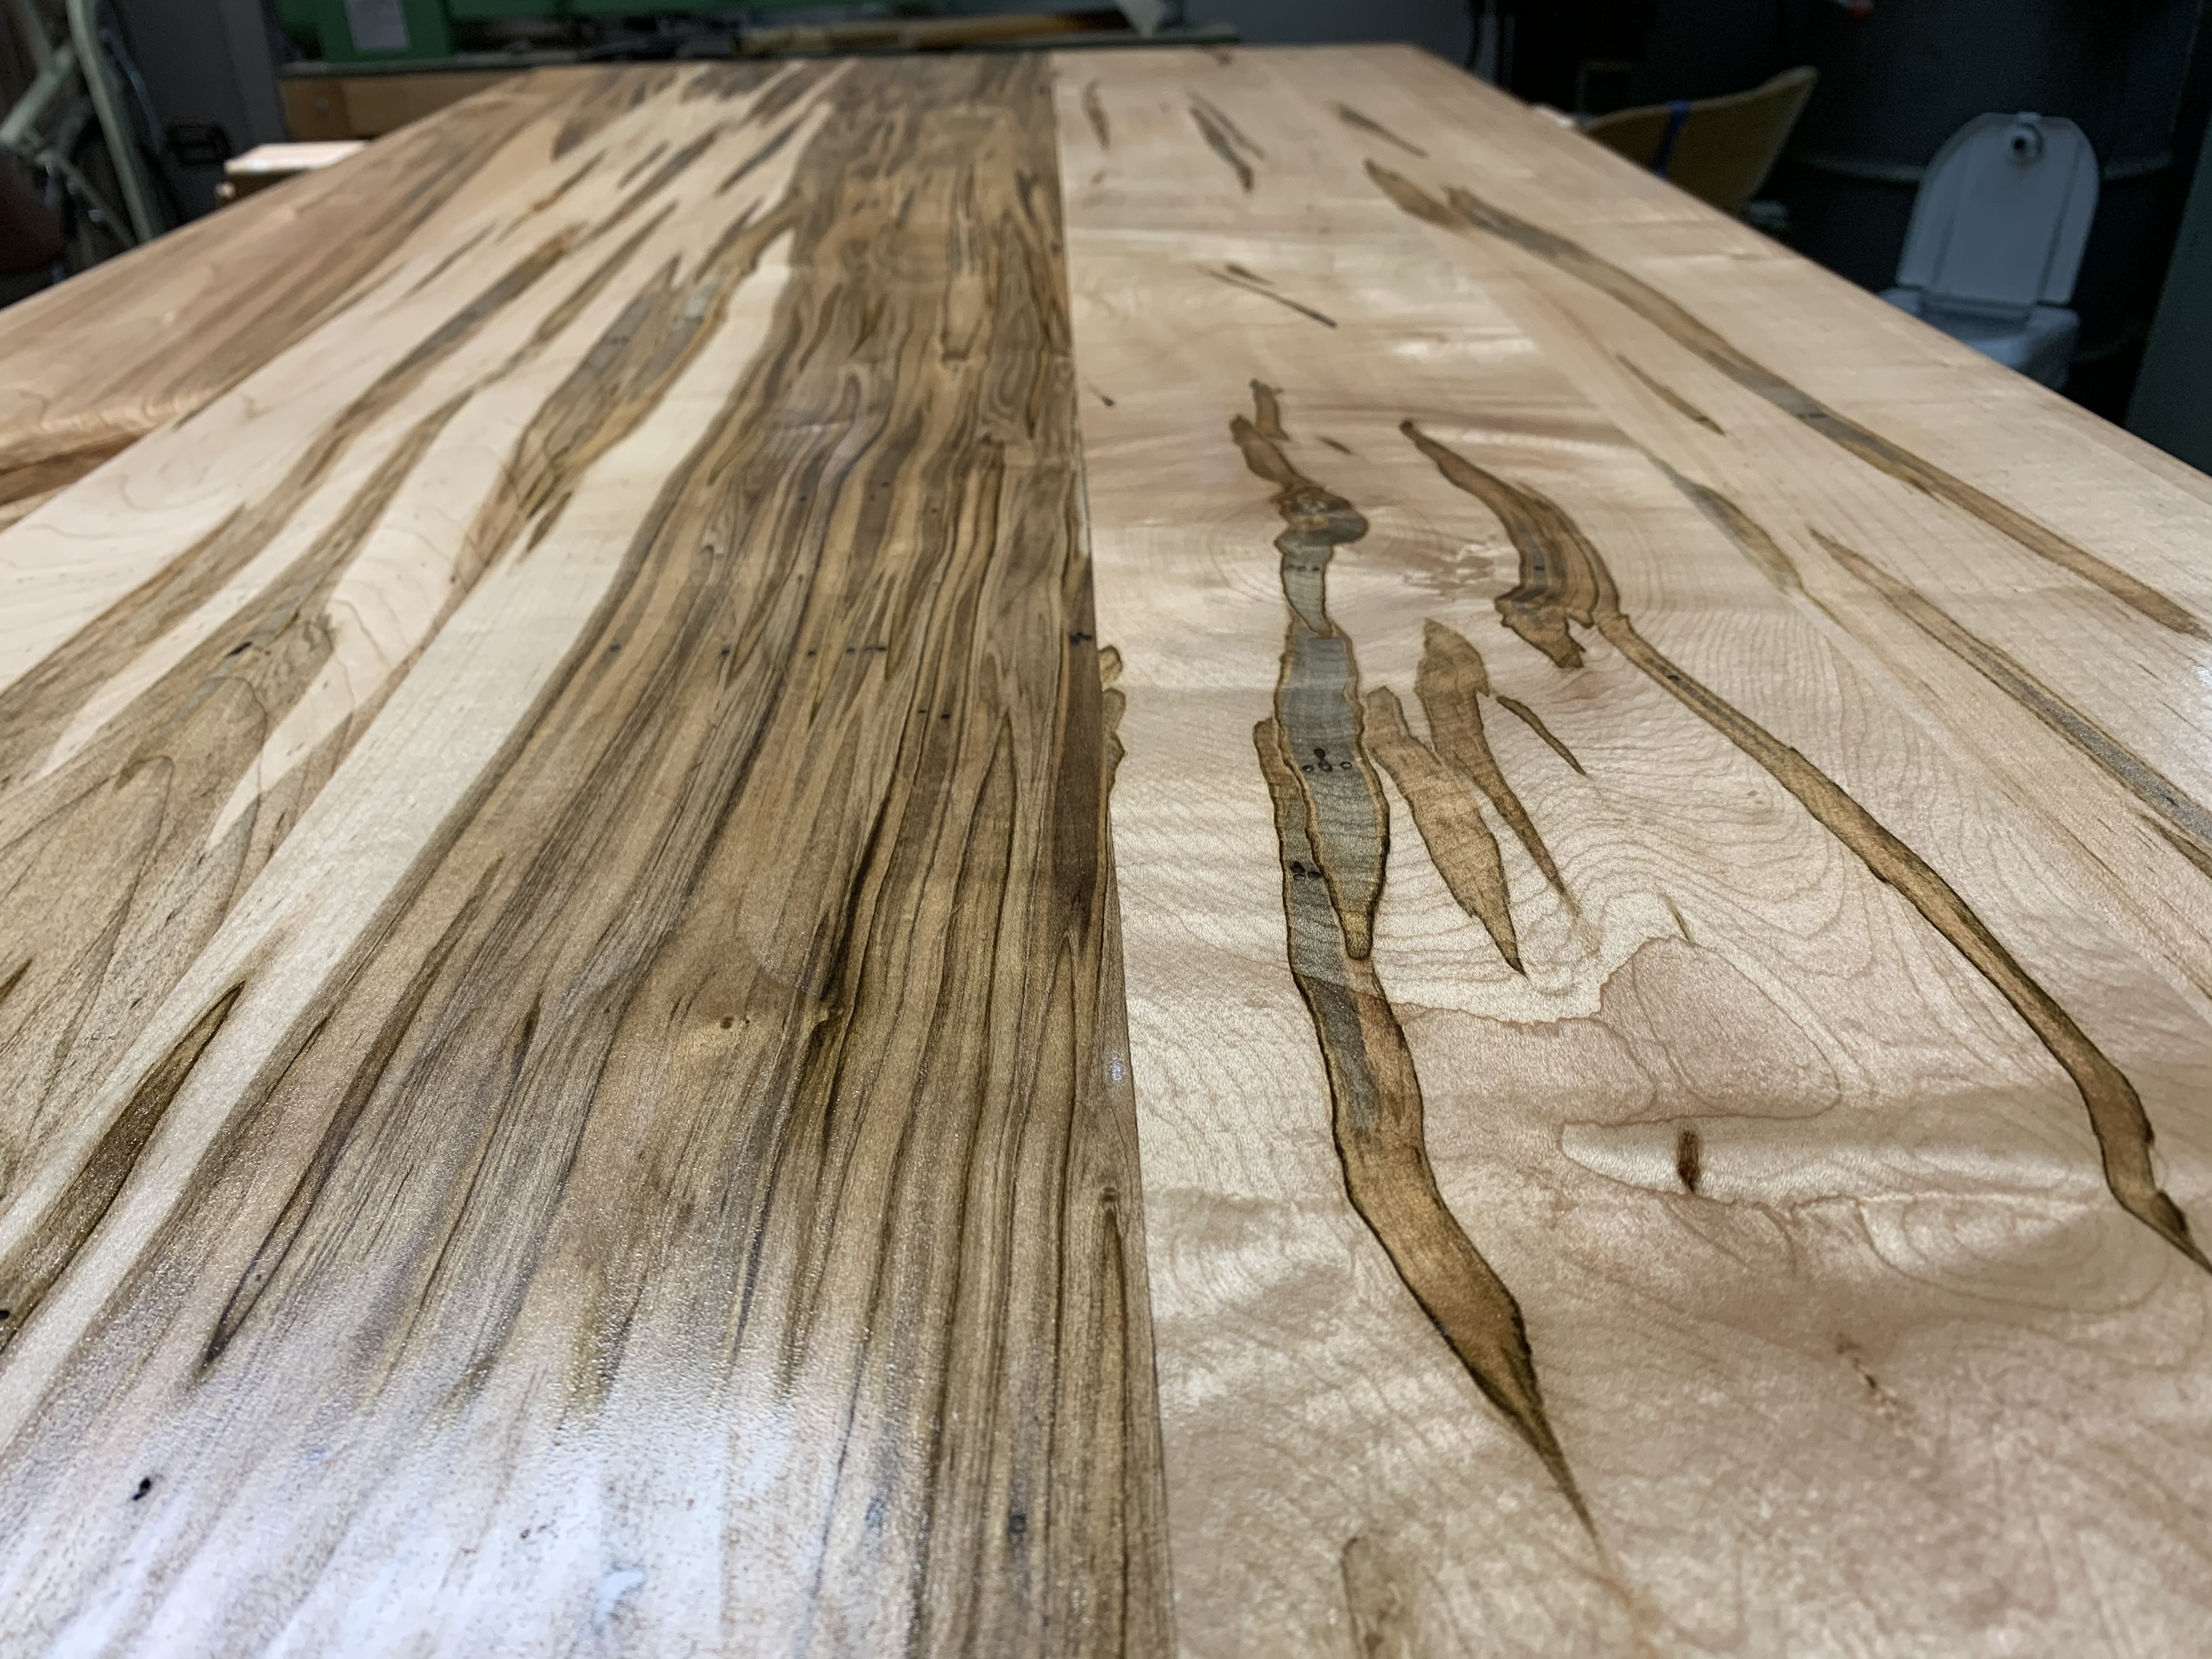
I purchased some ambrosia maple from the local Woodcraft store. This wood was on the cheaper end of what was available, and I really liked the grain pattern. Since I don't have a jointer or planer, I was glad to hear that they could plane the boards to the same thickness (about 1 1/2") and joint one edge.

The table finished length is 6'6" so I first cut the boards down to about 6'9", leaving a couple of inches to trim off after gluing them together.
Next I squared up the unfinished edge of each board. Ideally I would have done this on the table saw, but I lacked a suitable table saw and helper and was concerned I would leave unnecessary gouges. I opted to use my circular saw with a Bora clamp after carefully measuring with a combination square to ensure a parallel edge. The result was less than perfect due to my cheap circular saw, but I compensated for any out-of-square edges by cutting on opposite faces to cancel any error.

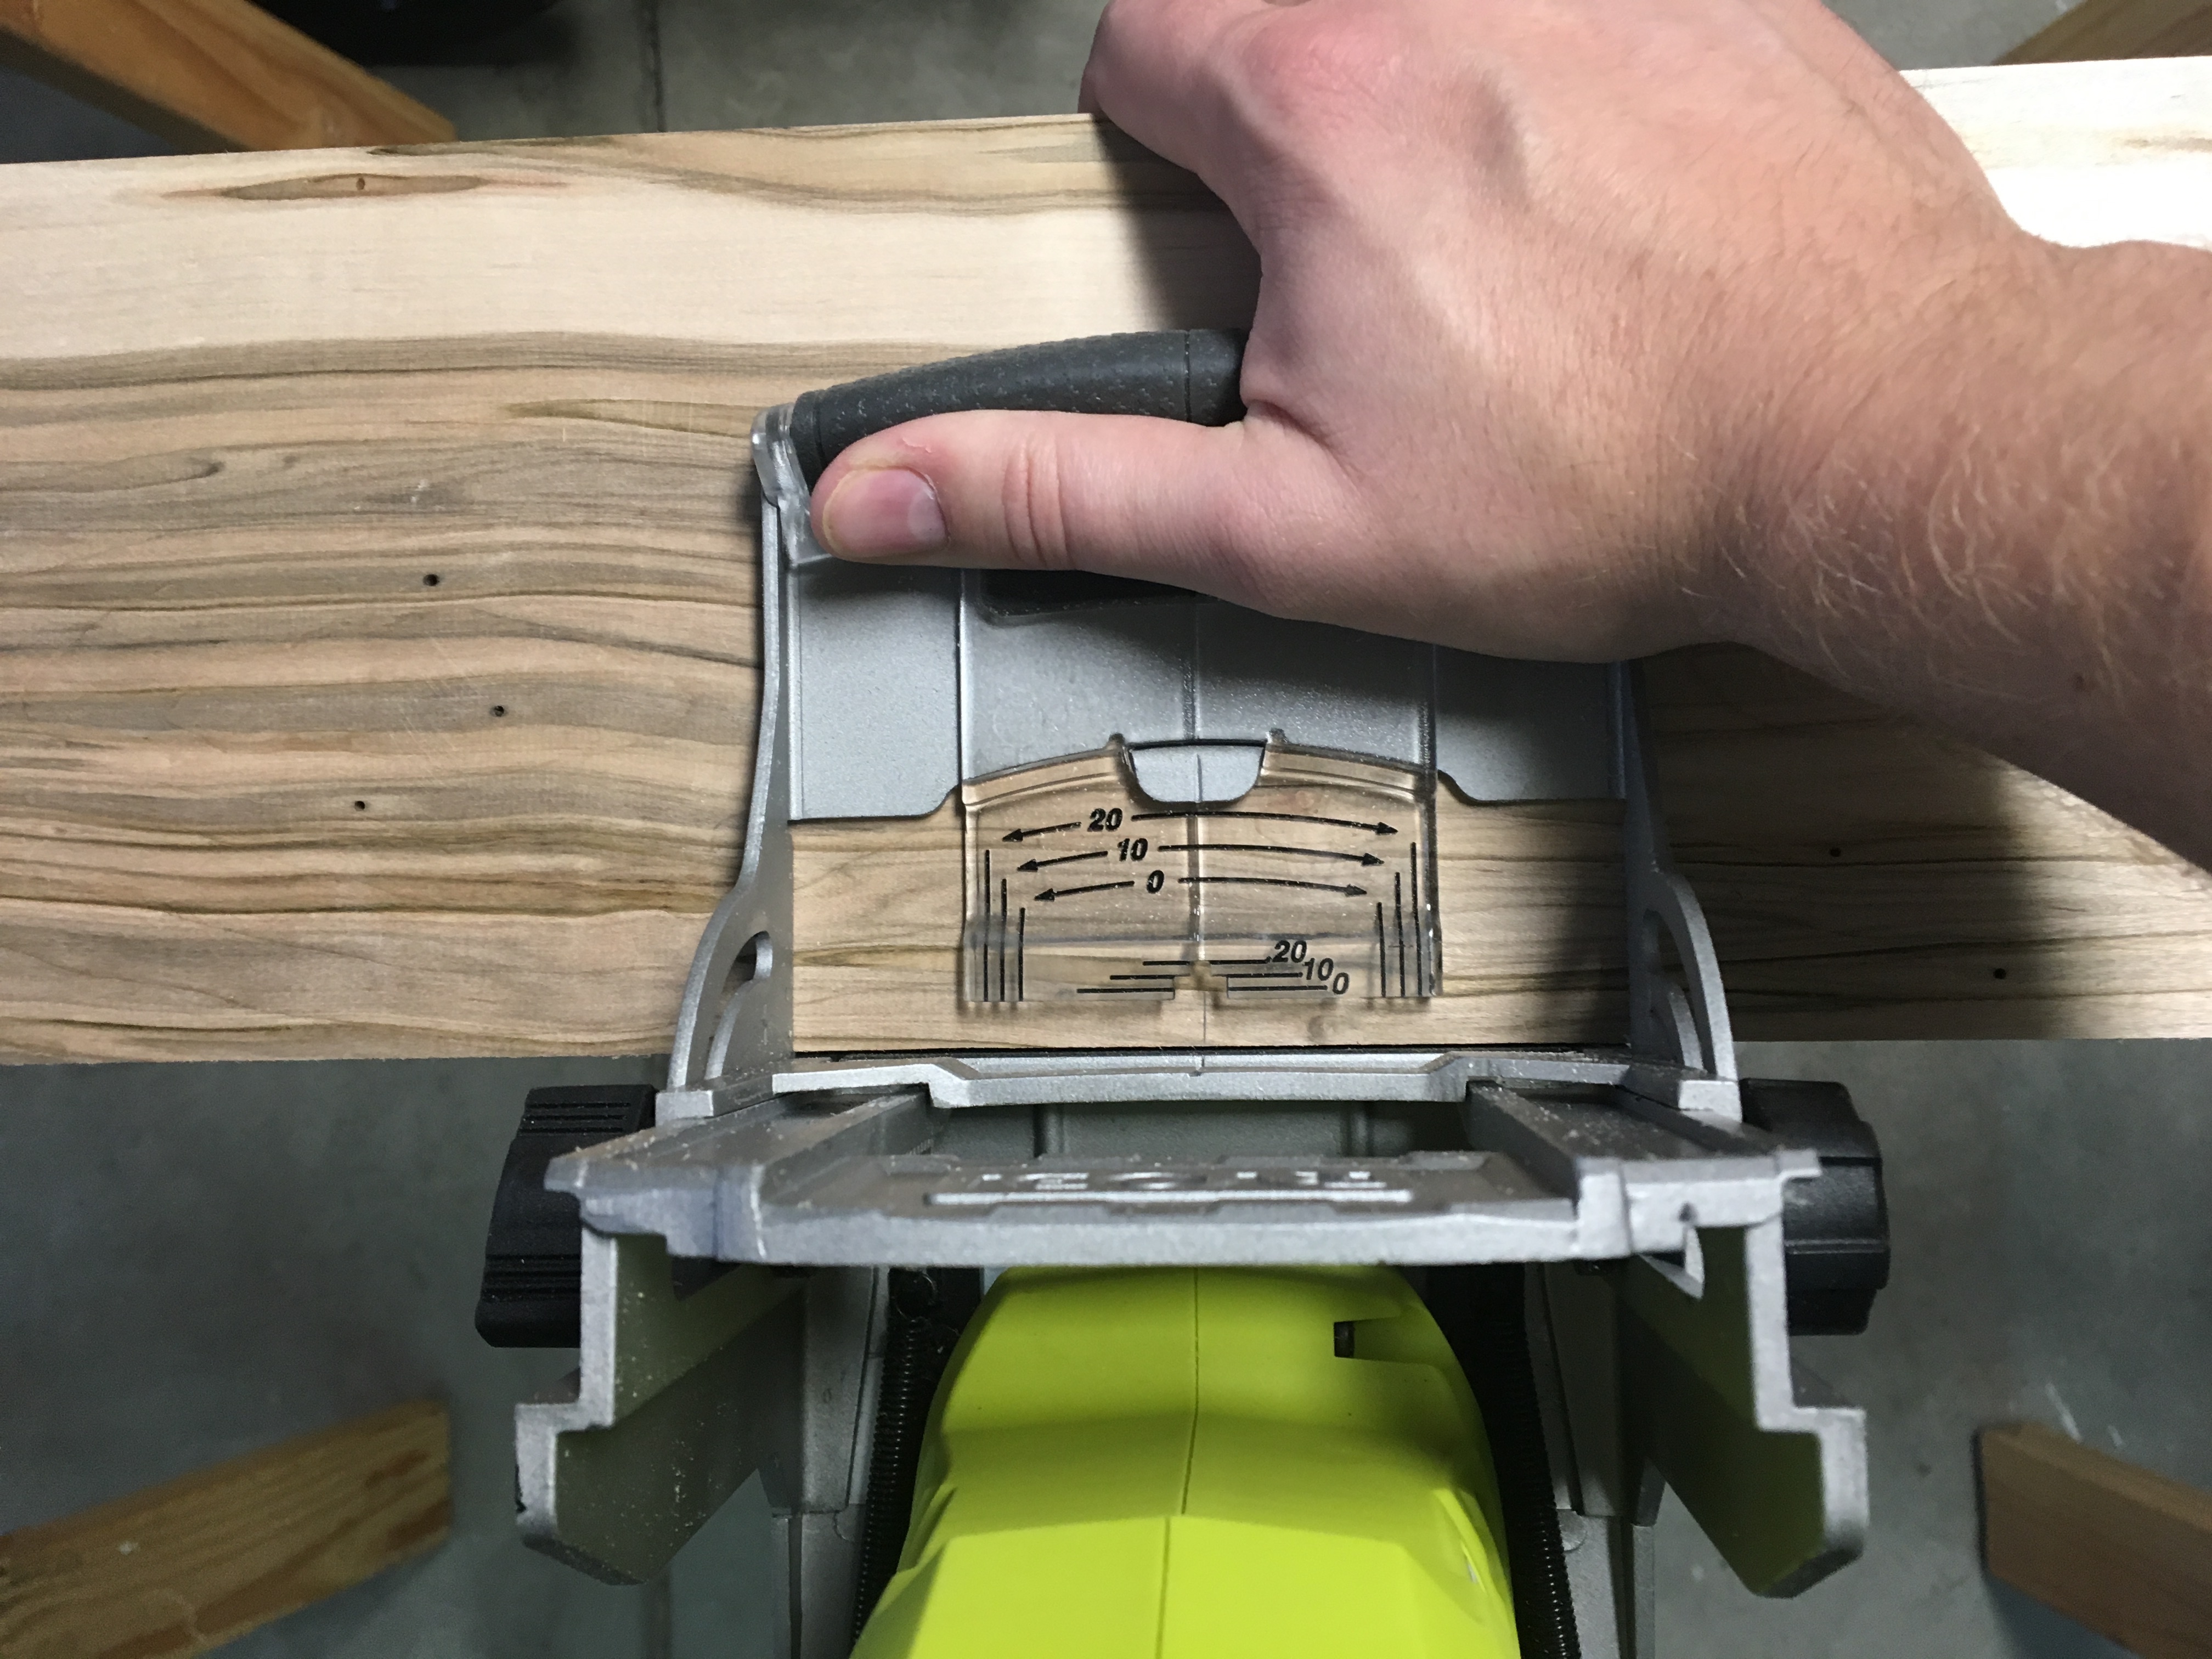
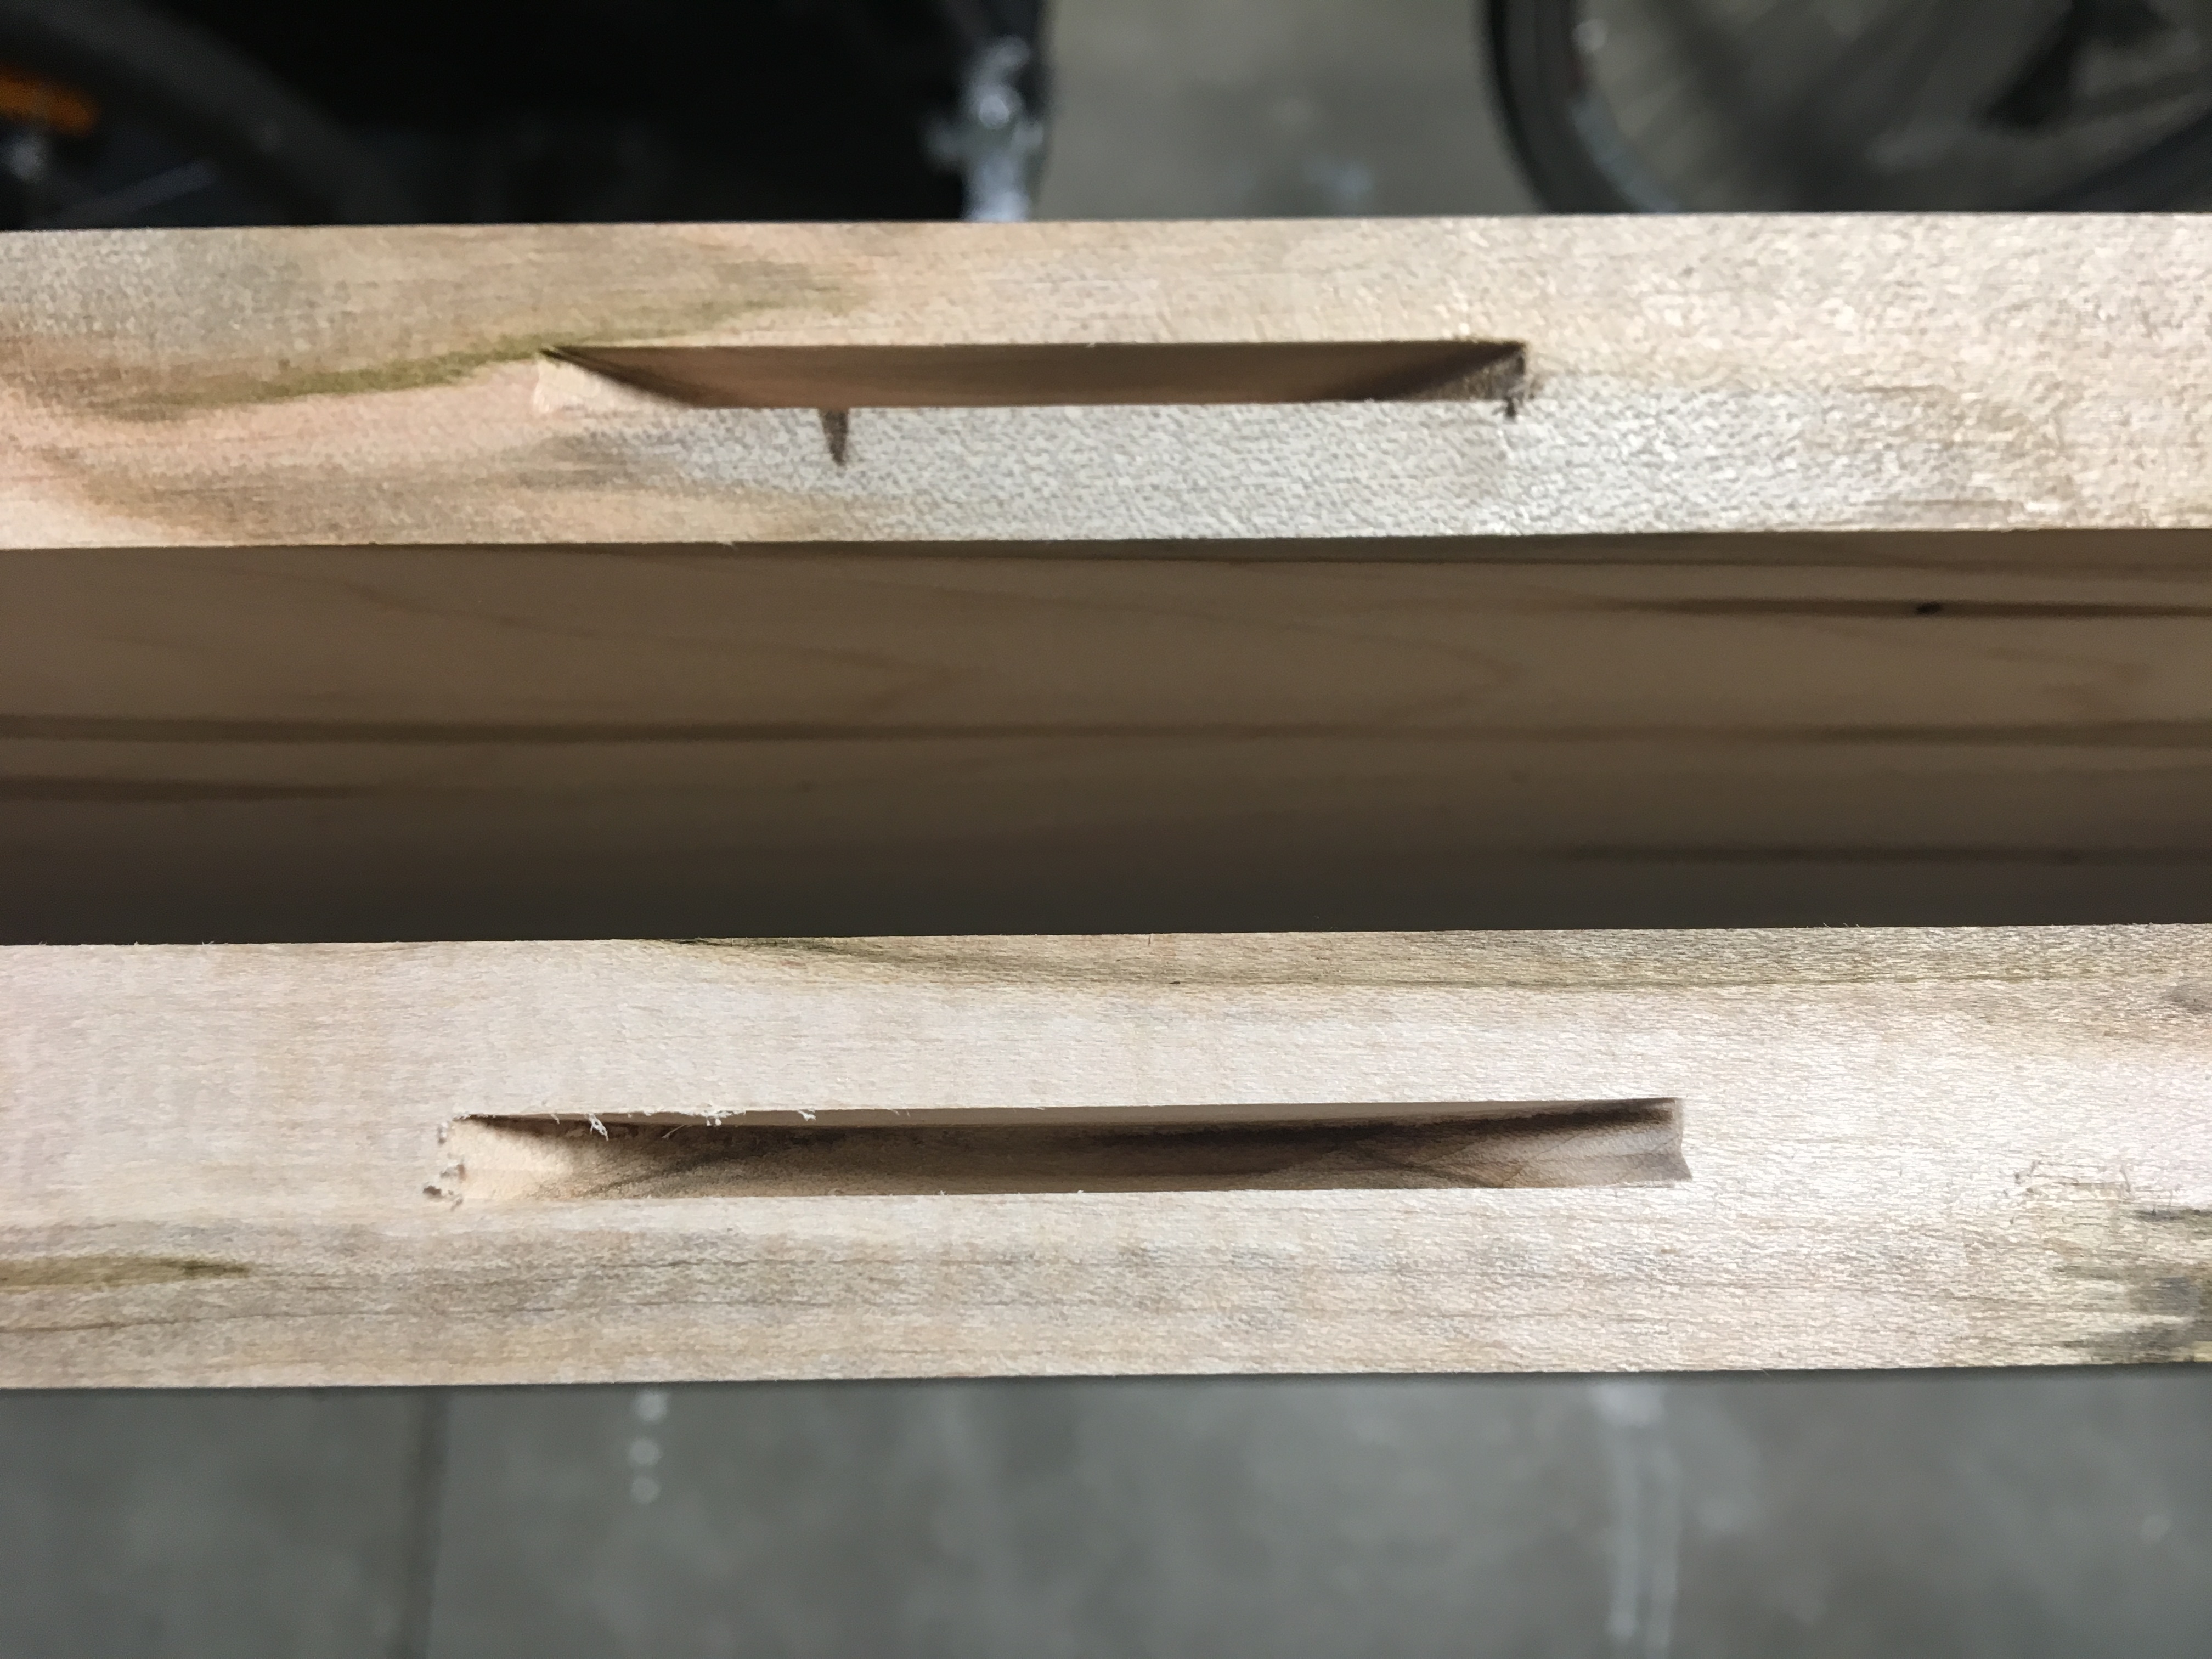
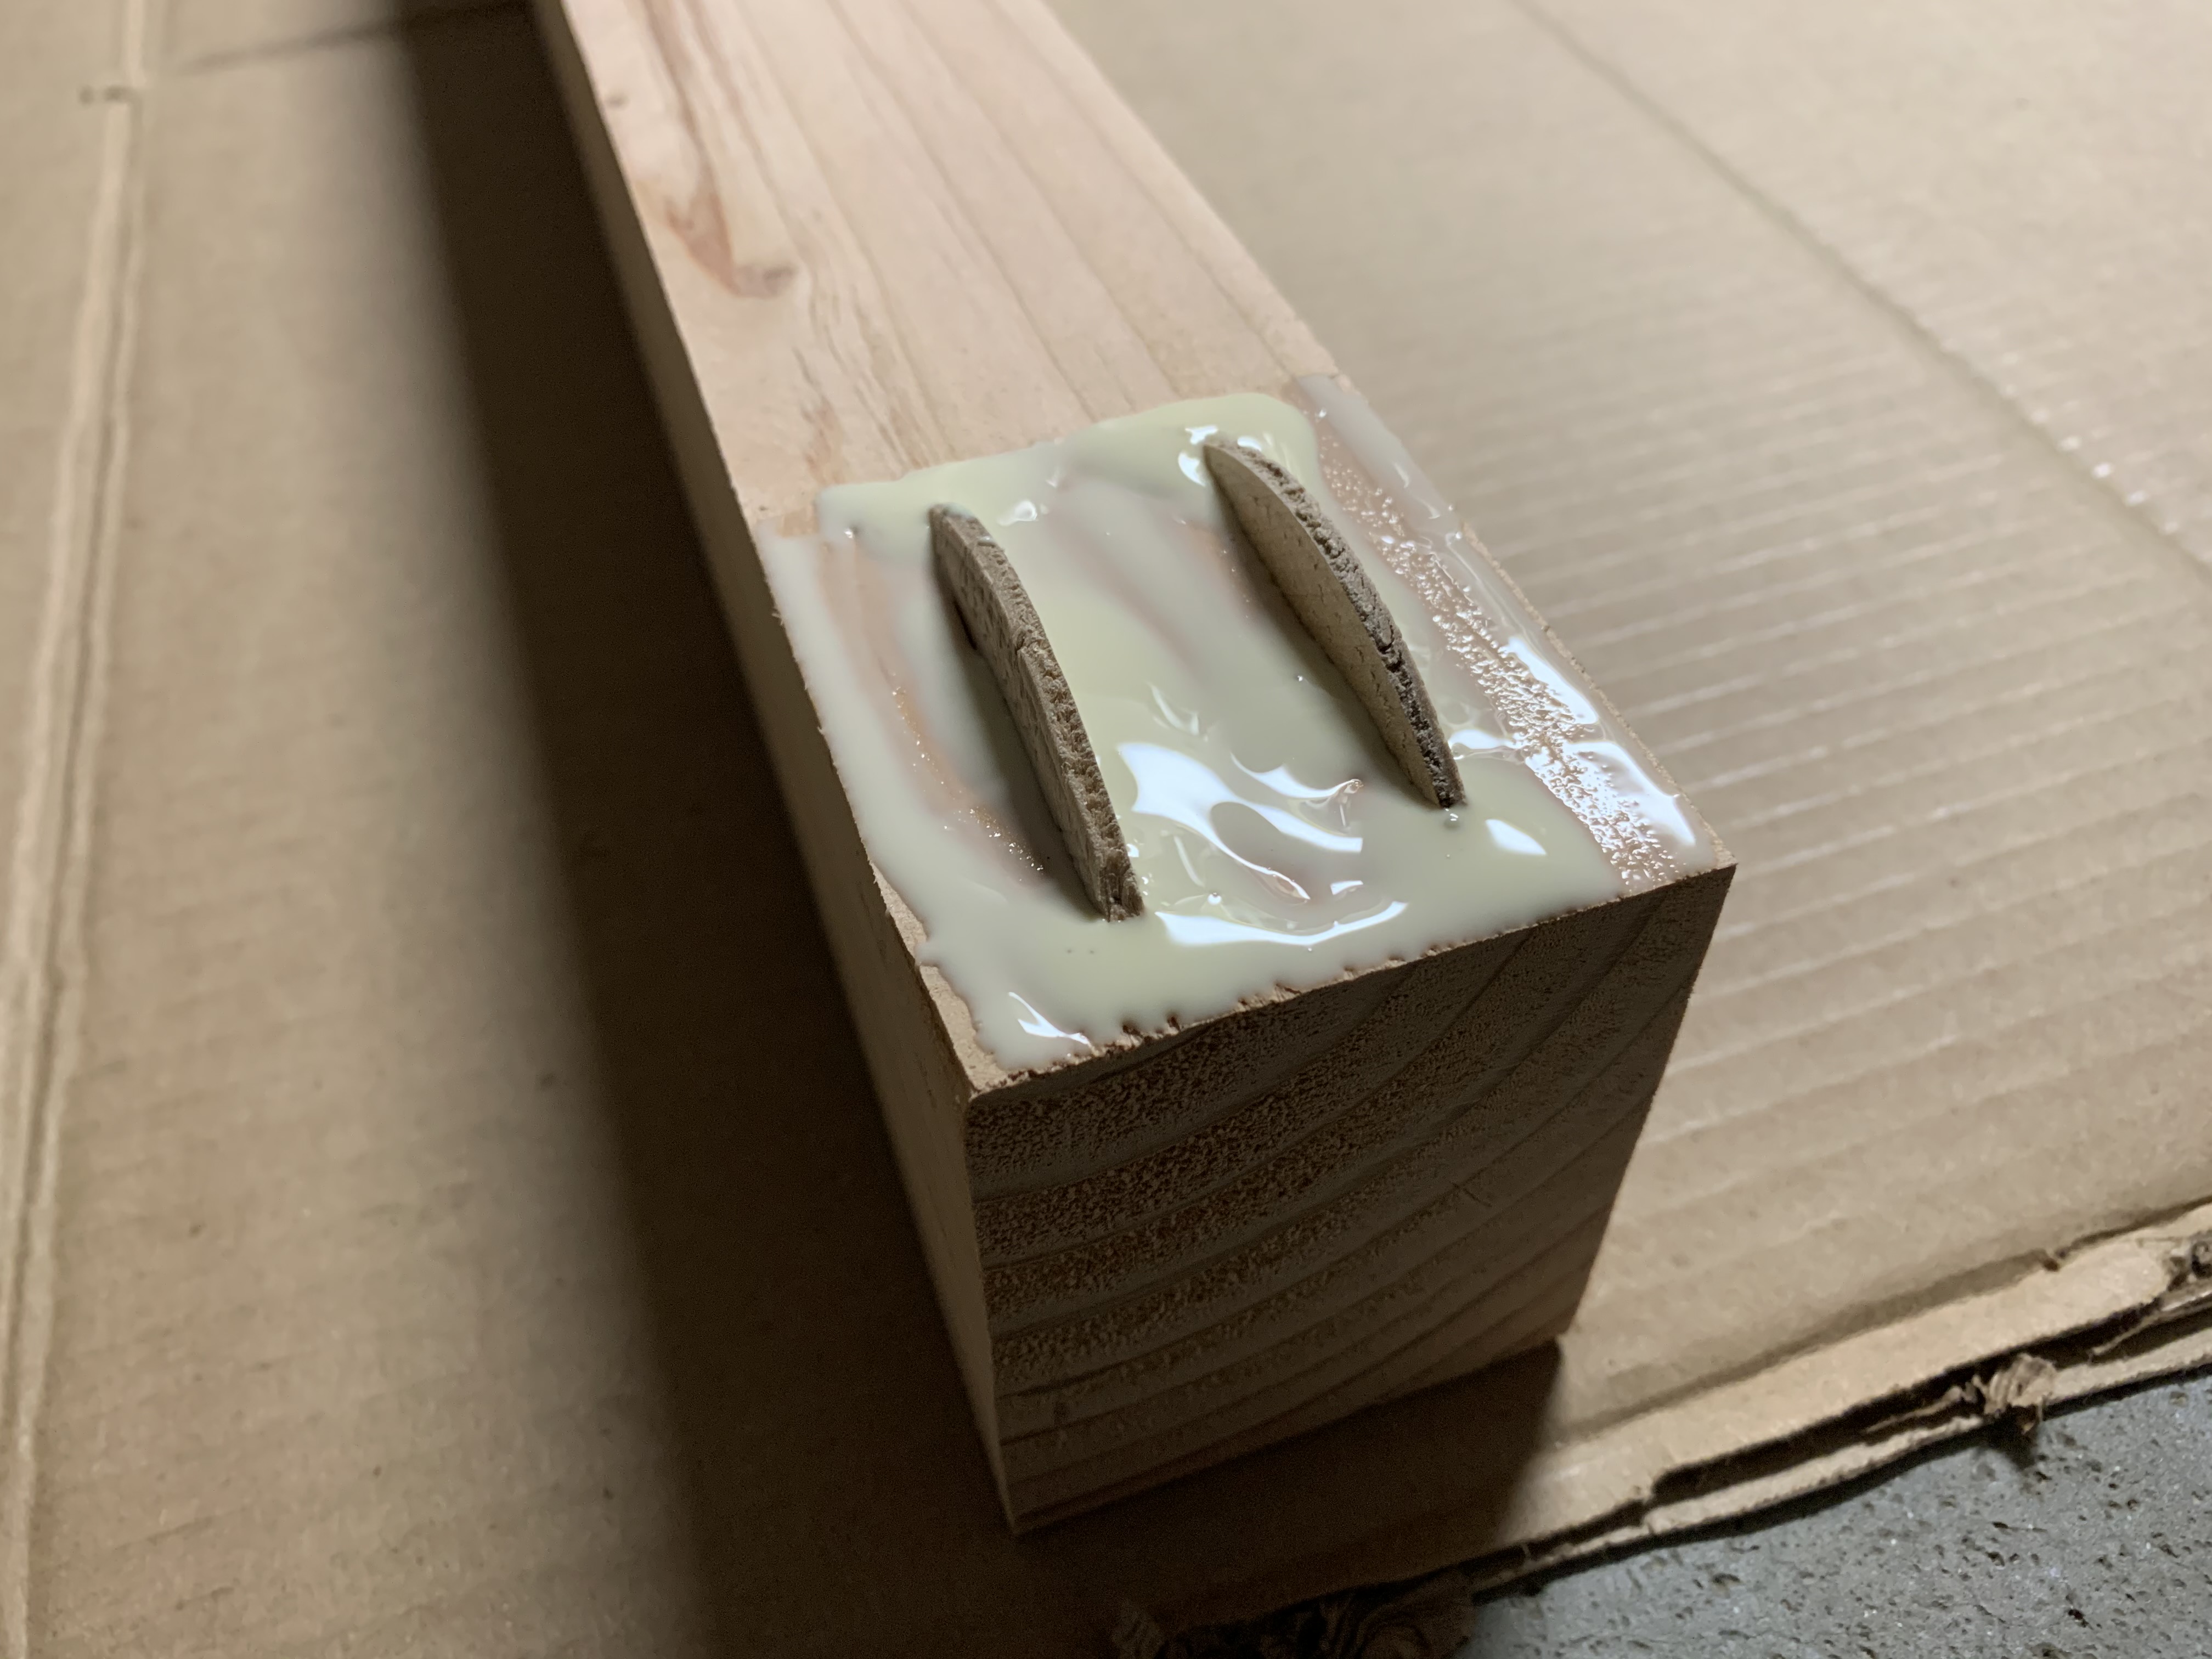
Next it was time to cut 5 biscuit slots per joint on all the boards and glue them up one at a time. Biscuit joinery is clean, straightforward, and strong, and I am glad I invested in a biscuit joiner earlier this year.
I glued up one joint at a time over the course of a few days. It is important to have enough large clamps for this type of project, and I bought a few more on Craigslist.
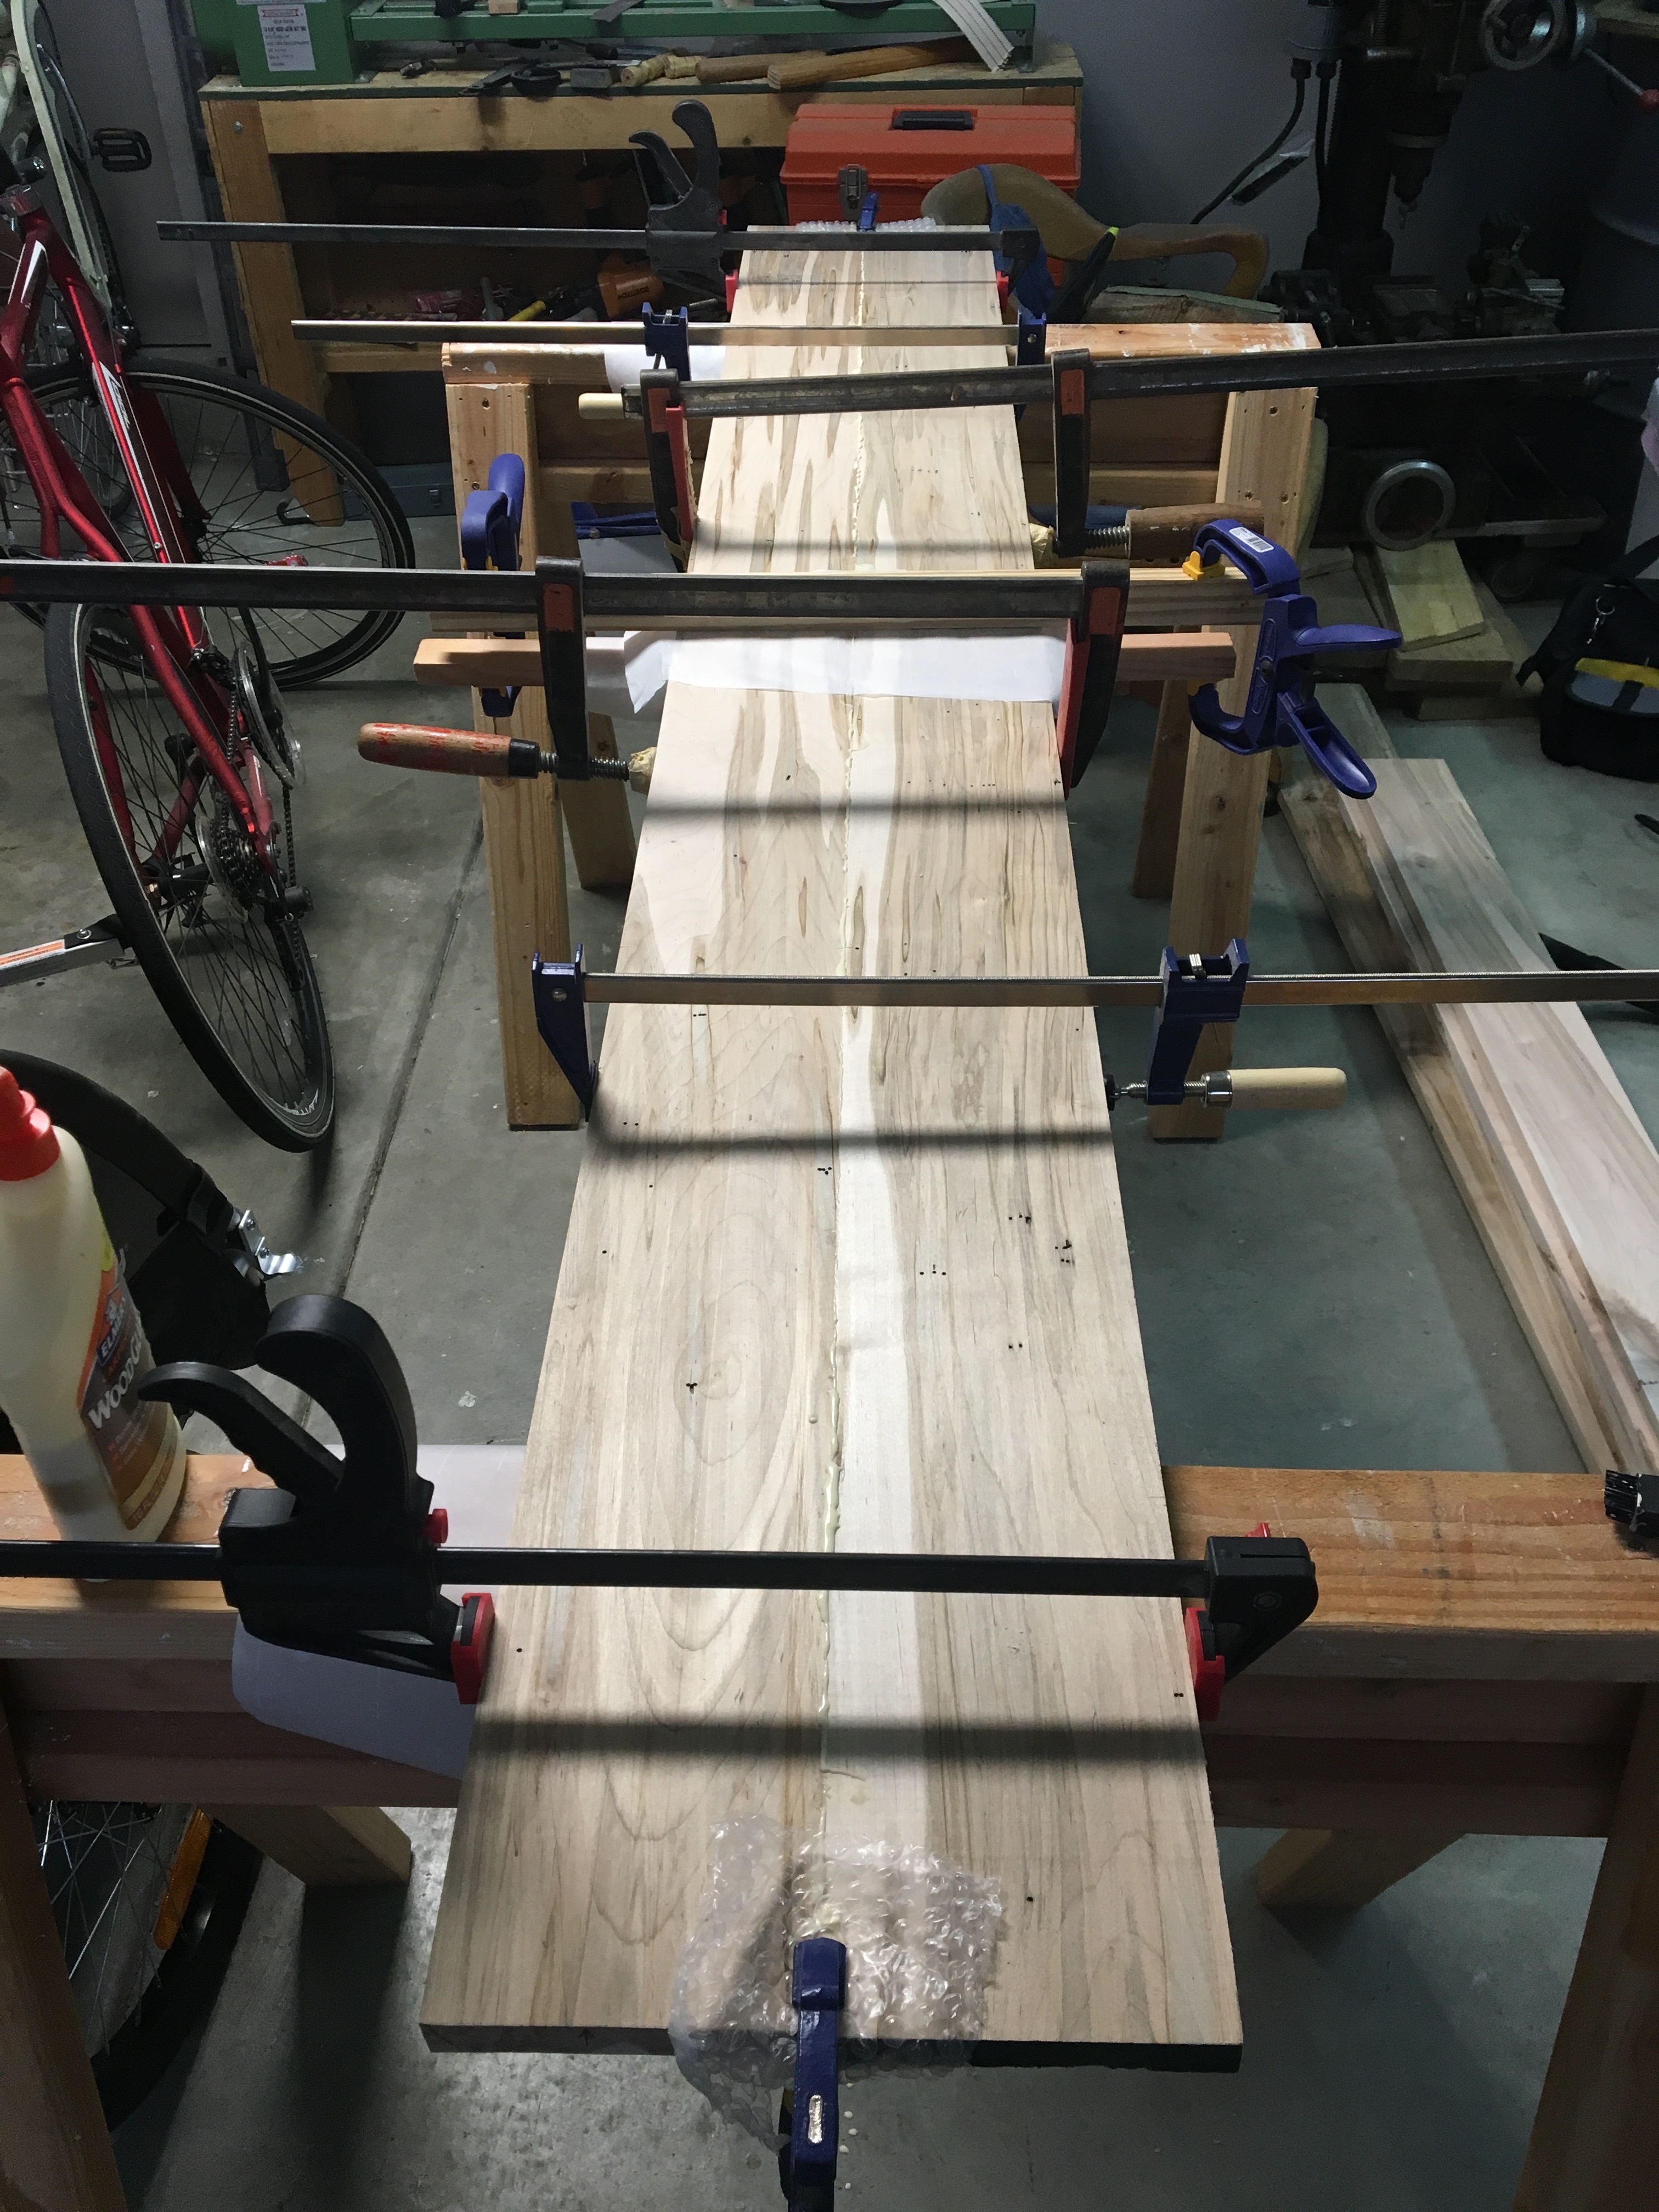
Using biscuit joints and clamped calls I was able get the boards aligned pretty well, but there were some areas of misalignment of about 1/16". I cleaned these up with the hand plane and then got to work sanding. I got a 5" random orbit sander for this project and it is a very helpful and necessary tool for producing a nice finish. I started with 60 grid sandpaper to get a smooth finish and then followed that with 120 and 220.
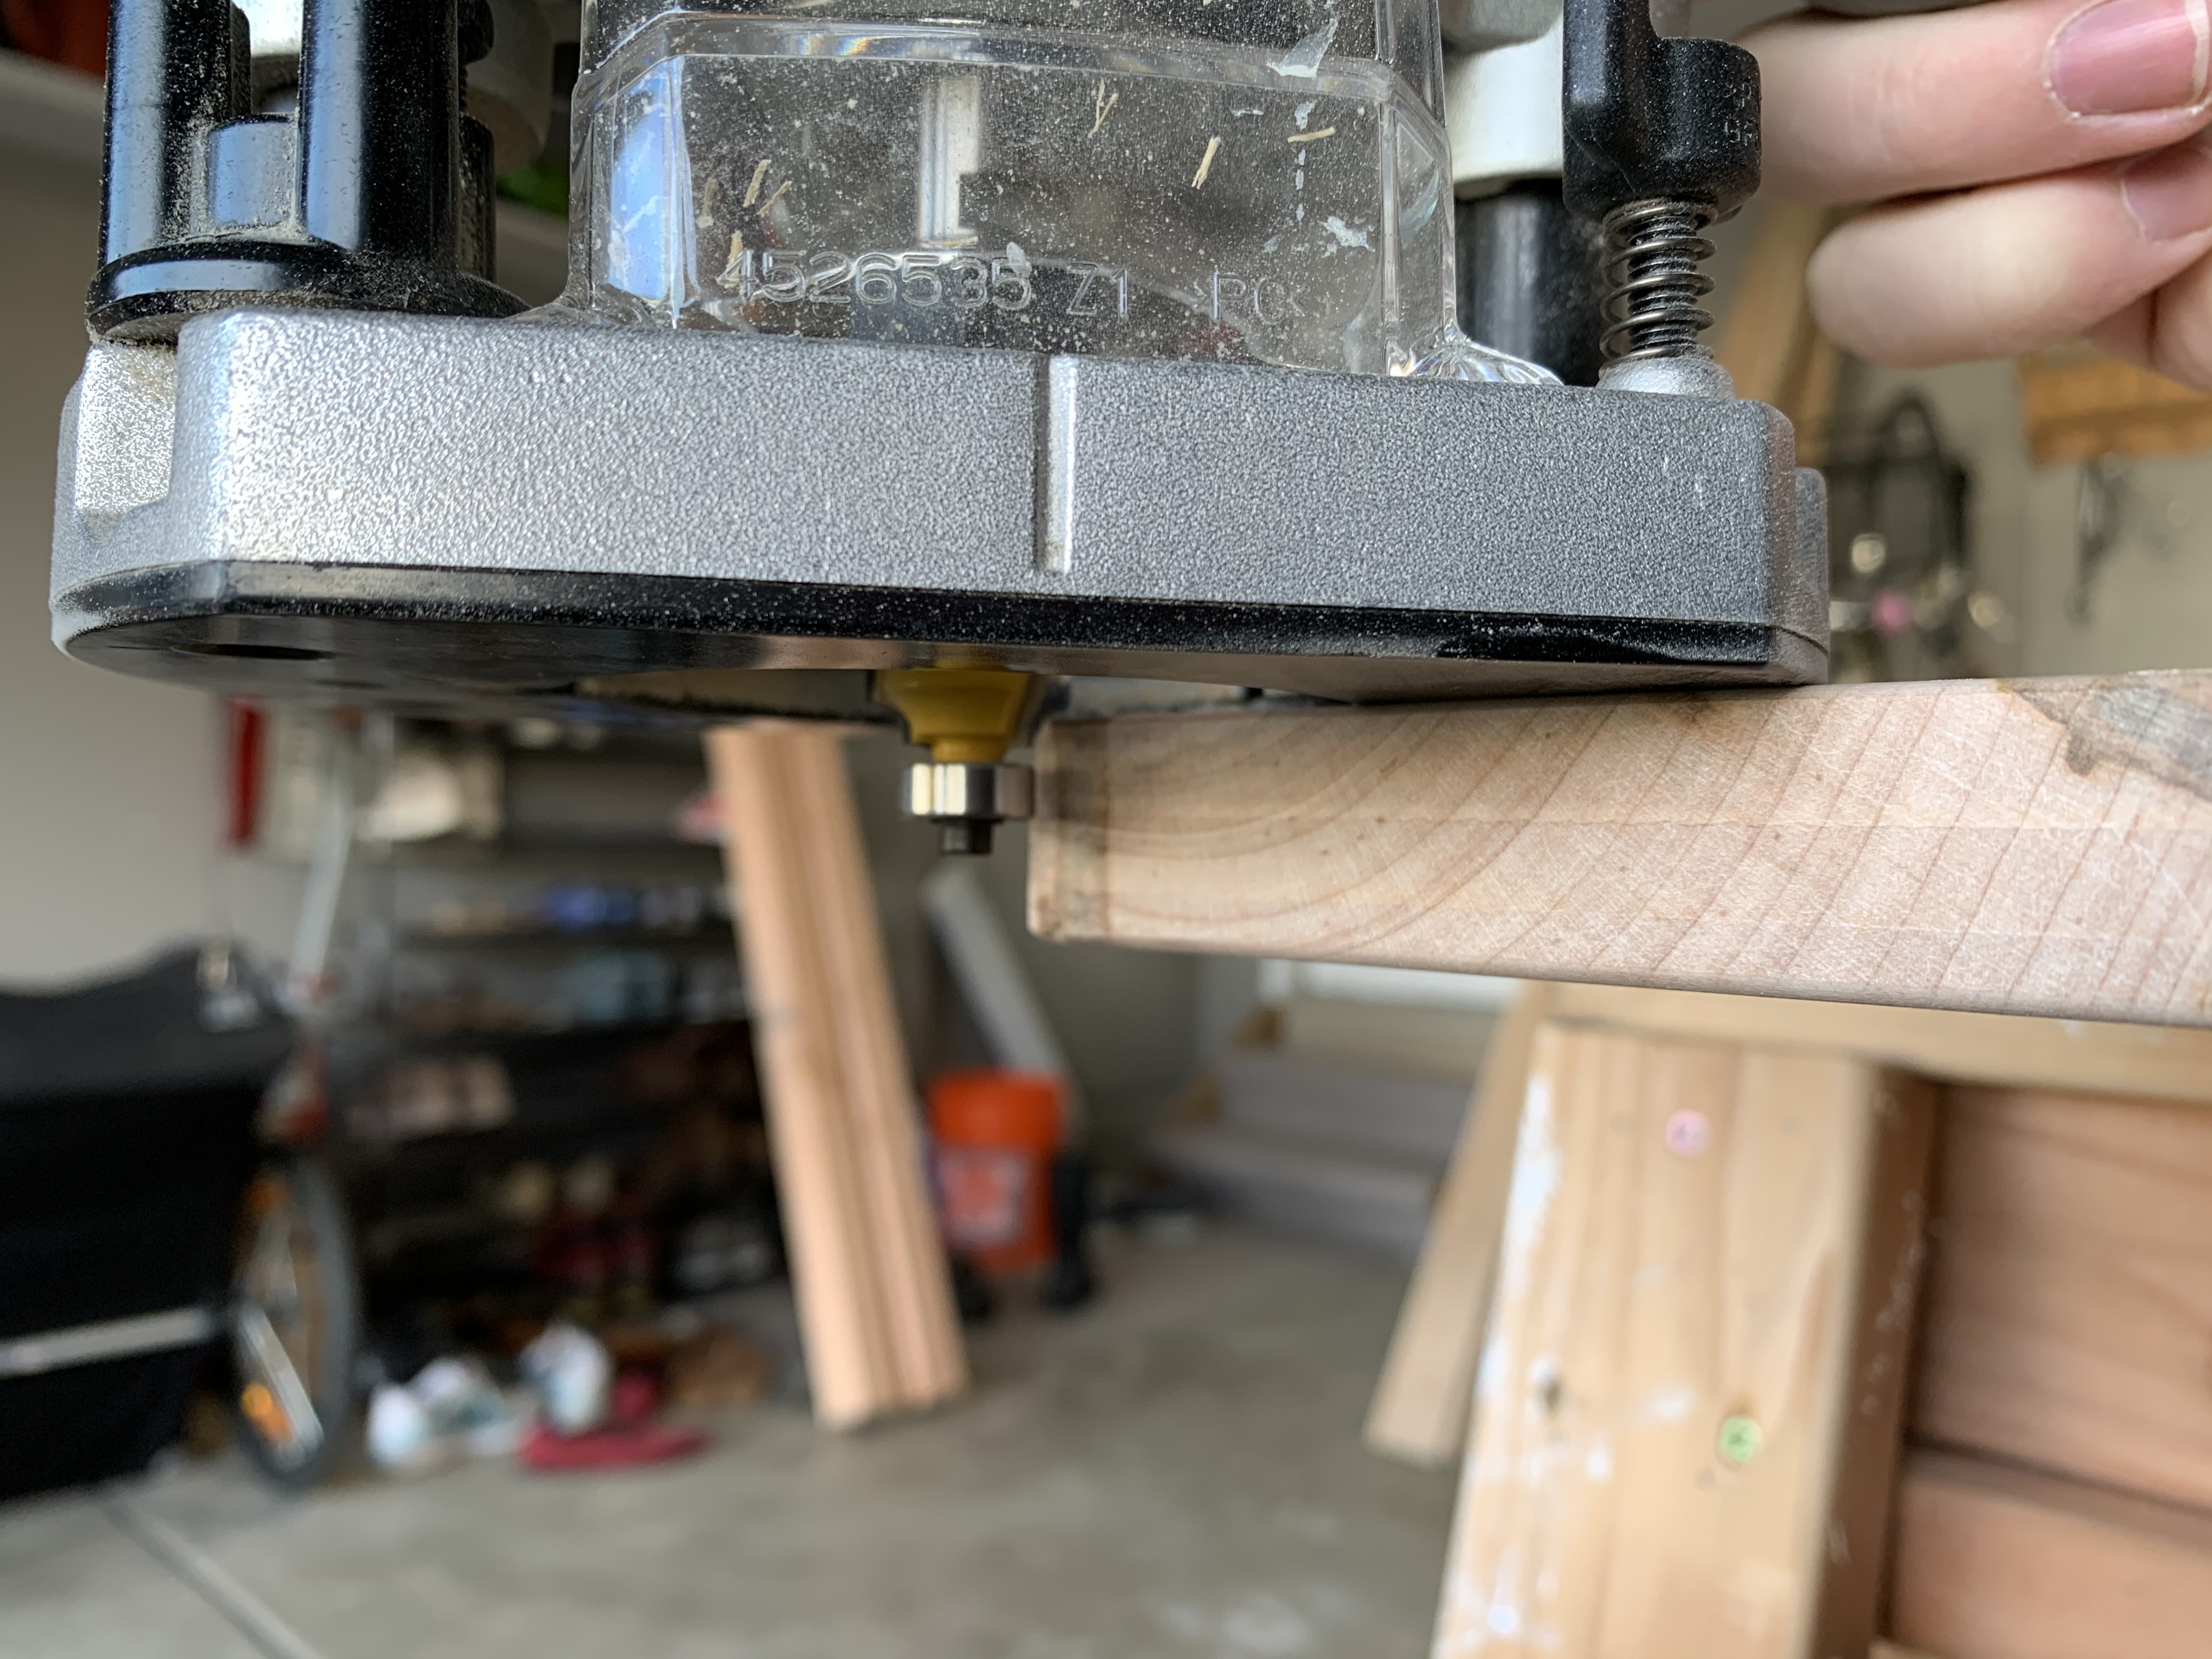
I wanted nice round edges so I used a router with a round-over bit on all edges, top and bottom. This is something I might not do again since it is easy enough to round over when sanding for a small radius.
The ambrosia maple has lots of small beetle holes throughout. I filled these with epoxy and then sanded them down.
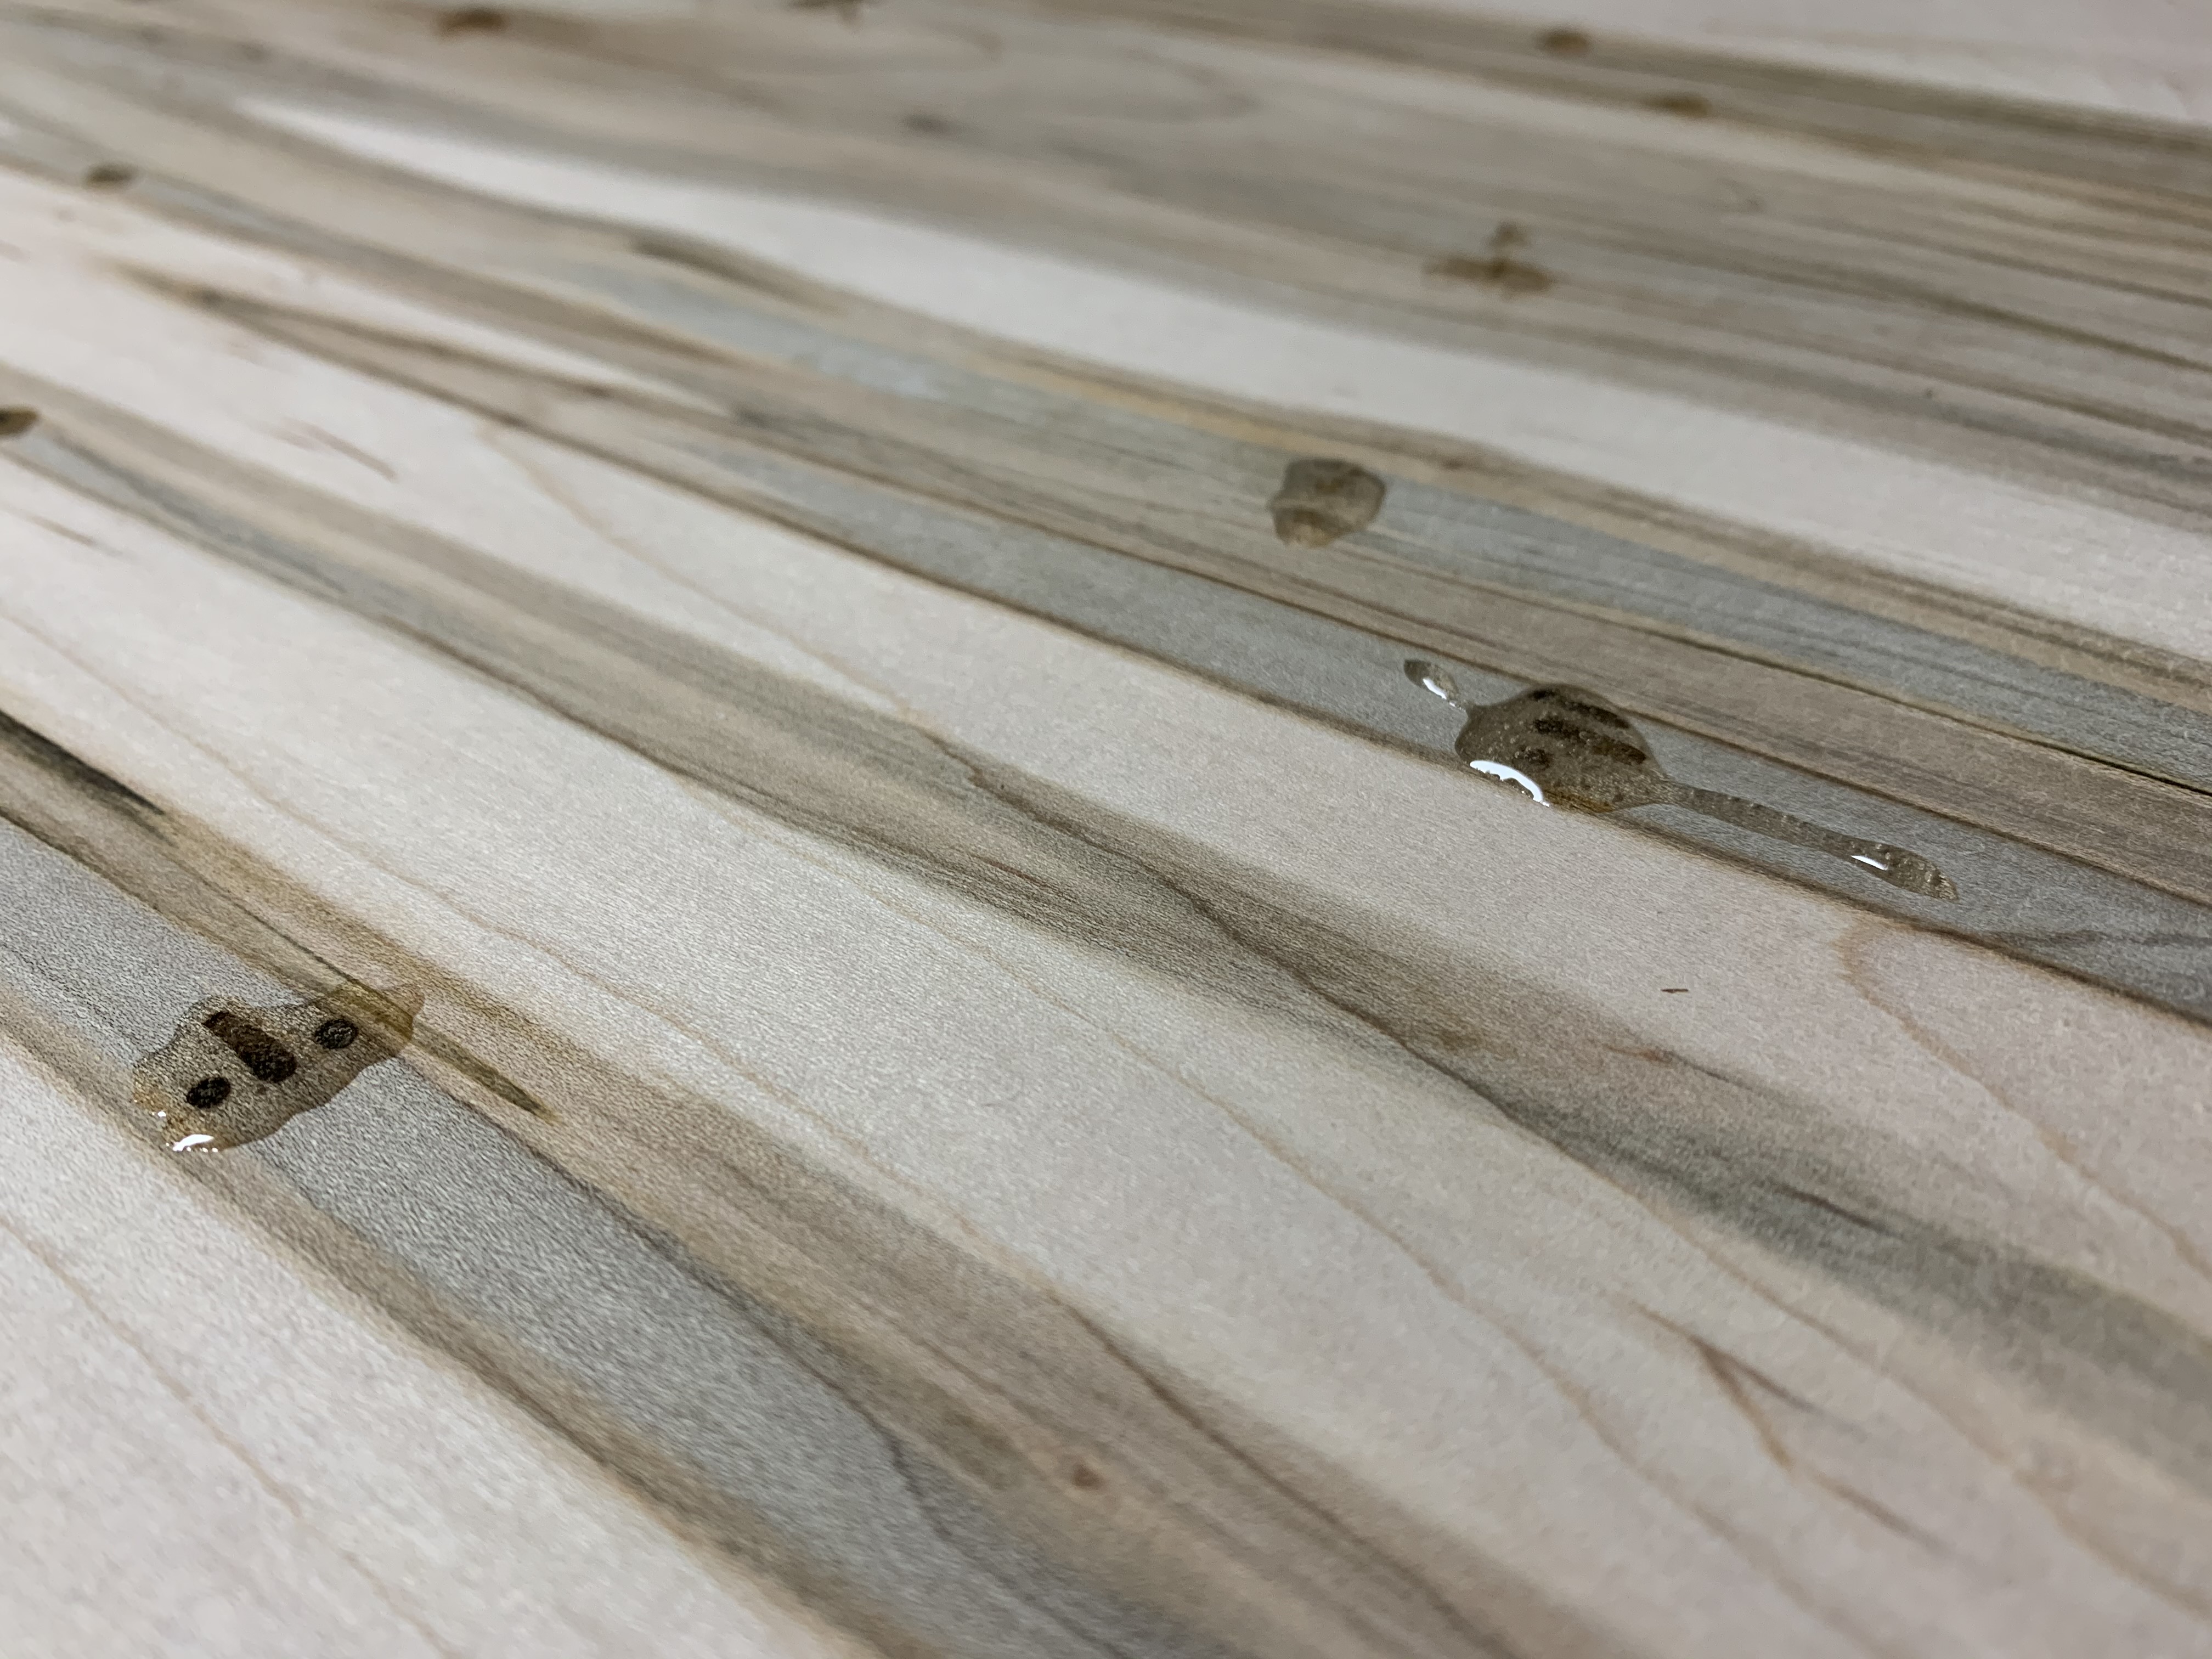
After reading about a number of options, I chose do finish the table with wipe-on poly for its ease and protection. I did a total of about 5 coats over several days, and smoothed out any roughness with clean cardboard between coats. The finish really brings out the beauty of the wood!
I wanted simple legs and decided on two rectangles made from 4x4's after a few design iterations.
I cut the pieces to rough length and then trimmed them down from 3.5" x 3.5" to 2.5" x 3" on the table saw. This cleaned up the rough edges and gave a sharp looking set of legs. I joined these with biscuits as well, and painted white.
A simple 1x4 joins the legs together and provides some additional rigidity for the table. I cut slots in the 1x4s and legs for brackets to mount the tabletop, and drilled pocket hole screws in the 1x4s. I wanted to use screws for the final assembly so the table can be disassembled if ever needed.
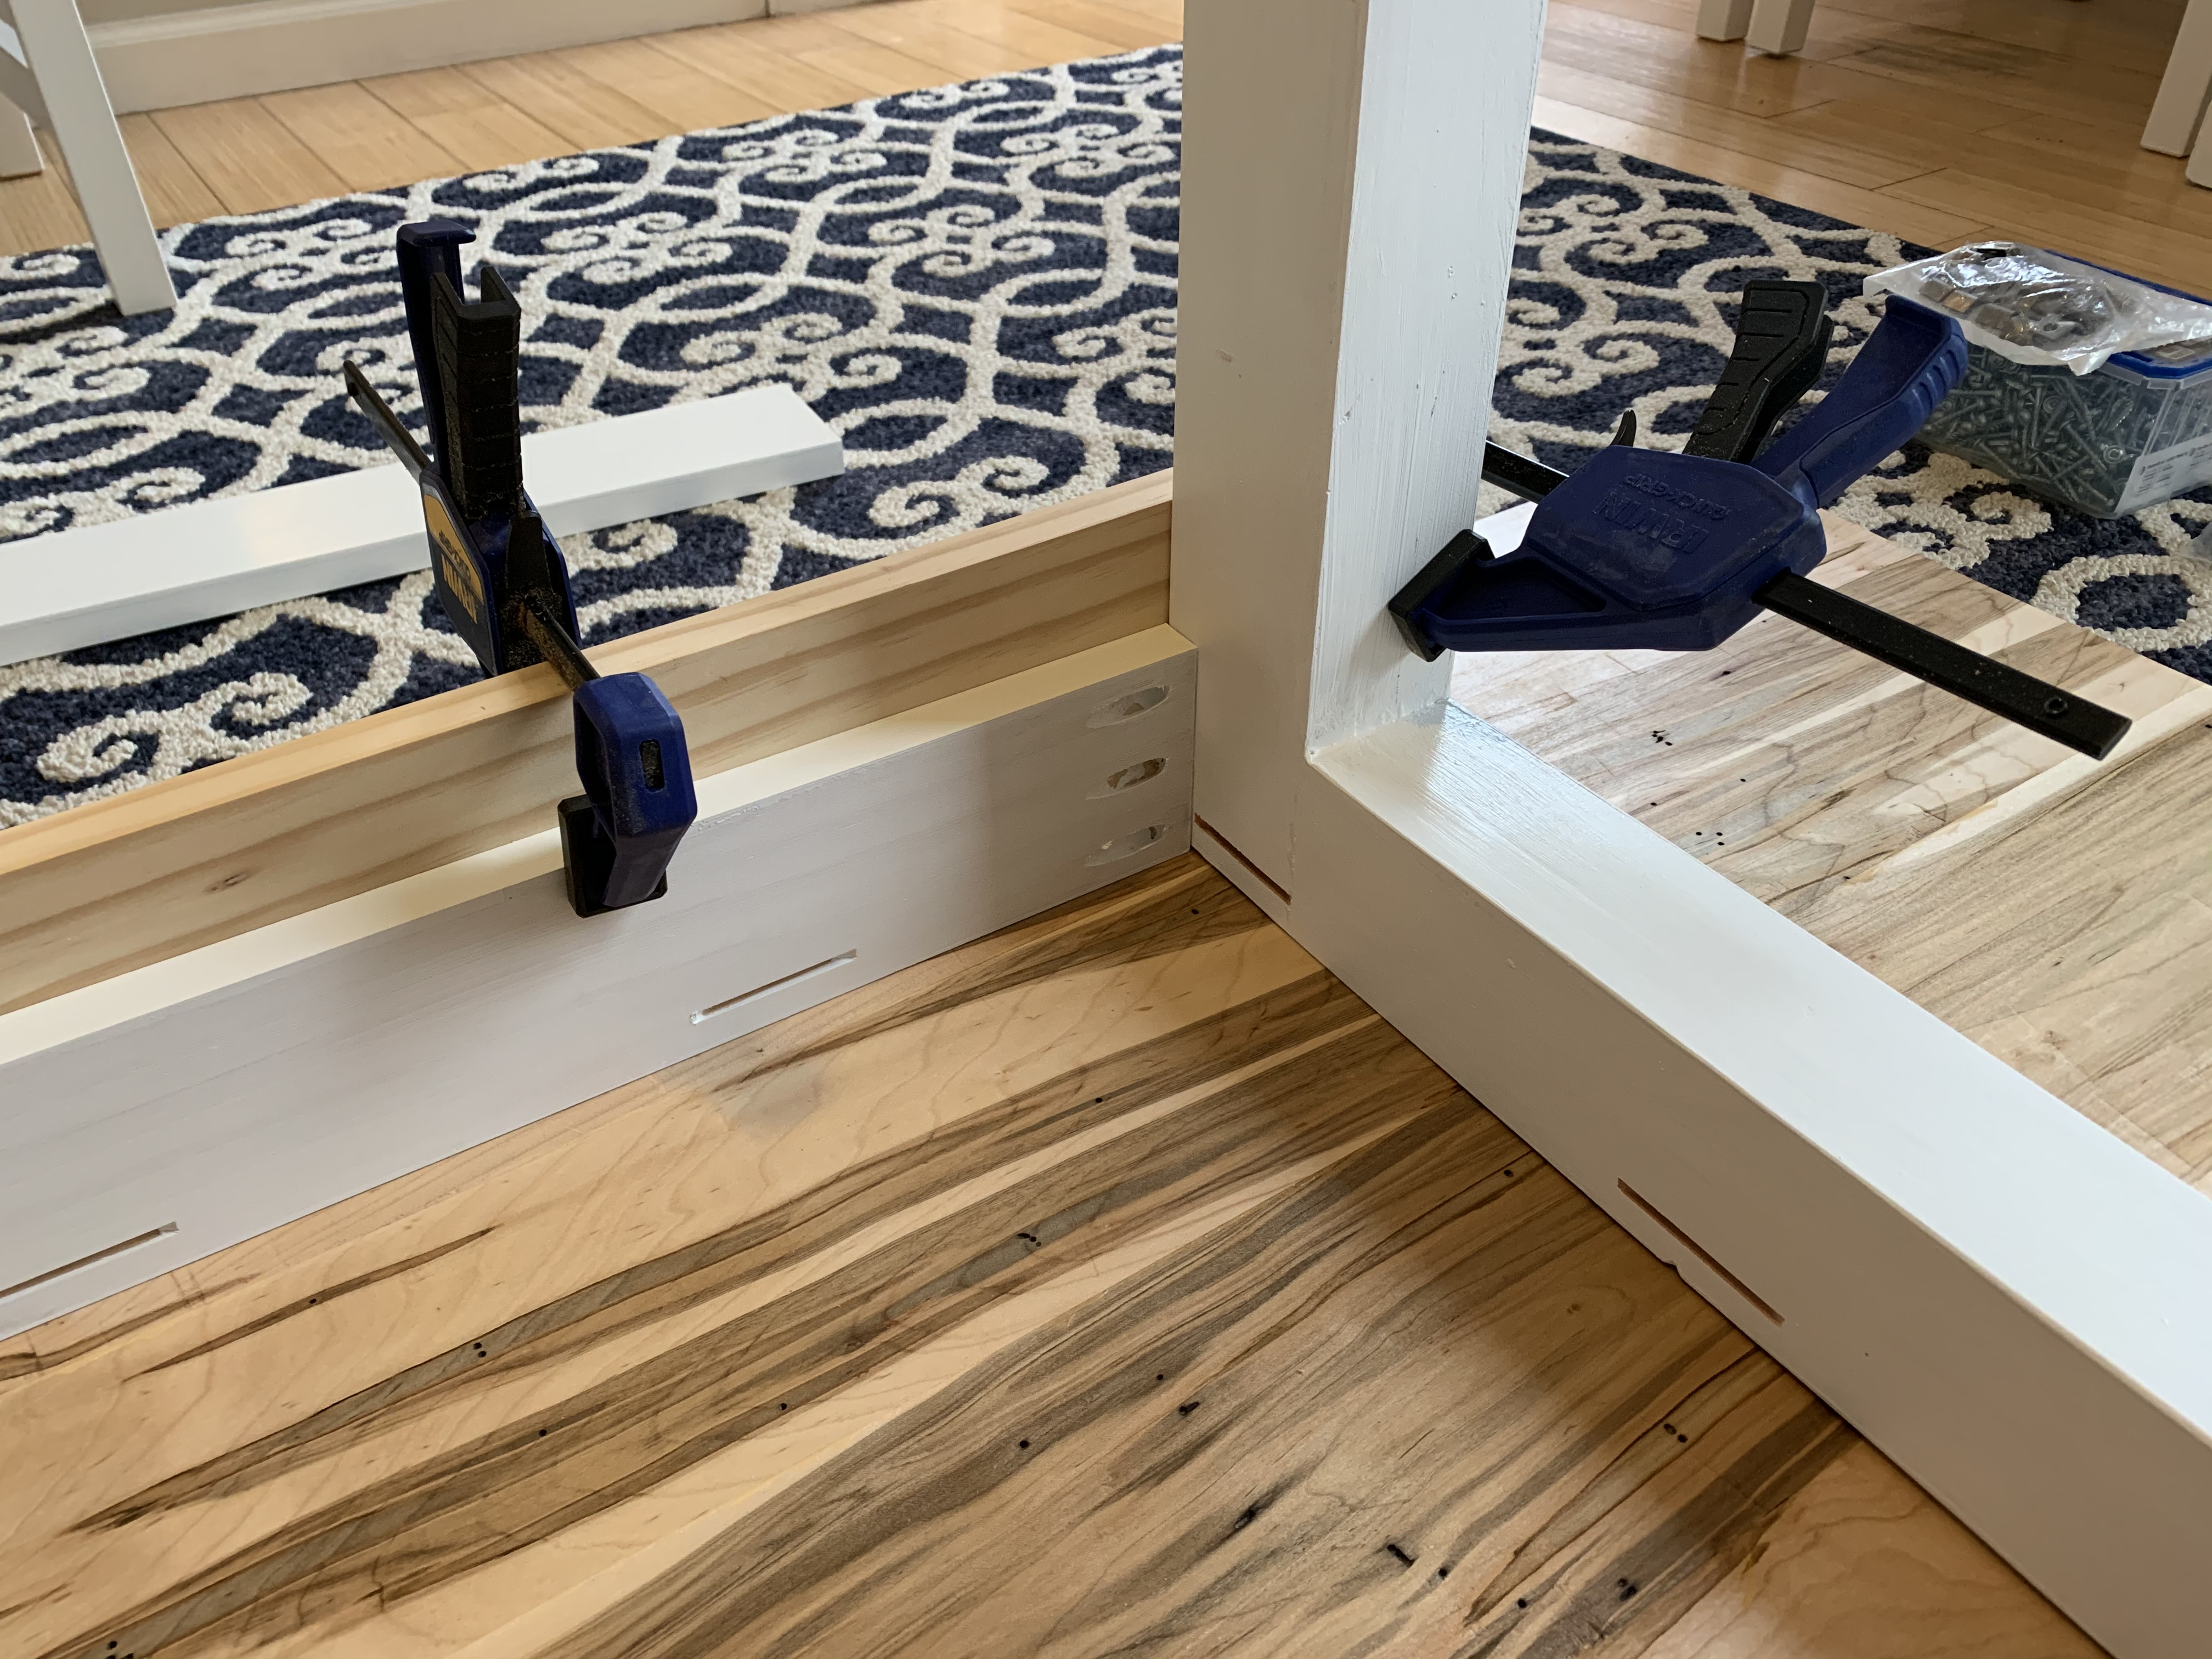
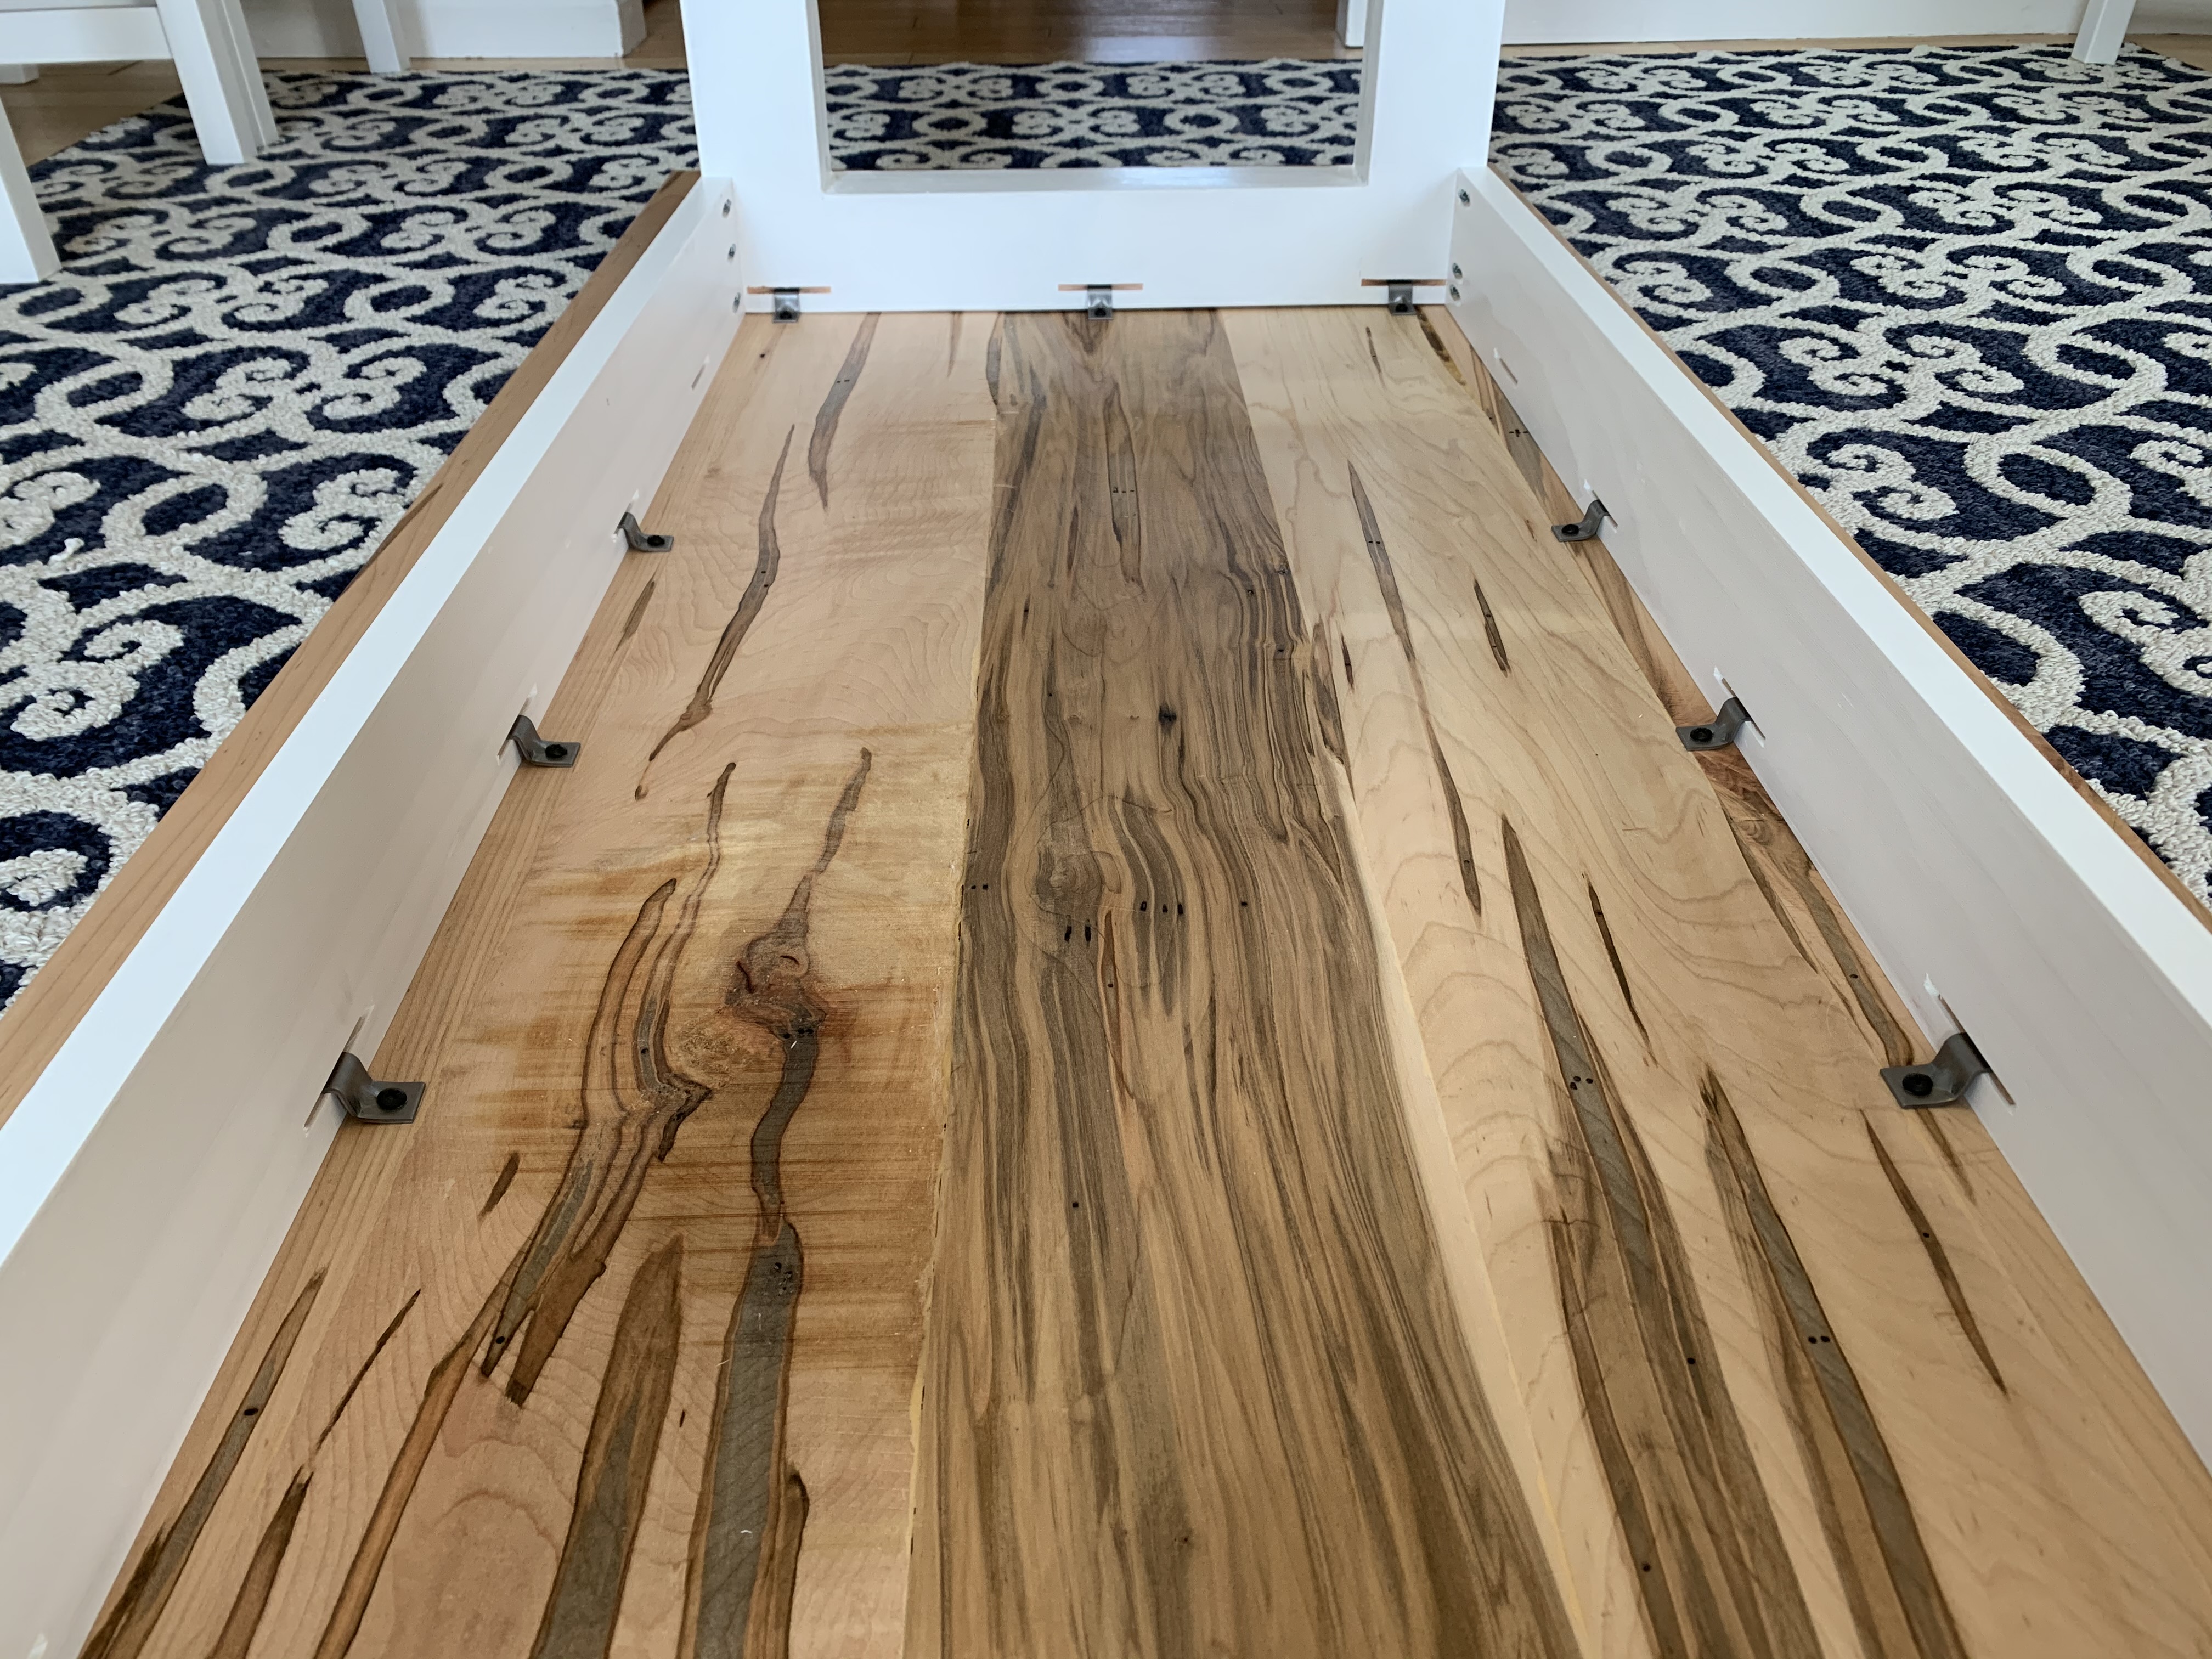
I bought some brackets to attached the table to the legs. My reading indicates that this mounting style (rather than directly screwing the legs to the table) allows the wood to expand and contract through the seasons and lessens the risk of it cracking.
Resources
I found these resources to be helpful when planning the design:
- Table Dimensions
- Table Dimensions
- Chair/bench design
- How to build bench seat
- Finishing recommendations