Build Log: Walnut Slab Table
We turned an old walnut stump into a live edge coffee table. This was a first for me with lots of experimentation and learning along the way.
Slabs
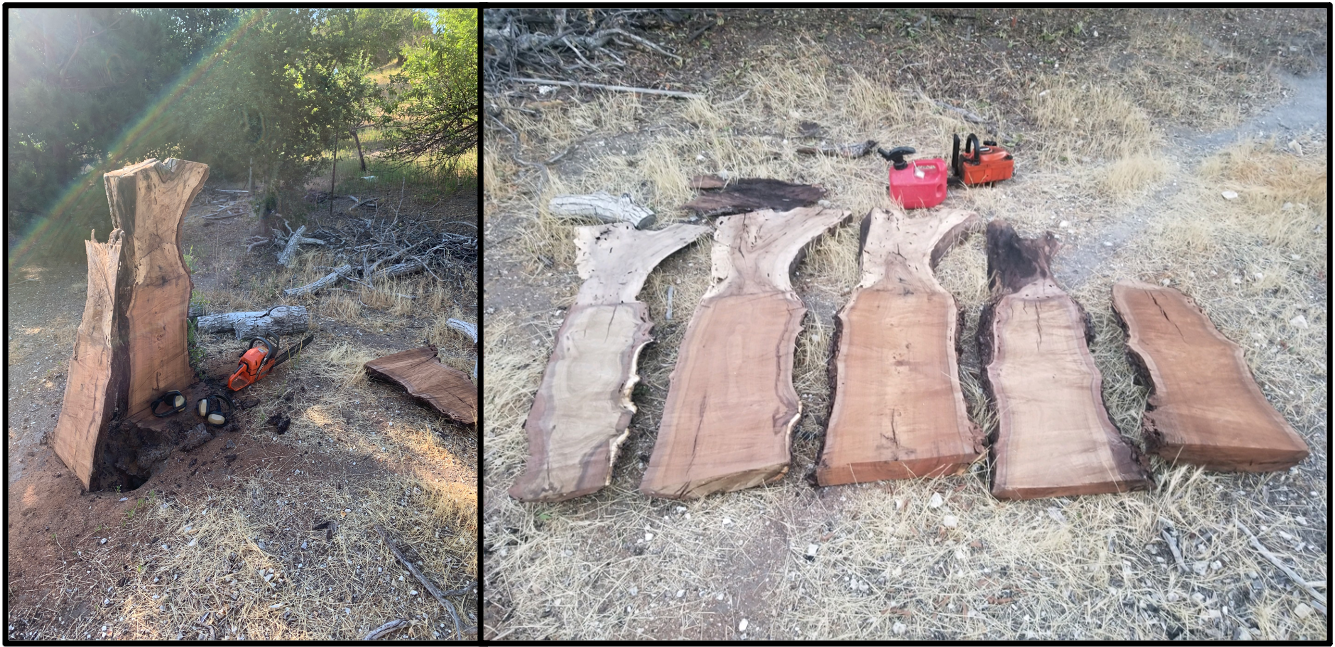
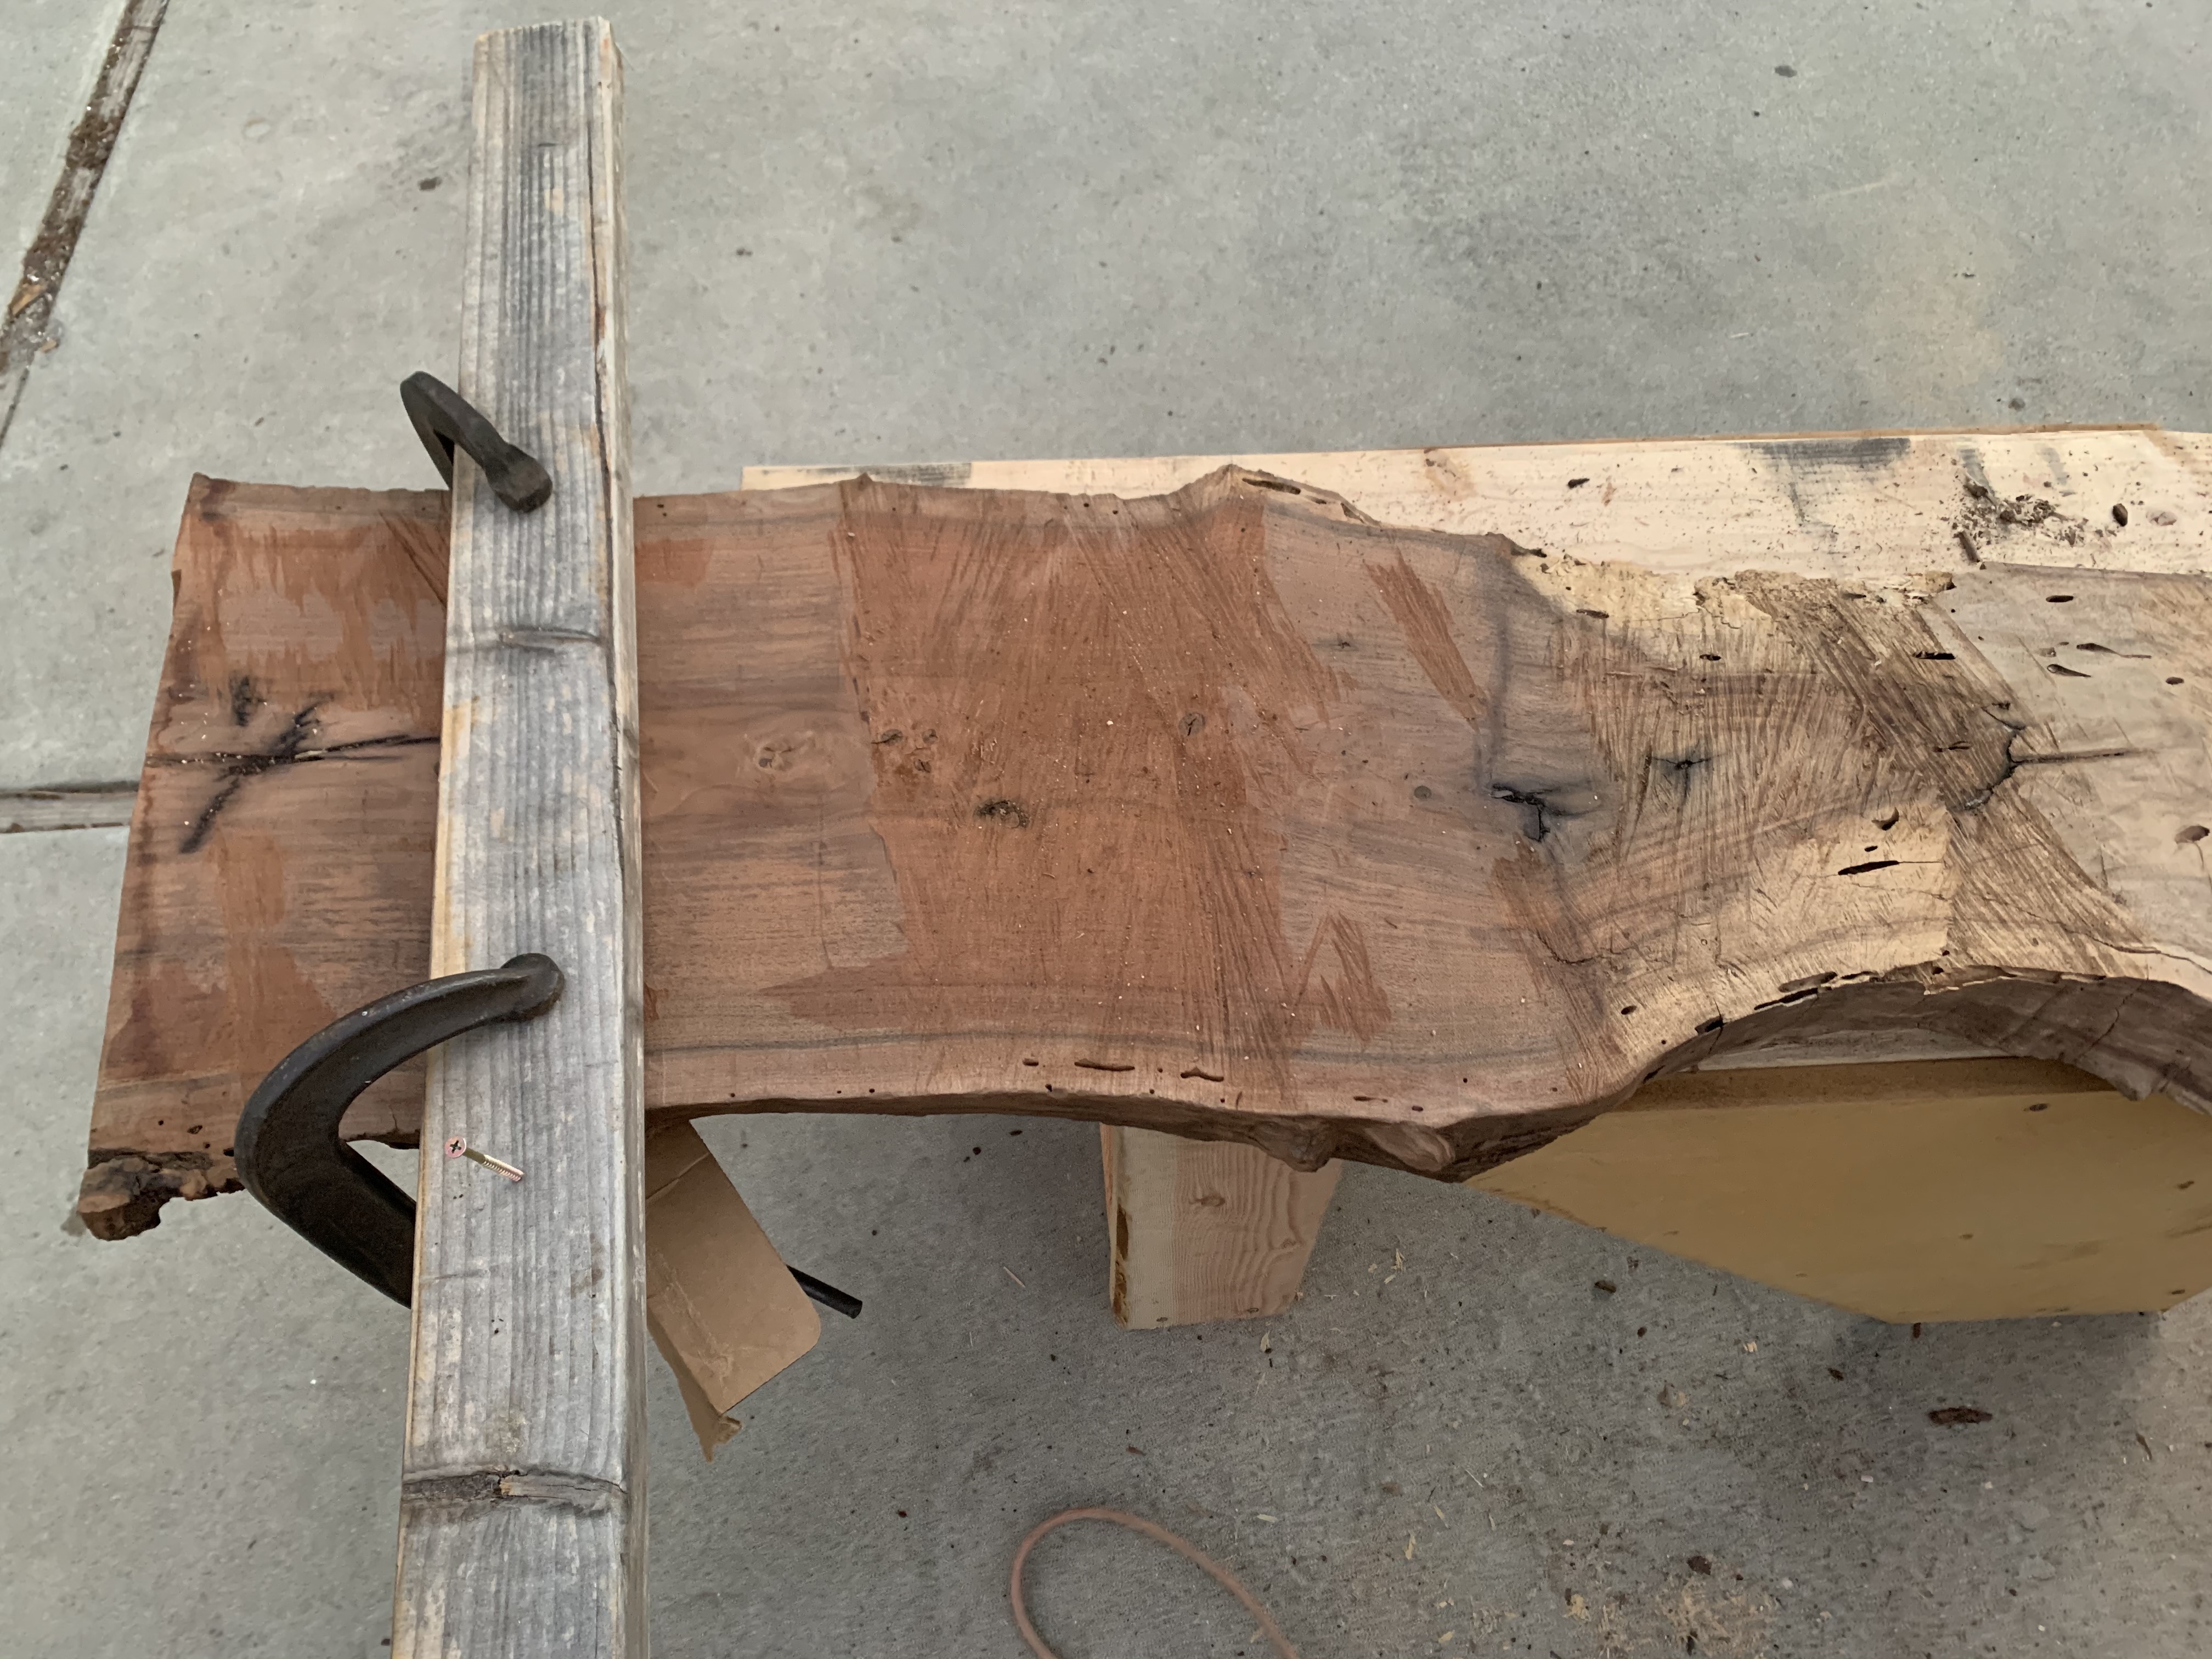
The tree had been dead for a number of years and we slabbed it about 6 months ago. As a first experiment we cut slabs with the chainsaw while the stump was still vertical, yielding decent slabs but with some roughness and uneven thickness.
For future work I plan to use either a more sophisticated method by hand (like this), or an Alaskan mill setup to get flatter slabs.
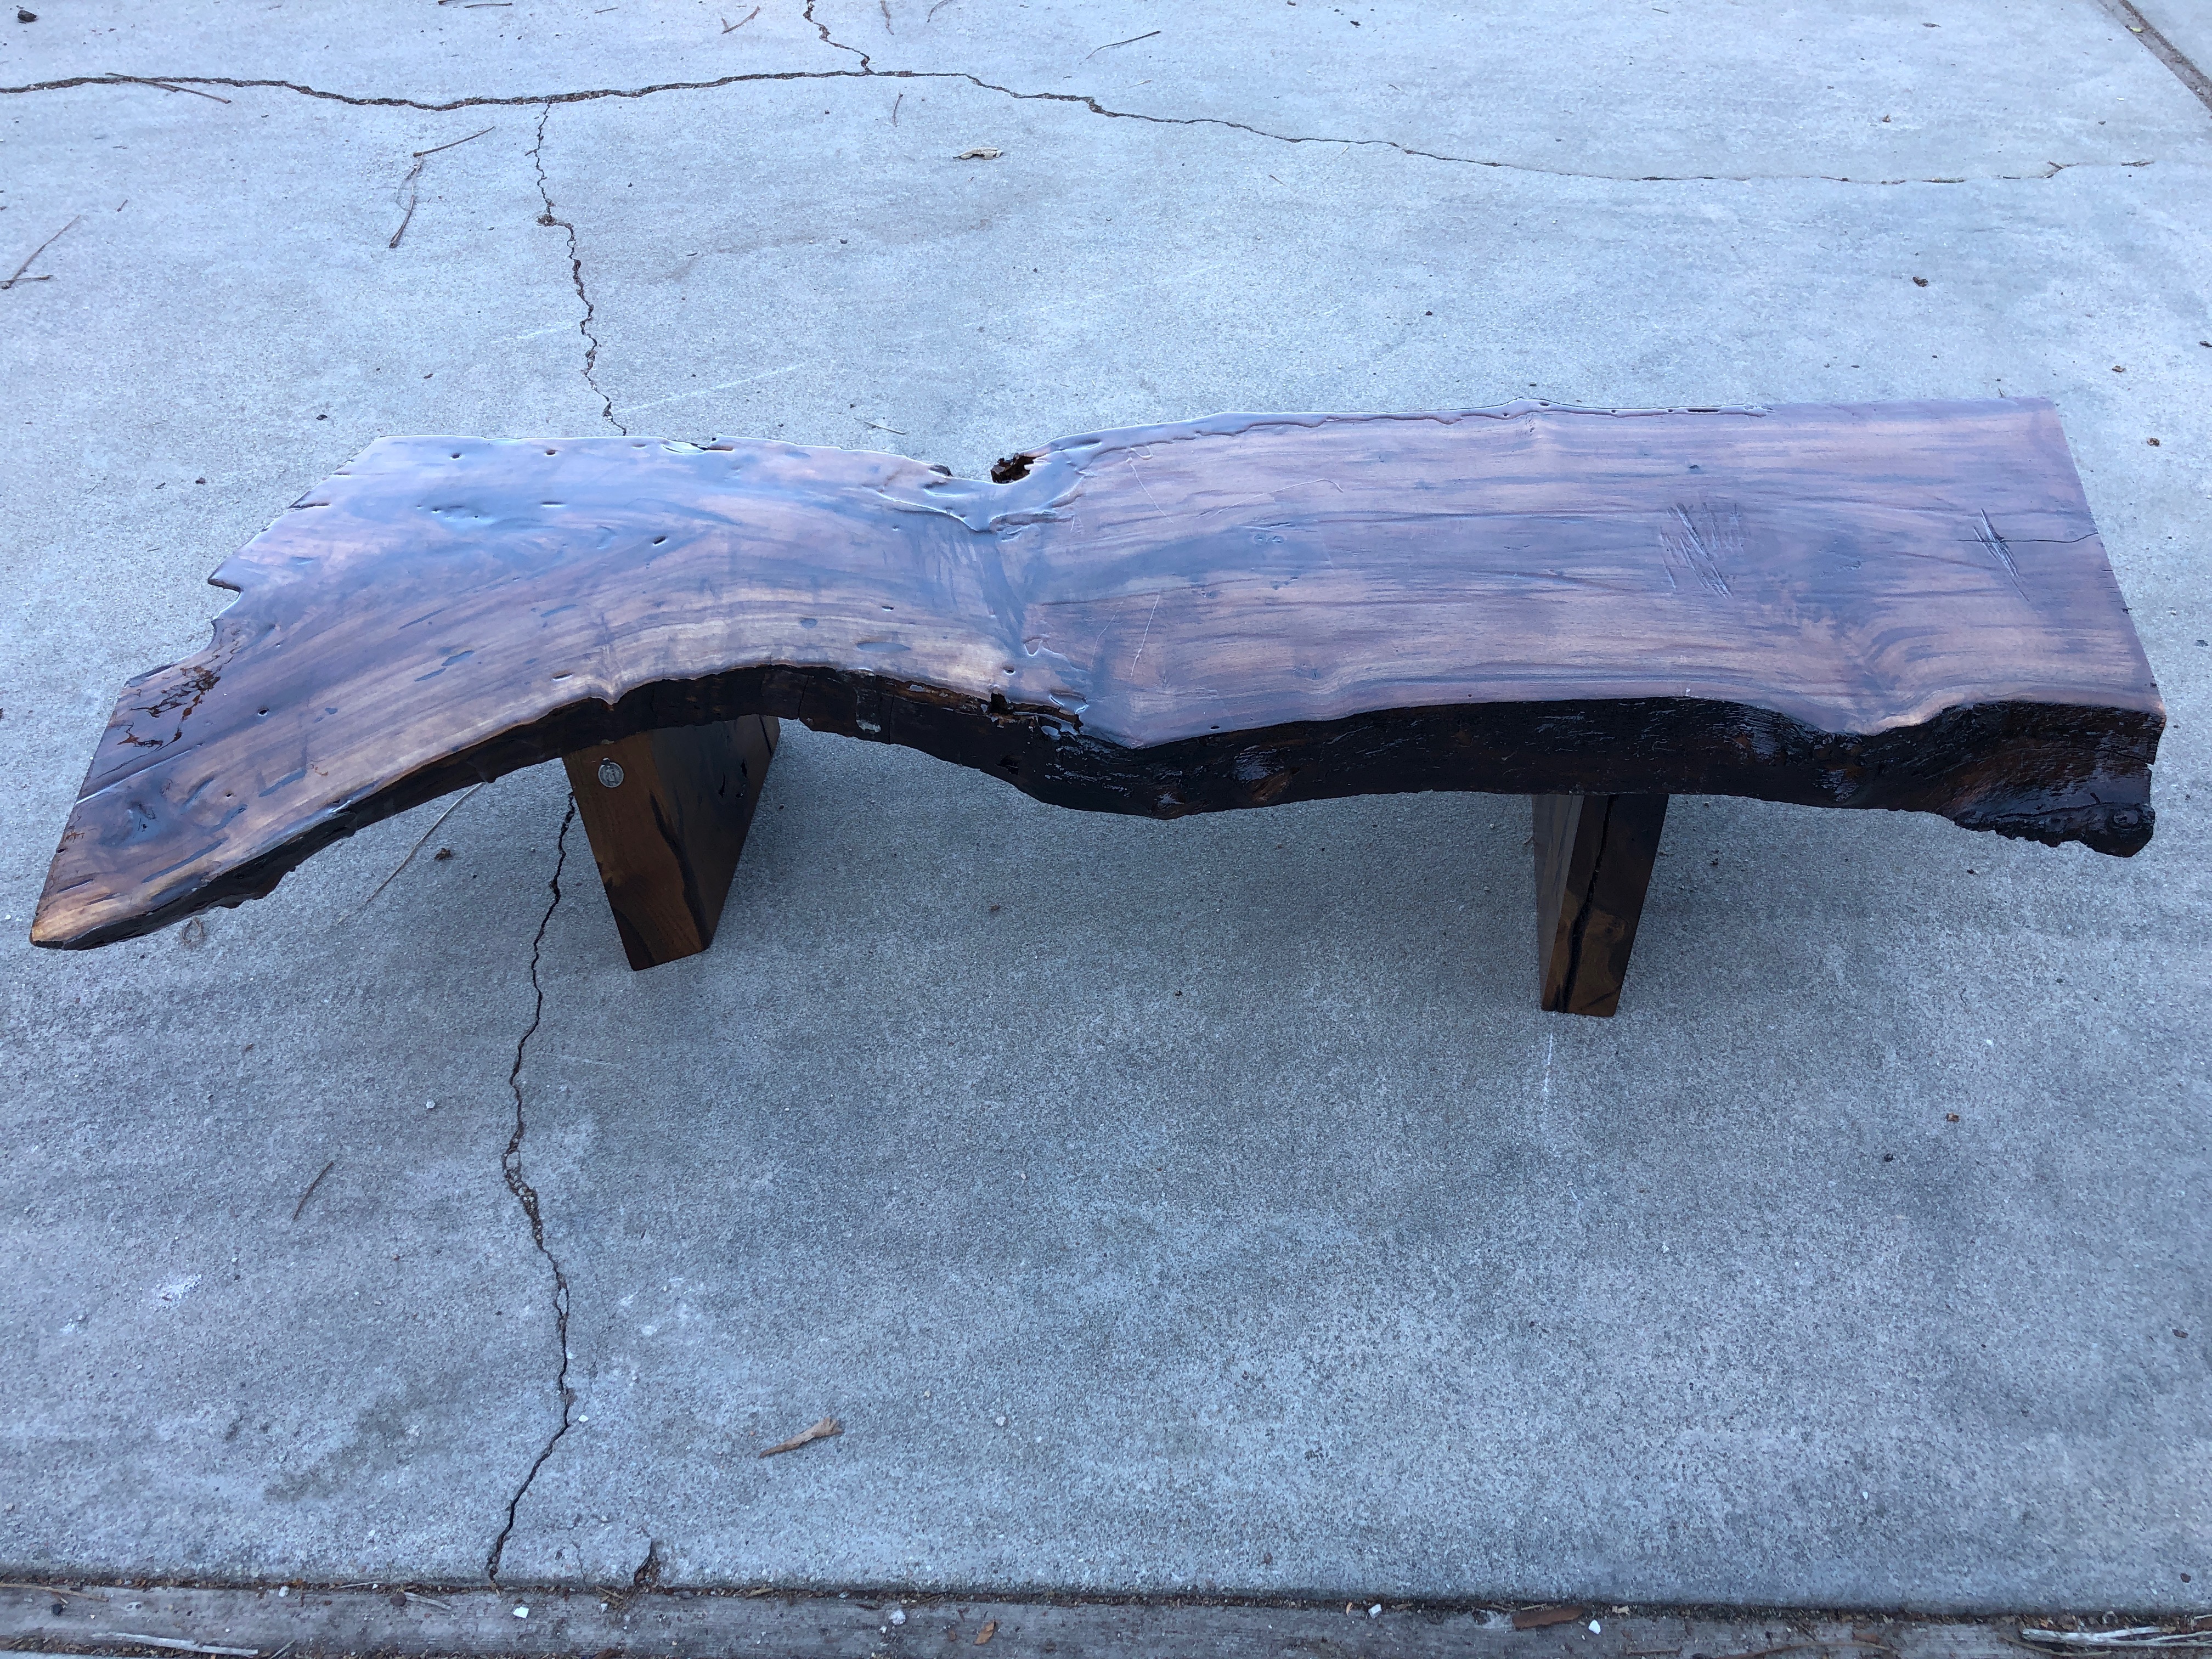
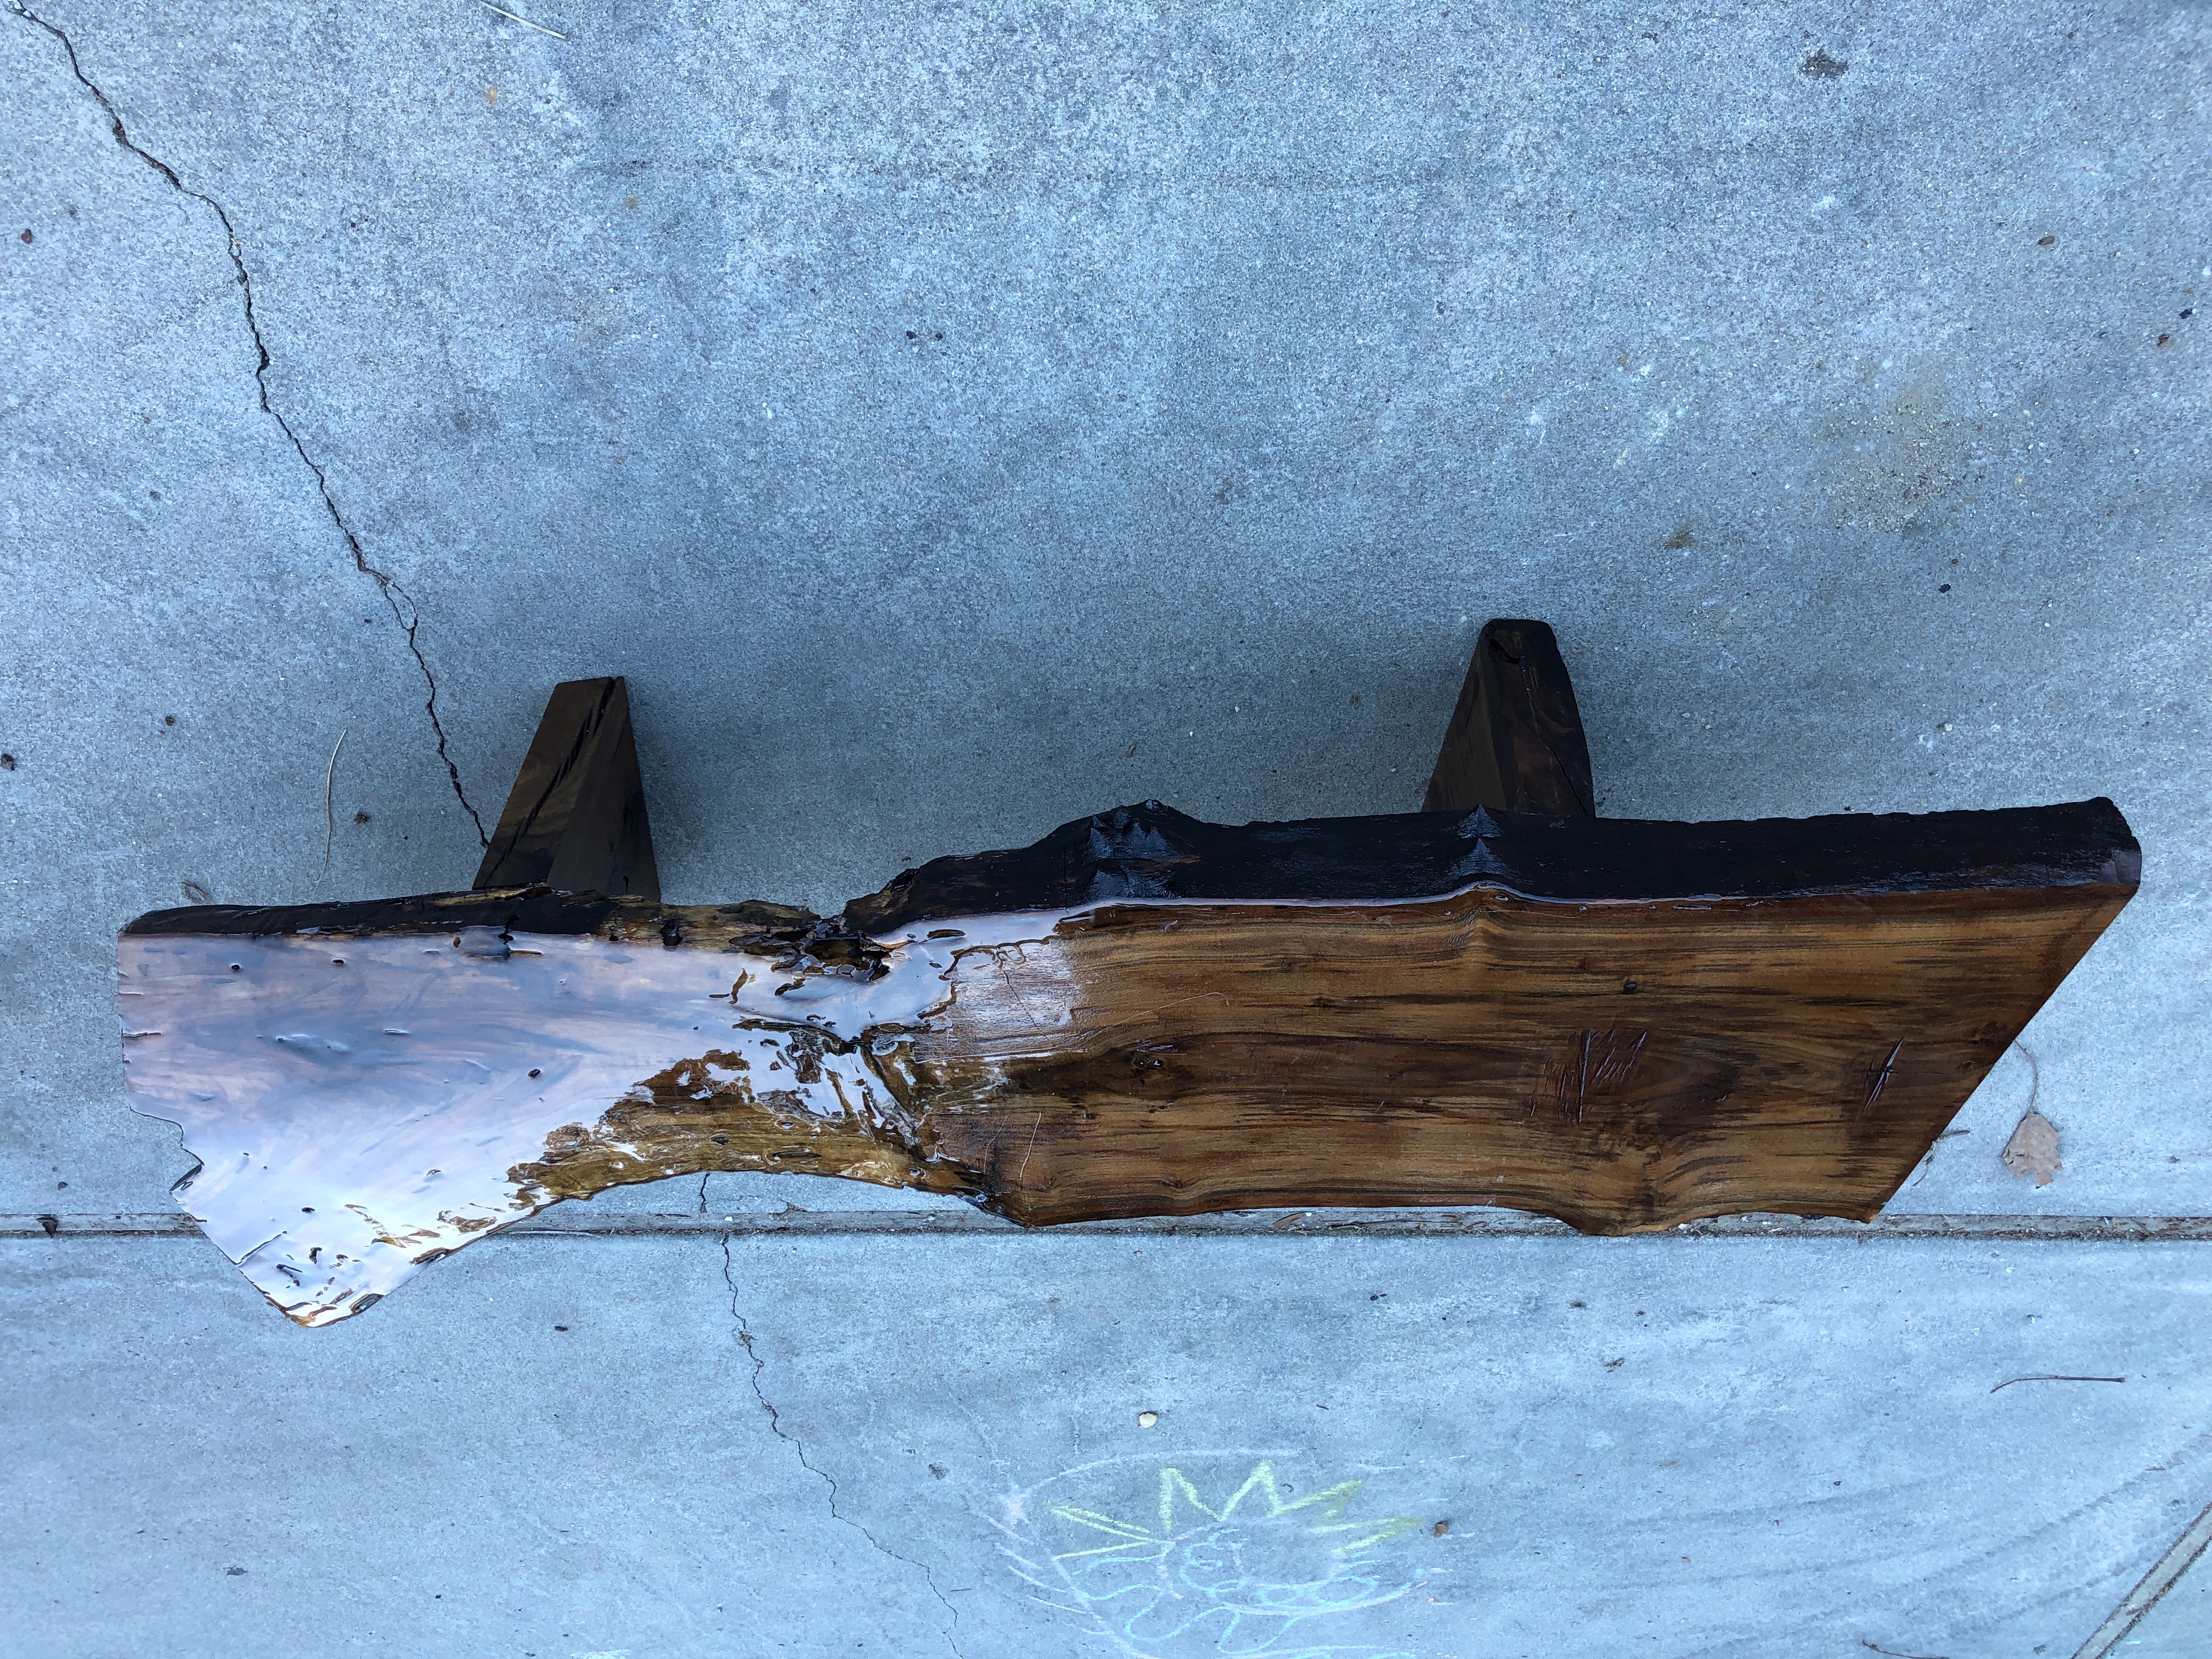
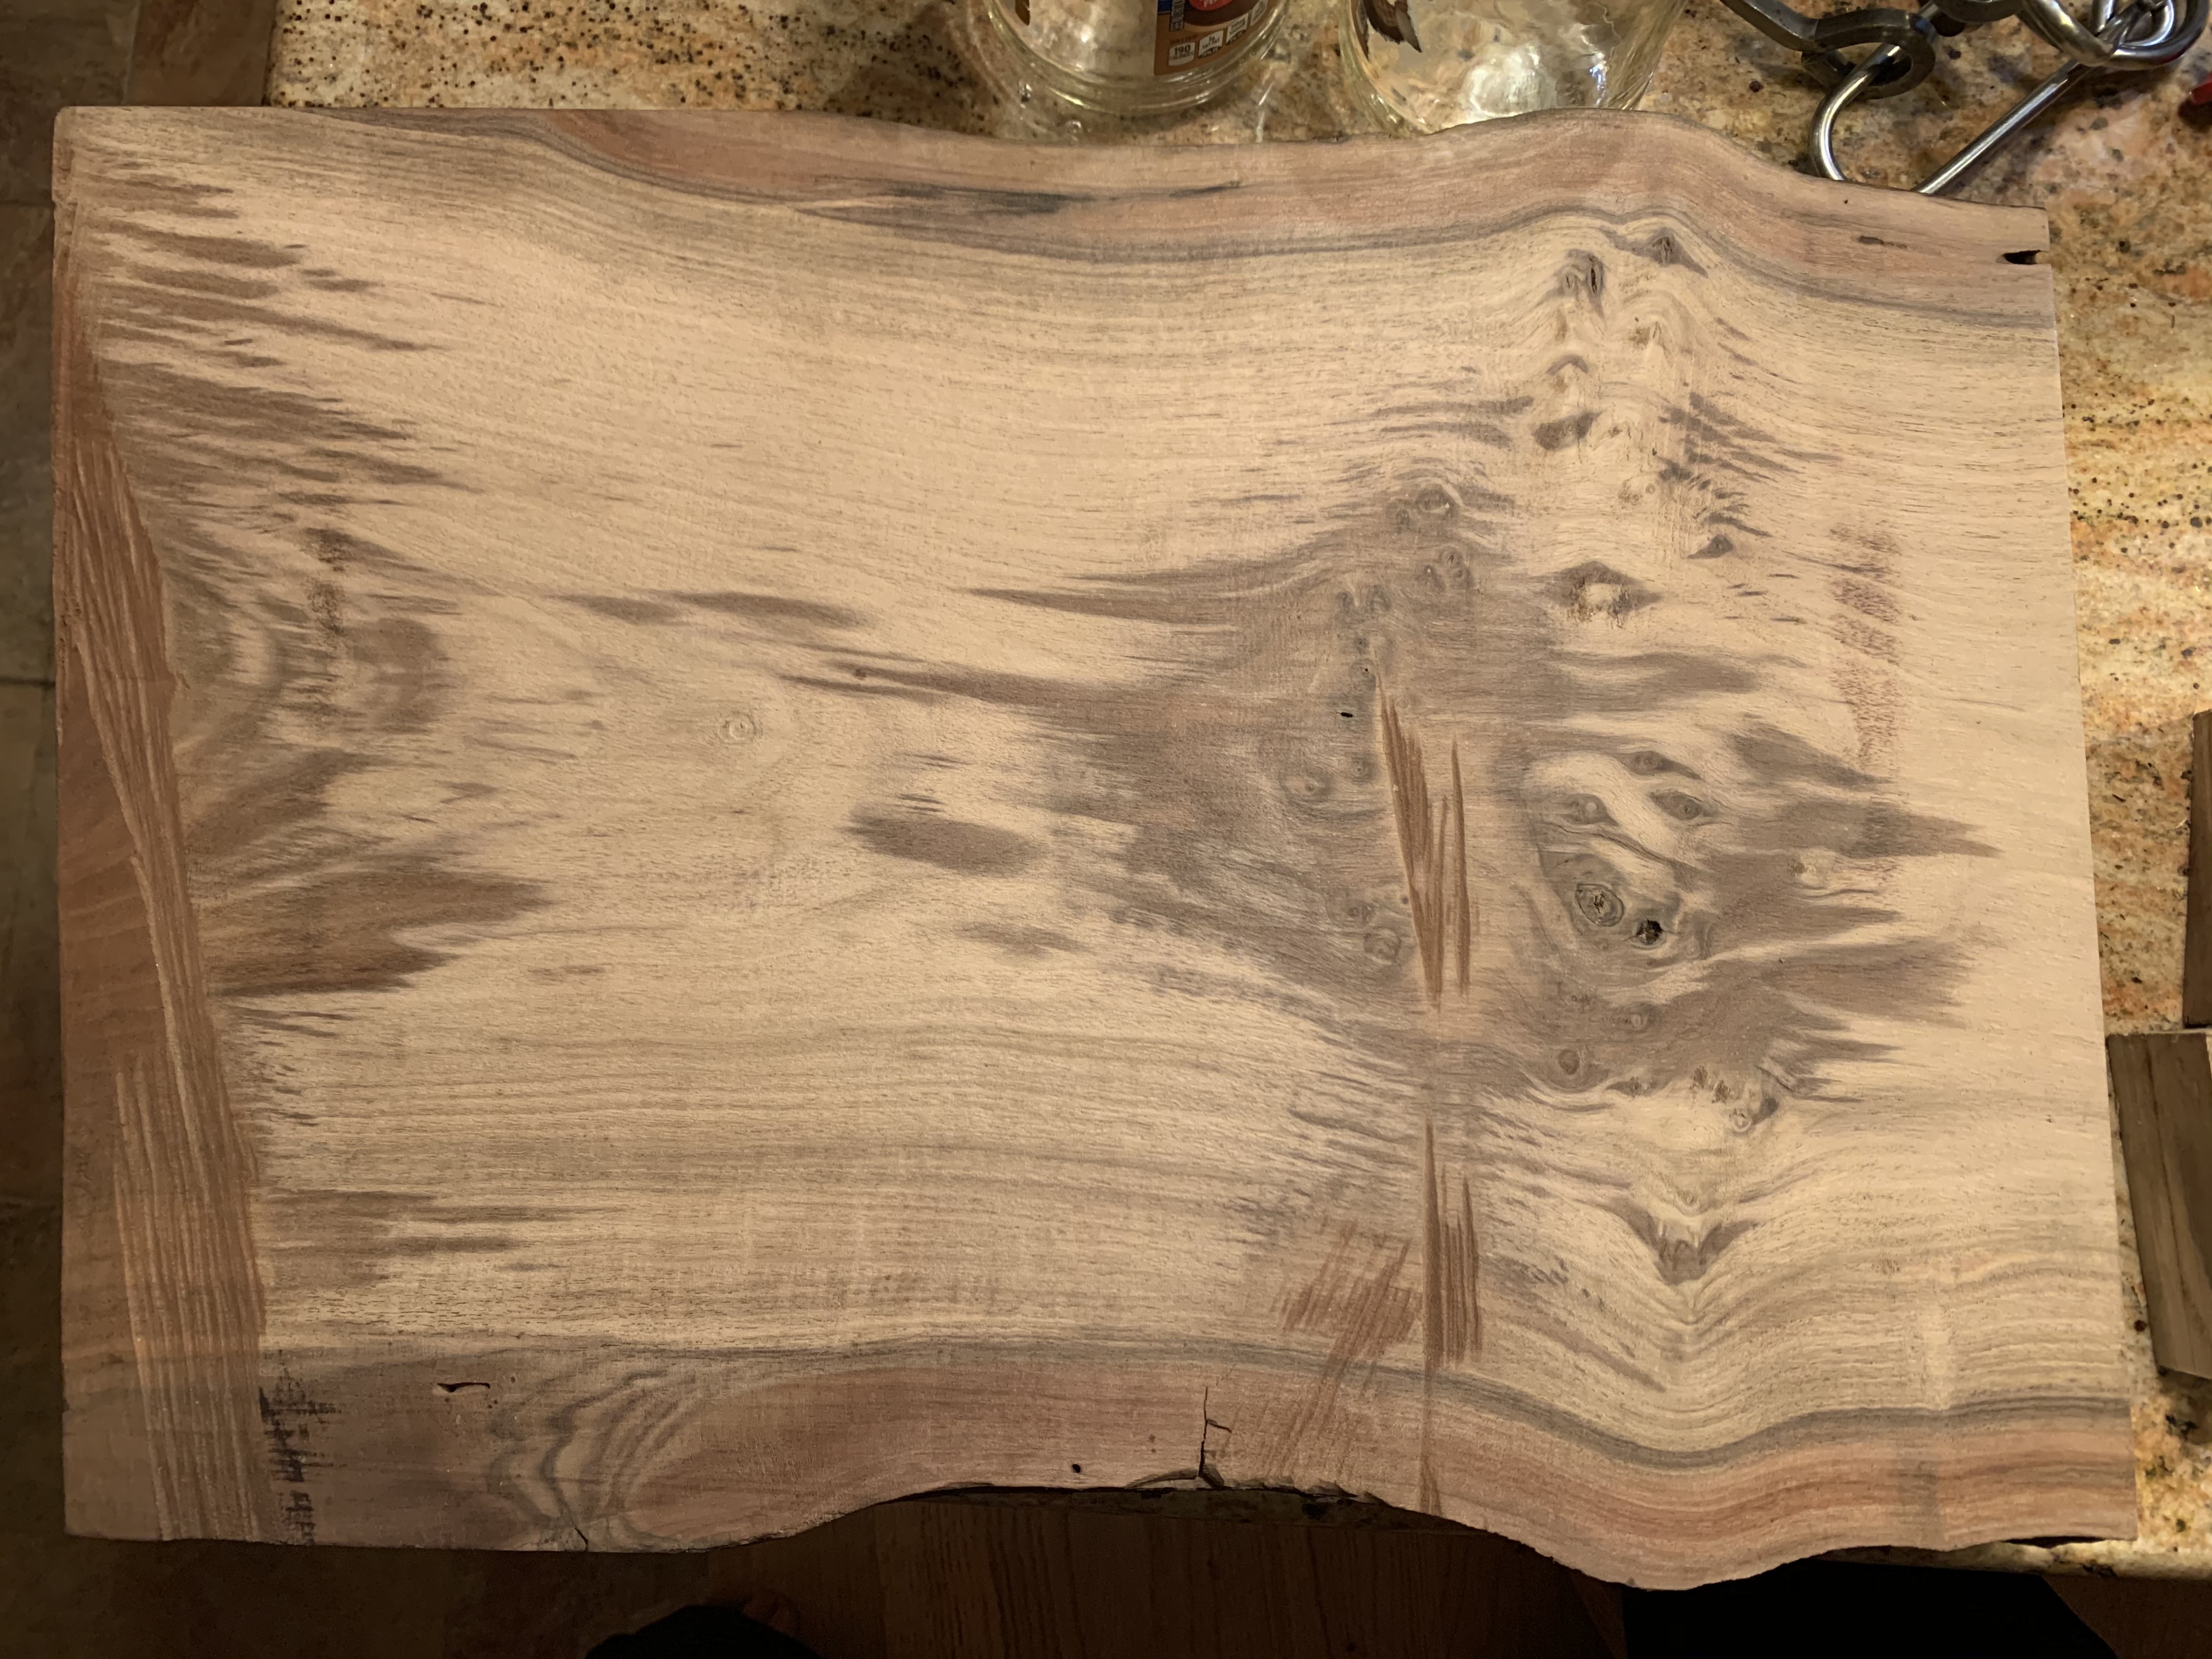
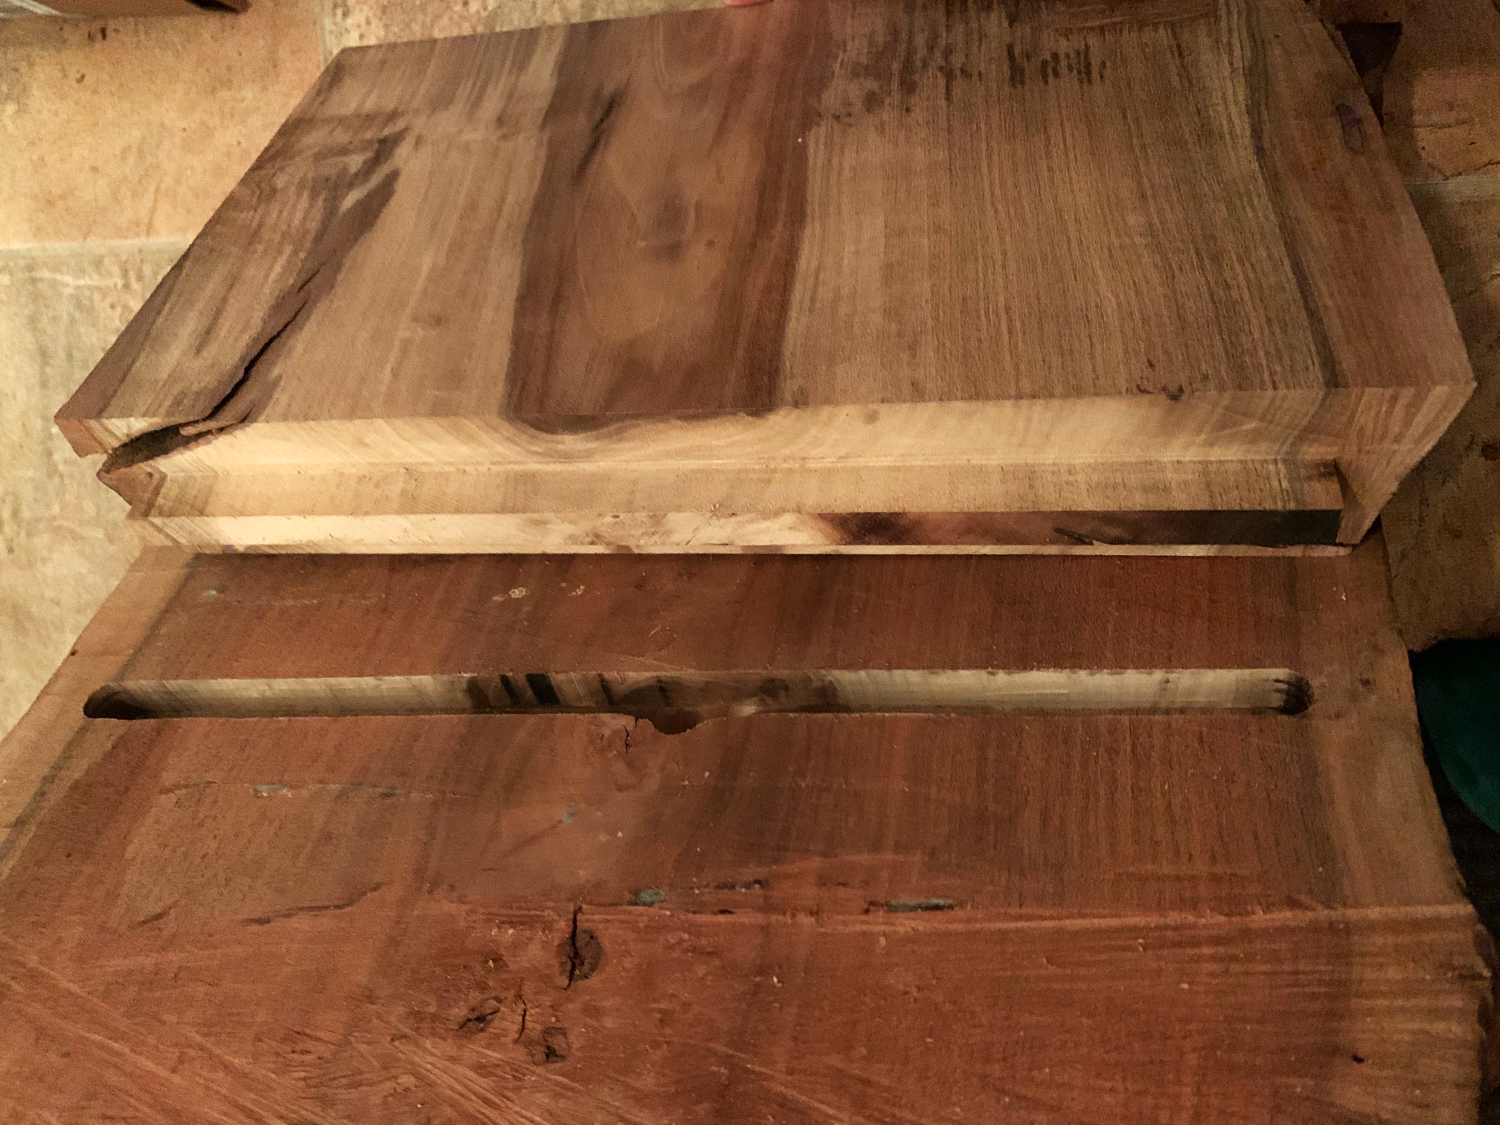
The stump is from a grafted walnut tree with—I think—the darker claro walnut Juglans hindsii as the root stock and the lighter English walnut Juglans regia above. Below is a claro walnut (black walnut) on the left, and a grafted walnut with both species on the right.
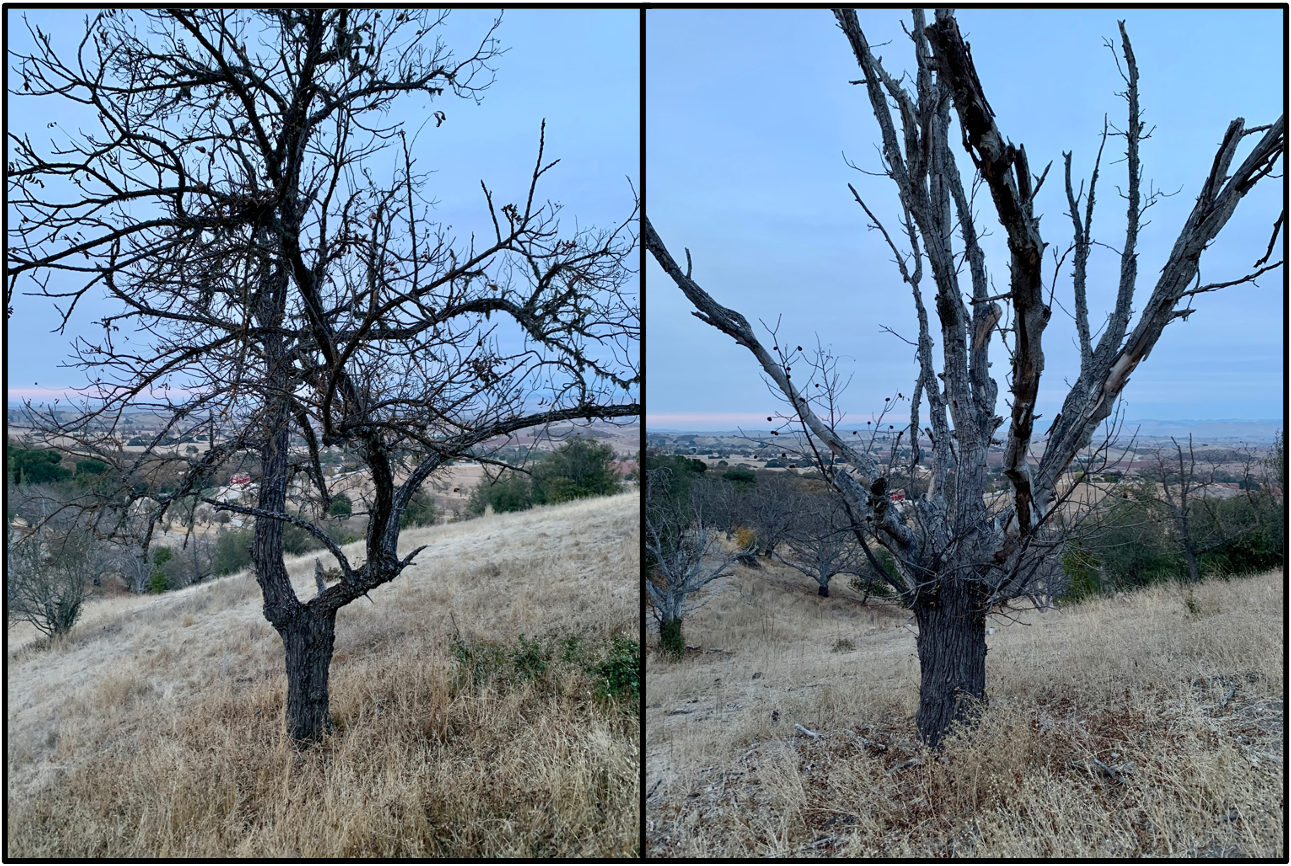
Table Top
The first step was to smooth the top of the slab using an old Stanley No. 3 plane. Flattening would be better done with a jack plane, but the smaller No. 3 actually helped to more quickly smooth the not perfectly flat rough-cut slab and it happened to be what I had on hand. I followed that up with some course sanding with the belt sander to remove all roughness except for a few chainsaw marks left for character, and then final sanding with an orbital sander to 120 and 220 grit.
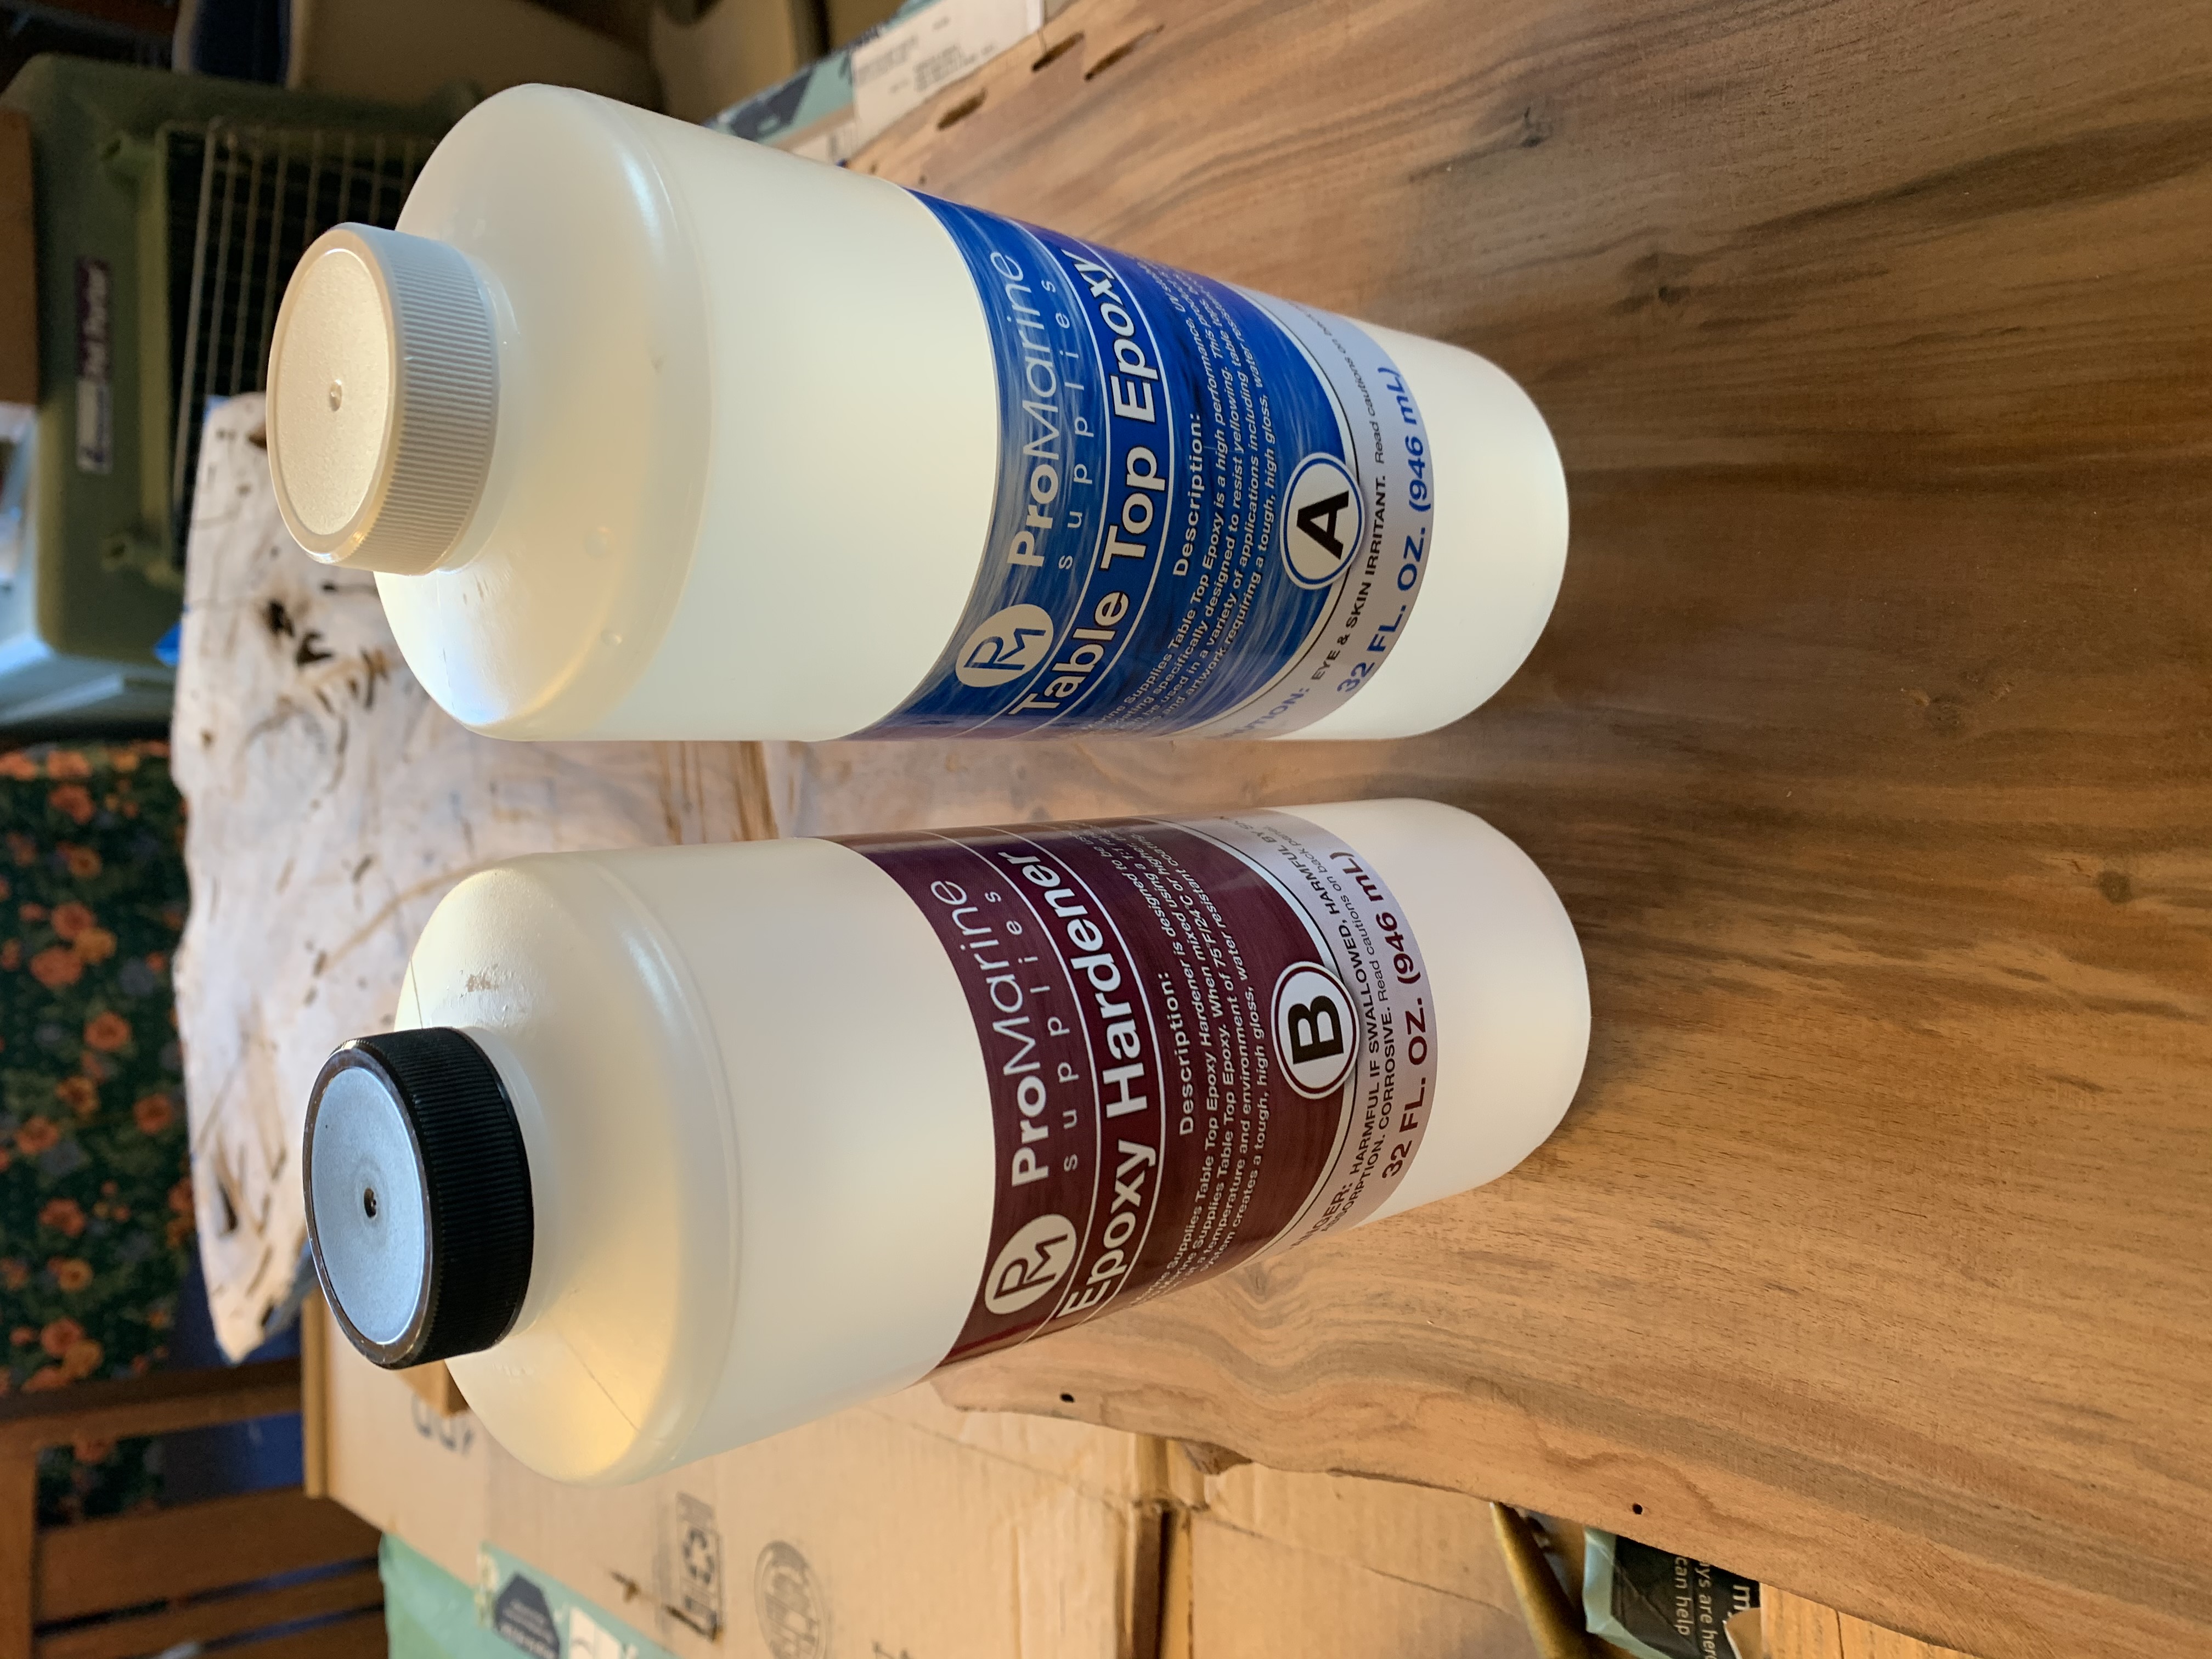
I had never done an epoxy table top before but selected Pro Marine epoxy after some research.
The top (English walnut) part of the slab had significant rot and uneven edges which complicated the process.
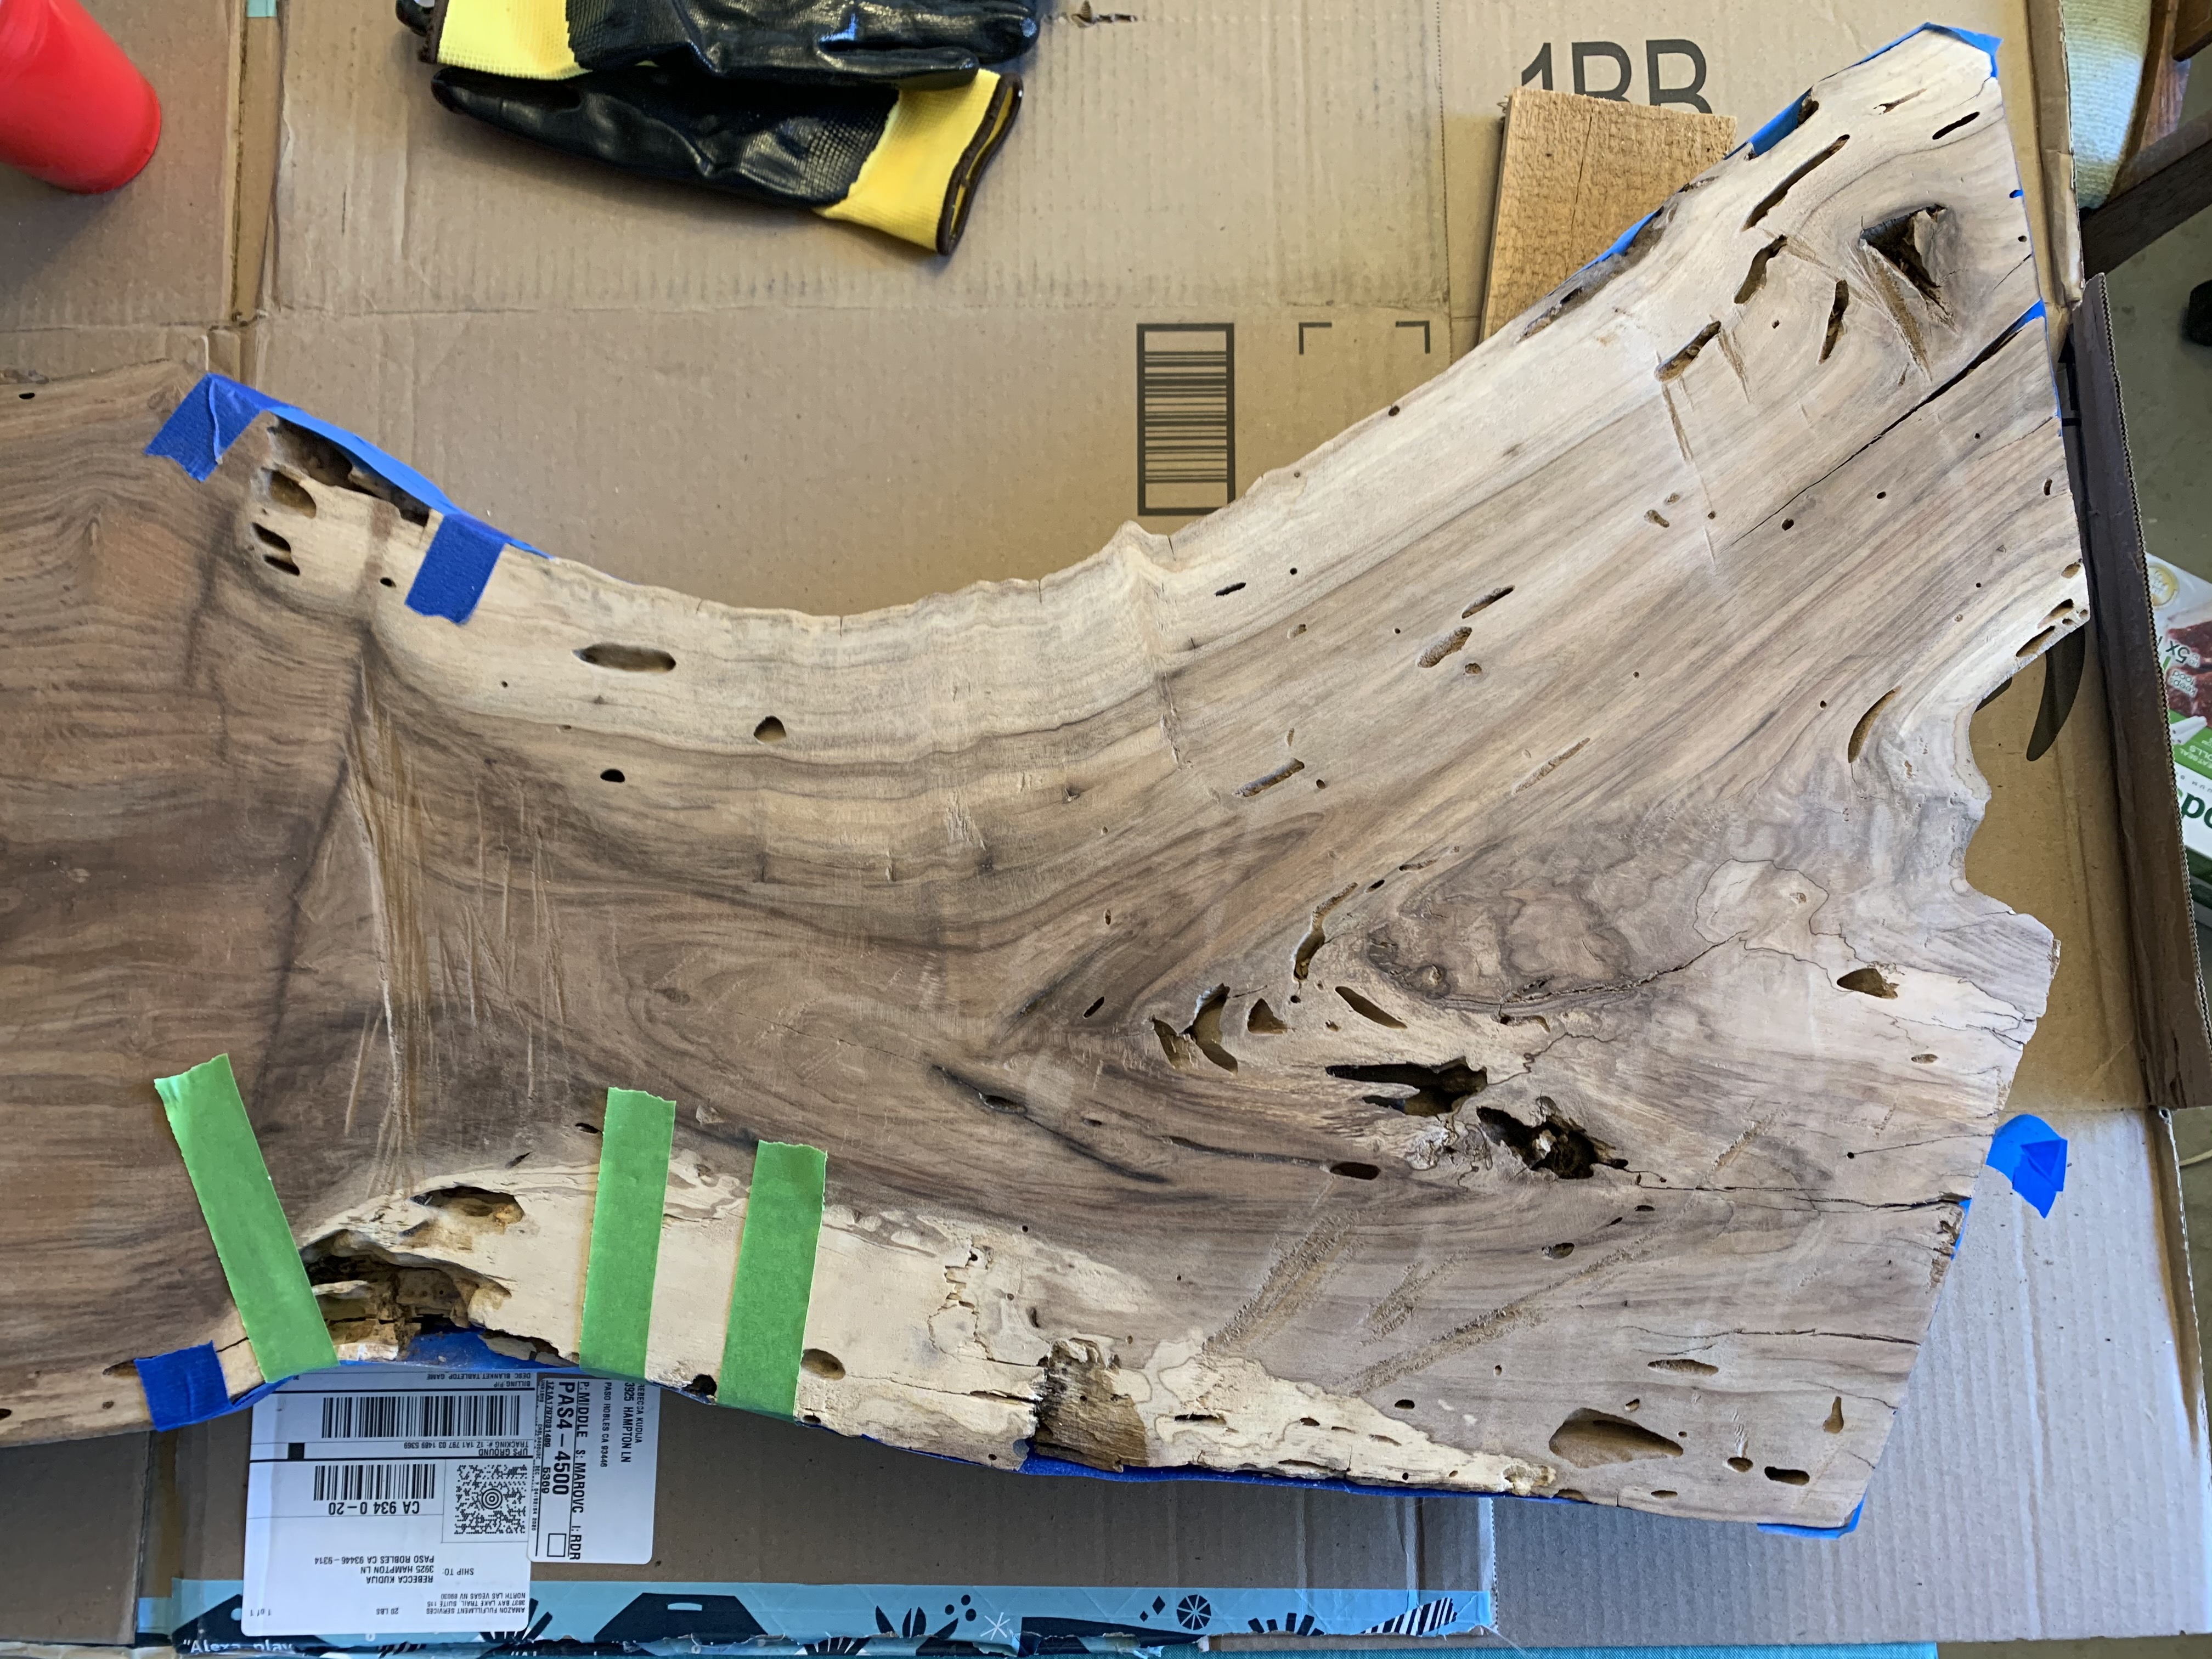
I taped up the edges and bottom and did a first pour over this part to see how much would be filled in.
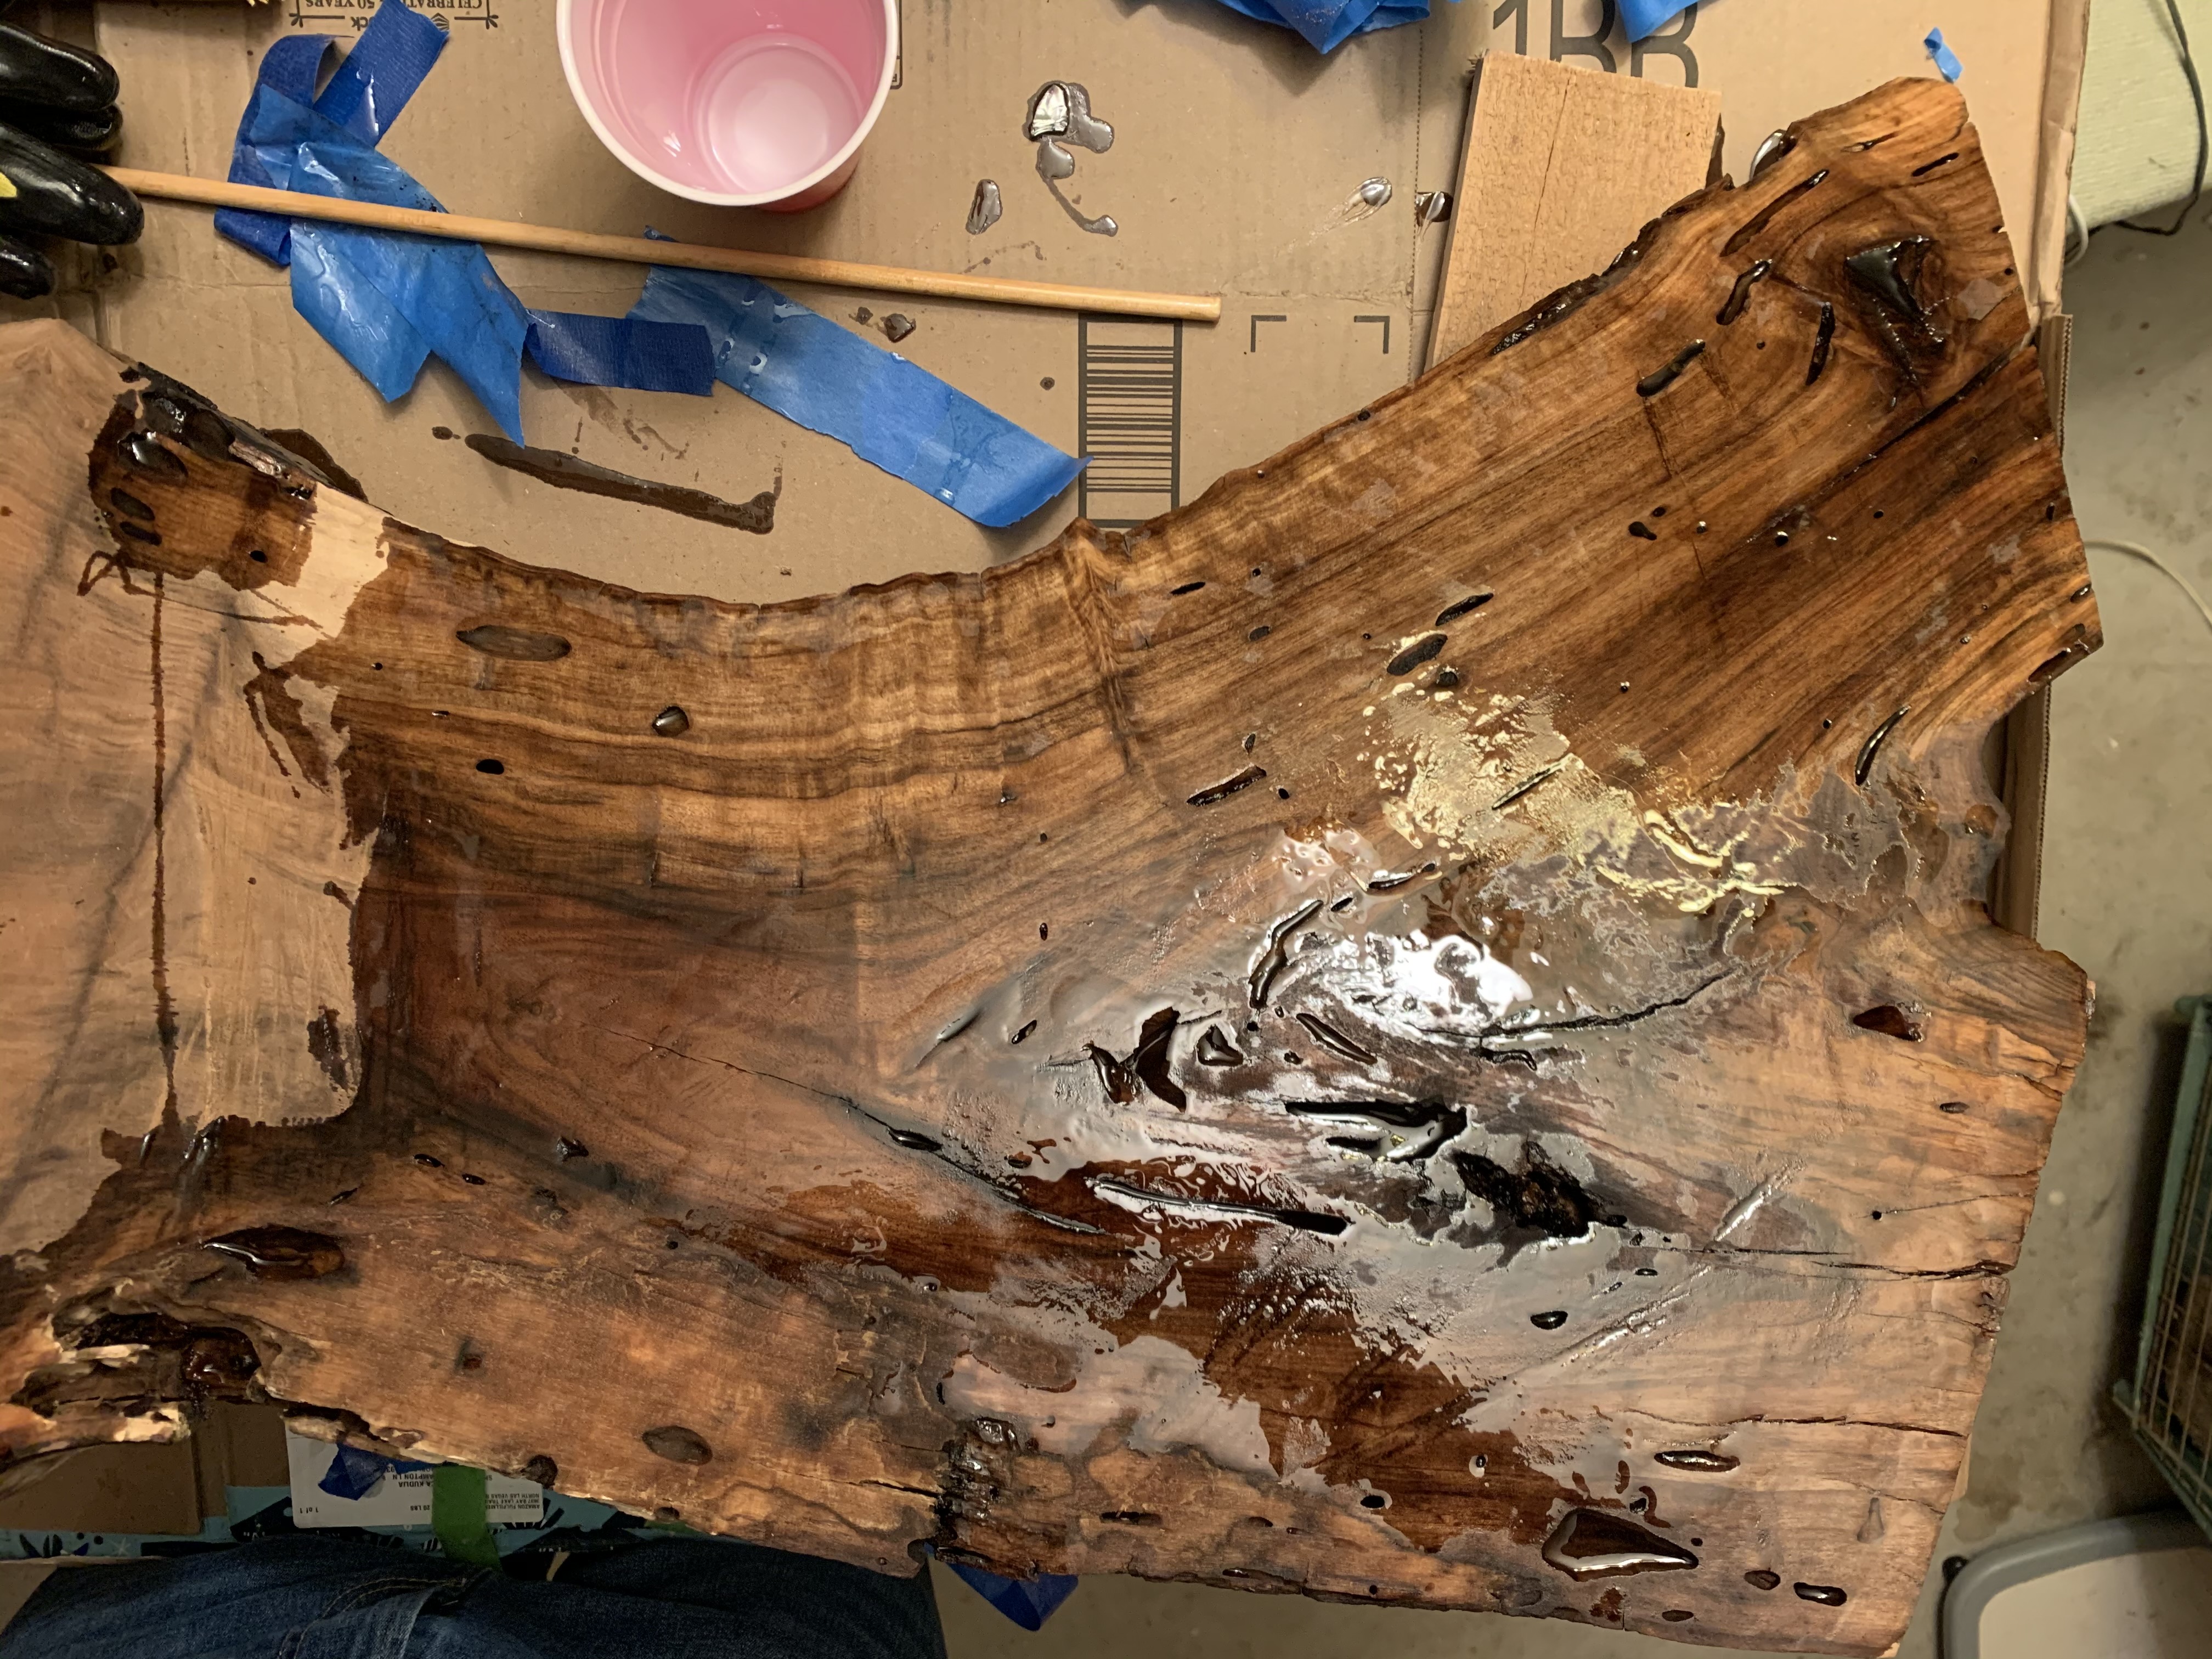
There was significant leakage, so I turned the slab on its end to fill the largest area of rot.
I taped up two large dams on either side which both failed with most of the epoxy leaking out before it cured. To keep things moving and since I wasn't going for perfection on this I re-taped the sides and bottom and did a final pour on the top surface which gave a mostly smooth finish with only a couple of holes not fully filled in.
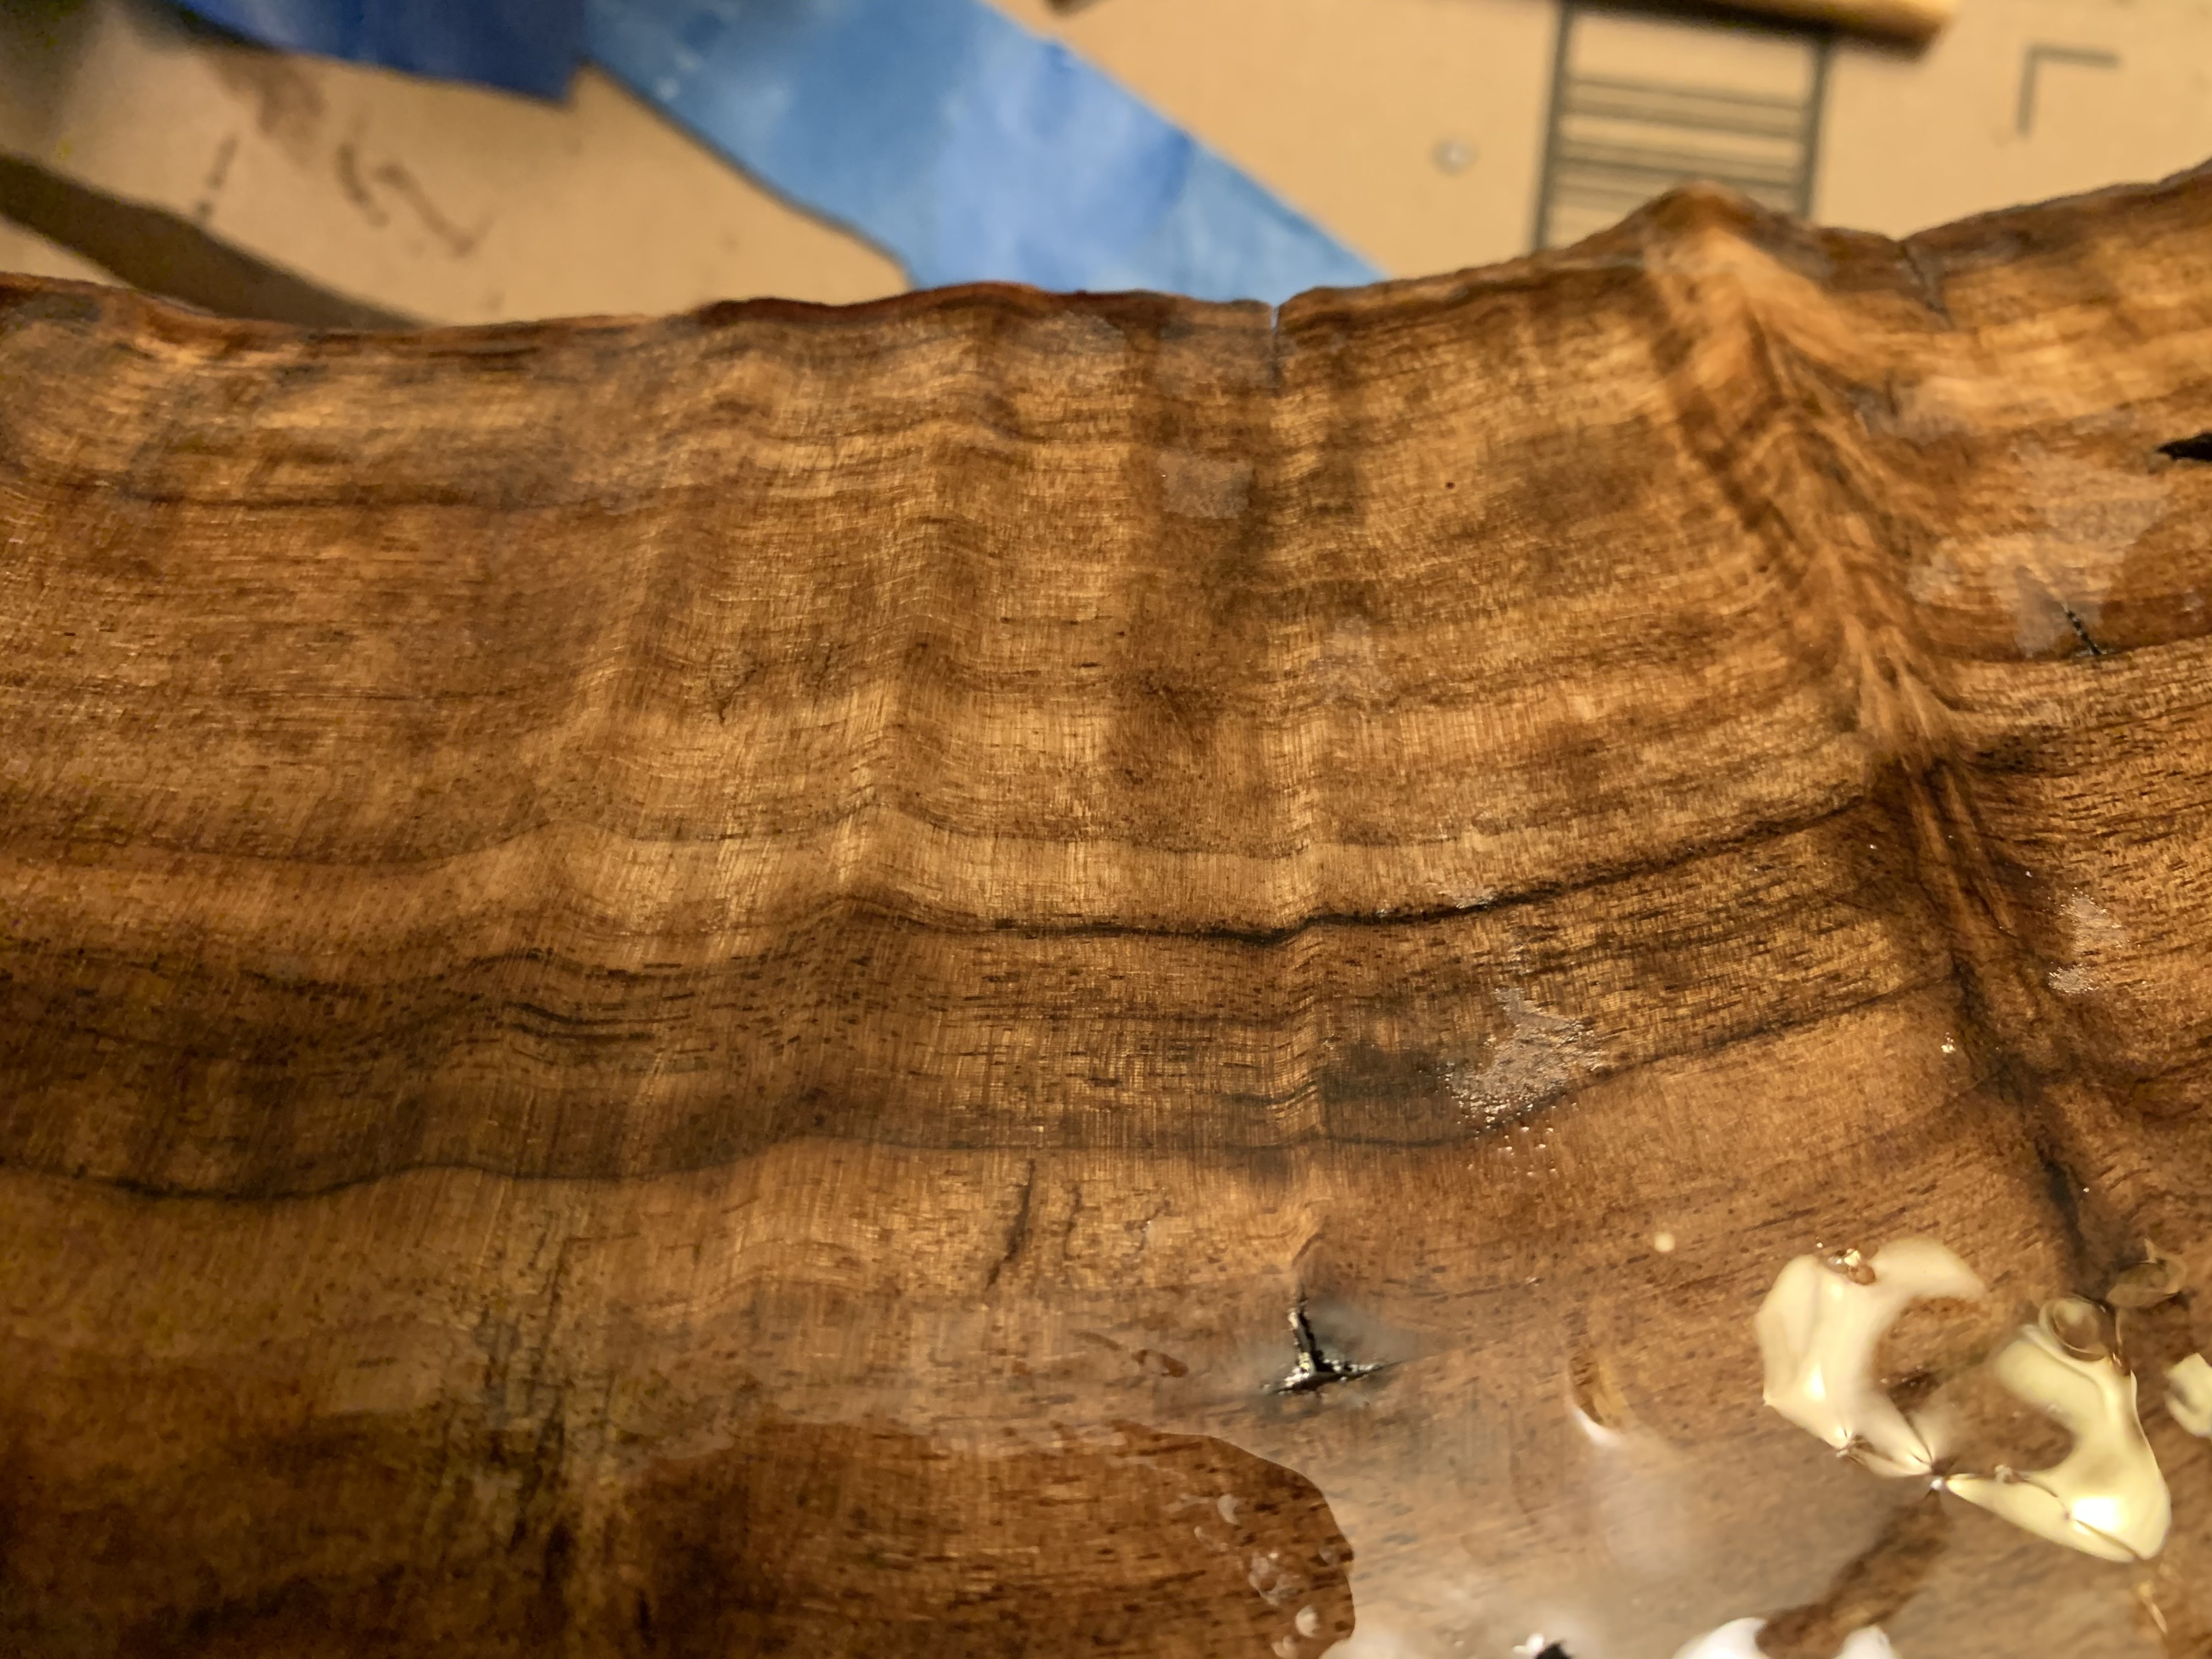
The epoxy finish beautifully shows the rich grain of the walnut. I learned that this epoxy takes a long time to cure—I waited overnight between each pour and the length of cure time caused my troubles with leakage. A flatter slab with fewer defects would minimize these issues, or the largest defects could have been filled in with a quicker drying resin first.
I cleaned up the ends and finished the full tabletop with a couple coats of polyurethane.
Legs
I cut the legs from another slab which had a less consistent thickness and needed some more work to finish. We ran these through a 15" thickness planer to get a uniform thickness.
Next I cut each leg to length and cut tenons with a table saw tenoning jig. I cut the matching mortises in the bottom of the table using a router.
The final product fit snugly and was a simple glue up to attach the legs to the table.
This table is not perfect but was a fun experiment and I learned a lot for future builds.